Mastering Butternut Squash: Your Comprehensive Guide to Peeling, Cutting, and Roasting for Delicious Meals
Butternut squash is a true culinary gem, especially as the cooler months arrive. Its naturally sweet, nutty flavor, combined with a creamy texture when cooked, makes it an incredibly versatile ingredient. Not only is it delicious, but it’s also packed with nutrients, making it a fantastic addition to almost any diet, whether you’re focused on healthy eating, meal prepping, or simply enjoying seasonal produce.
While its tough skin and somewhat intimidating shape might deter some, preparing butternut squash is surprisingly straightforward once you know a few simple tricks. This guide will walk you through the easiest and most effective methods for peeling, cutting, and roasting butternut squash, transforming it from a kitchen challenge into a staple you’ll happily incorporate into countless dishes. Get ready to elevate your cooking with this beloved winter squash!
The Essential Tools for Butternut Squash Preparation
Before you begin, gathering the right tools will make the process smoother and safer. You’ll need:
- A Sharp Vegetable Peeler: Essential for removing the tough outer skin. A swivel peeler or Y-peeler both work well.
- A Sturdy Chef’s Knife: A large, sharp knife is crucial for safely cutting through the dense flesh.
- A Spoon or Ice Cream Scoop: Perfect for easily scooping out seeds and fibrous strands.
- A Stable Cutting Board: To prevent the squash from slipping while you work. Placing a damp paper towel underneath your cutting board can add extra stability.
Step-by-Step Guide: How to Peel and Cut Butternut Squash
The peeling and cutting stage is often considered the trickiest part, but with these simple steps, you’ll be a butternut squash expert in no time. For those seeking ultimate convenience, remember that pre-cut butternut squash is often available in grocery stores, but mastering the fresh preparation offers greater control over freshness and cost.
- Trim the Ends for Stability: Begin by using your sharp chef’s knife to carefully slice off both the top (stem end) and bottom (blossom end) of the butternut squash. Aim to remove just enough so that you have two flat, stable surfaces. This step is crucial for safety, as it allows the squash to stand upright on your cutting board without rocking.
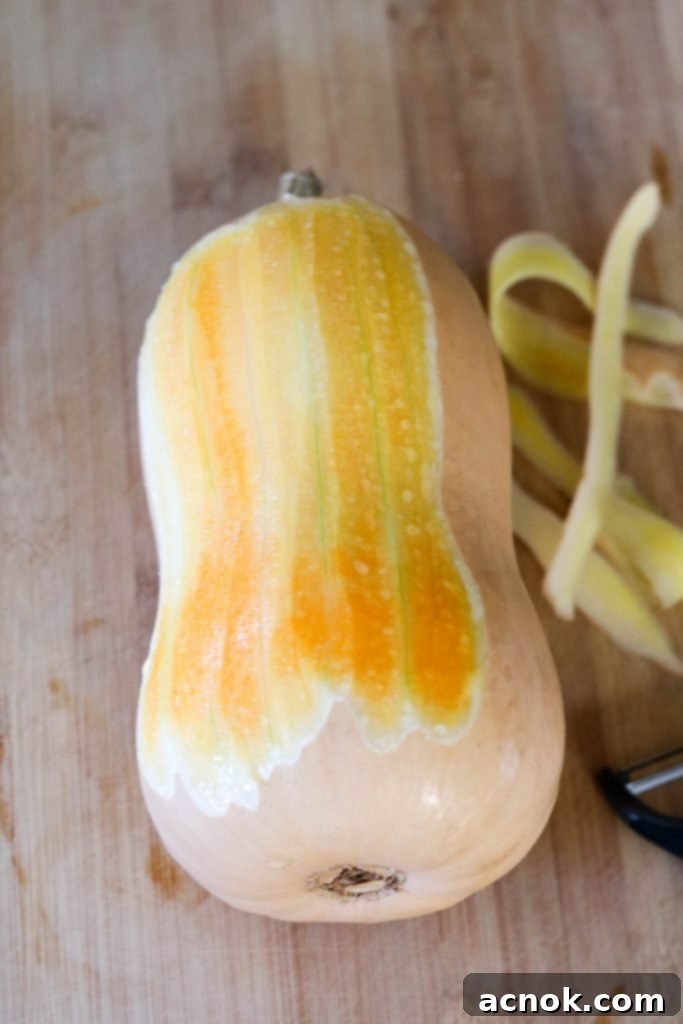
- Peel the Skin: Stand the squash upright on one of its flat ends. Using your vegetable peeler, start at the top and work your way down, peeling off the tough, pale yellow skin in strips. Rotate the squash as you go, ensuring all the skin is removed. The skin is quite fibrous, so don’t be afraid to apply firm pressure. If you find the skin particularly resistant, a quick trick is to microwave the whole squash for 1-2 minutes; this slightly softens the skin, making it easier to peel.
- Halve and Deseed: Lay the peeled squash on its side on the cutting board. Carefully cut the squash in half lengthwise using your chef’s knife. Once halved, you’ll expose the seed cavity. With a sturdy spoon or an ice cream scoop, thoroughly scrape out all the seeds and the stringy, fibrous material. Discard these (or save the seeds to roast later for a healthy snack!).
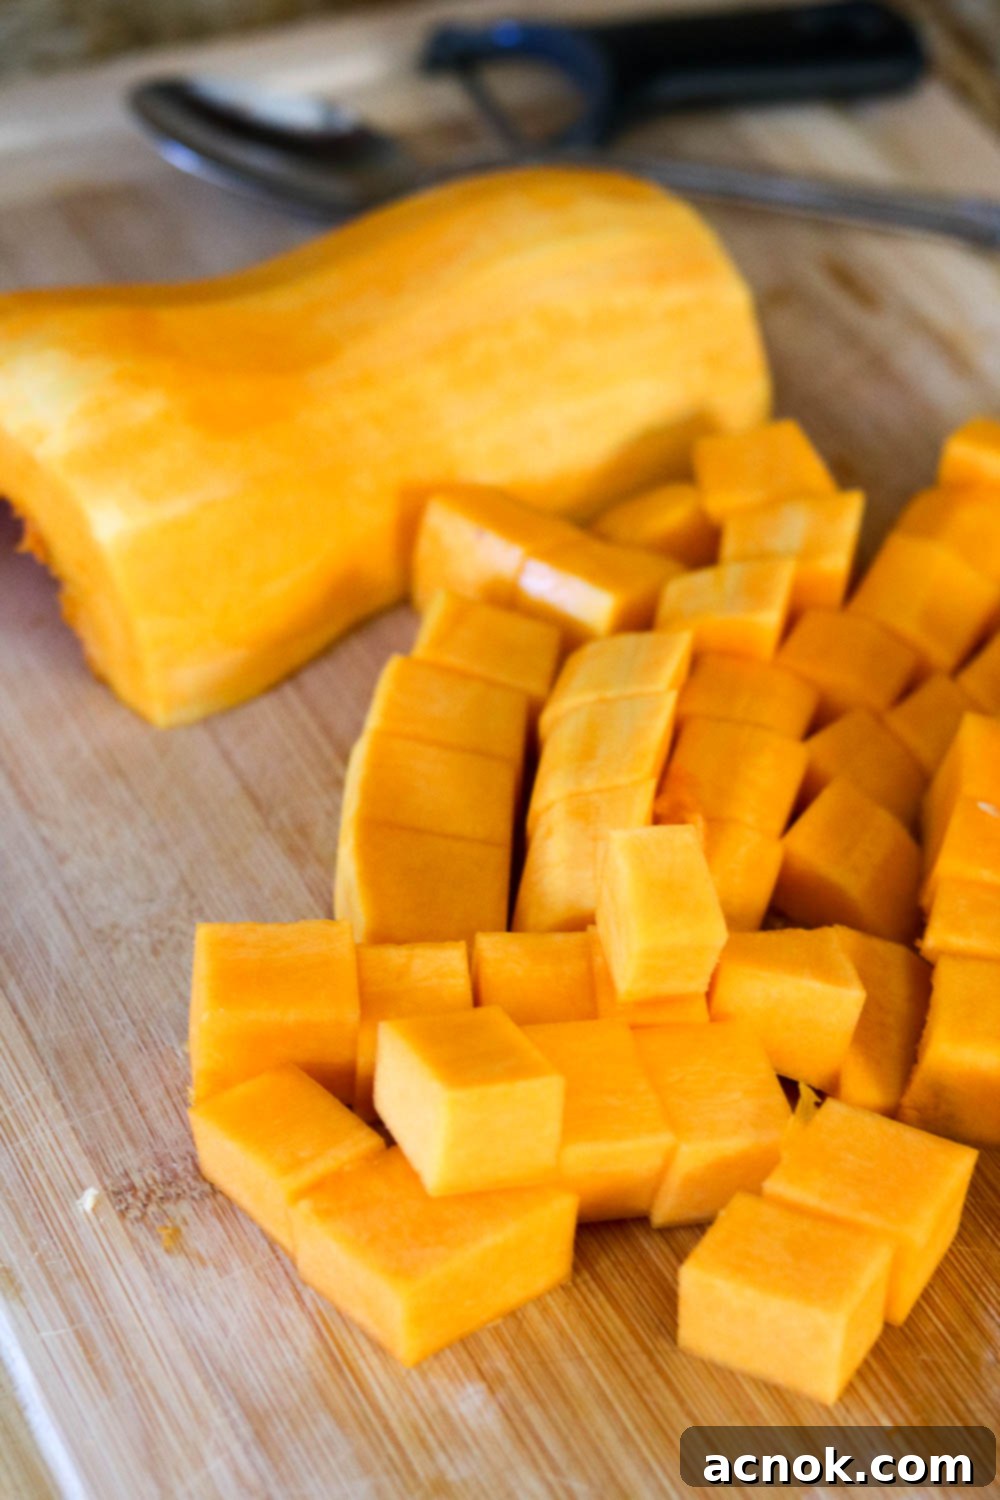
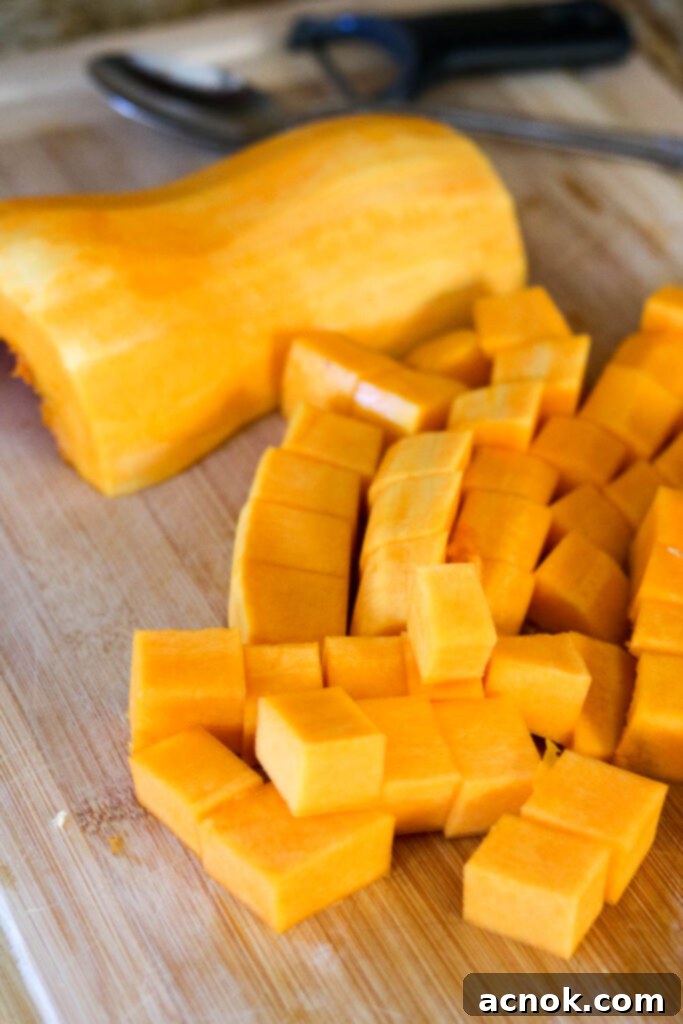
- Slice and Cube: Now, you have two clean, seedless halves of butternut squash. You can either slice each half into thick planks, then cut those planks into long strips, and finally dice the strips into 1-inch (or desired size) cubes. Aim for relatively uniform cubes so they cook evenly. Alternatively, for a quicker method, you can stand the halves upright and slice them into crescent shapes, then dice those into cubes.
- Ready for Roasting or Storage: At this stage, your butternut squash is ready for cooking. You can roast all of it for meal prep throughout the week or just portion out what you need for a specific recipe, saving the rest in an airtight container in the refrigerator for up to 3-4 days. Cubed butternut squash also freezes exceptionally well for longer storage.
The Magic of Roasting: How to Roast Butternut Squash to Perfection
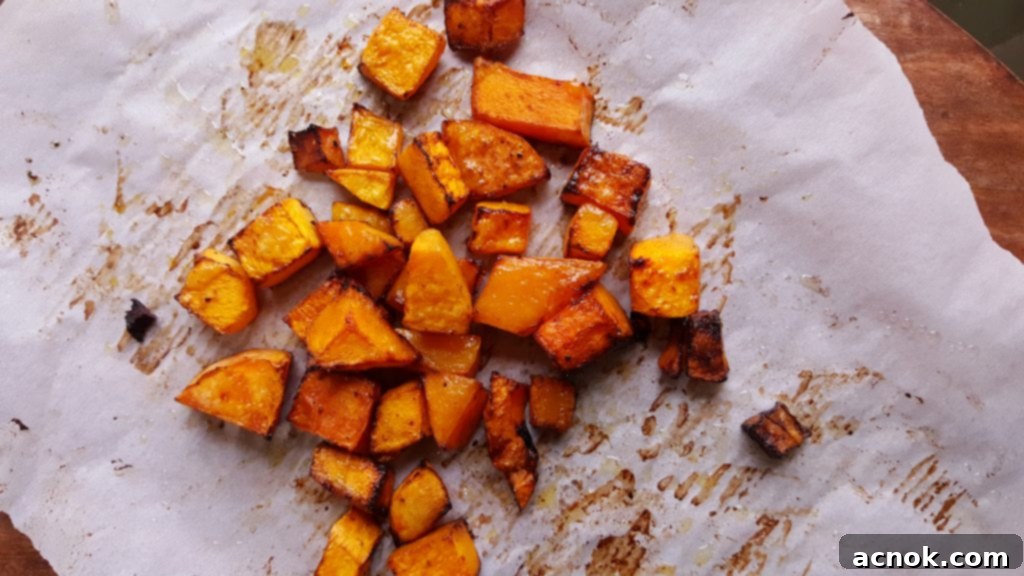
Roasting is by far my favorite method for cooking butternut squash. It brings out its natural sweetness, creates a beautiful caramelized exterior, and results in a wonderfully tender interior. This simple process locks in flavor and transforms the squash into a versatile ingredient for countless dishes.
Once you have your beautifully peeled and cubed butternut squash ready, follow these steps:
- Preheat Your Oven: Start by preheating your oven to a robust 400ºF (200ºC). This high temperature is key to achieving that desirable caramelization and tender texture without overcooking.
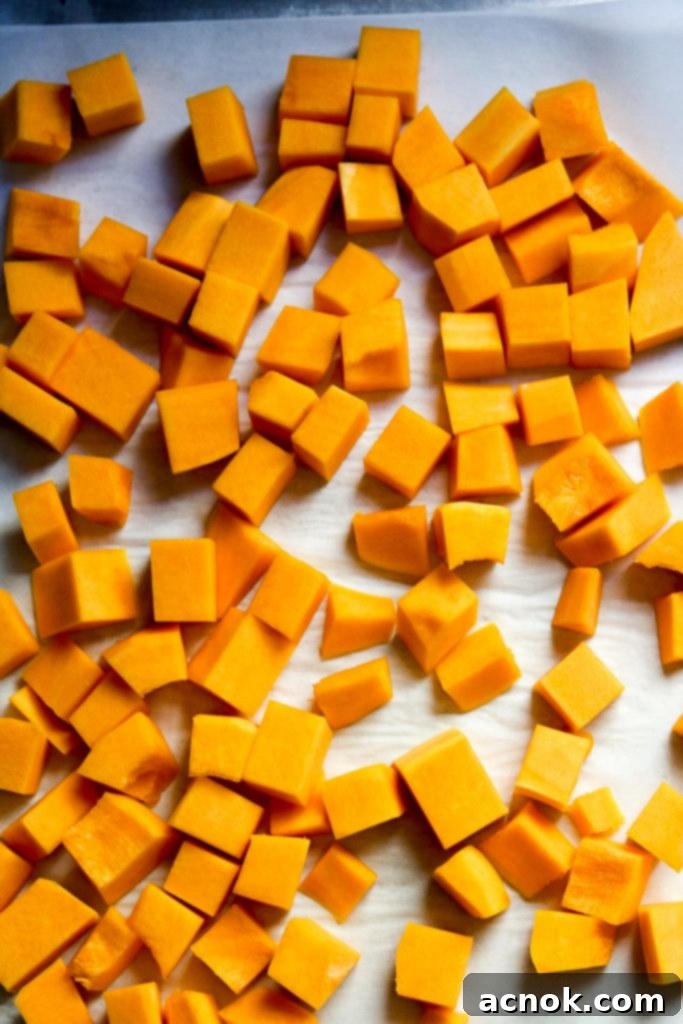
- Prepare Your Baking Sheet: Line a large, rimmed baking sheet with parchment paper. Parchment paper is a game-changer here; it prevents sticking, ensures even browning, and makes cleanup incredibly easy. Avoid overcrowding the pan, as this can steam the squash instead of roasting it. If you have a lot of squash, use two baking sheets.
- Season Generously: Spread the cubed butternut squash evenly onto the prepared baking sheet. Drizzle generously with a good quality olive oil or avocado oil, which both have high smoke points and impart a lovely flavor. Then, sprinkle with sea salt and freshly ground black pepper. For an extra layer of flavor, consider adding a pinch of garlic powder, onion powder, smoked paprika, or a dash of warming spices like cinnamon or nutmeg. A drizzle of maple syrup or a sprinkle of brown sugar can also enhance its natural sweetness. Toss everything together directly on the sheet with your hands or a spatula, ensuring every piece is lightly coated with oil and seasoning.
- Roast Until Tender and Golden: Place the baking sheet in the preheated oven and roast for approximately 20-25 minutes. About halfway through the roasting time (around 10-12 minutes), you can remove the baking sheet from the oven and give the squash cubes a good toss. This optional step helps ensure all sides get a chance to caramelize evenly, resulting in perfectly golden and tender pieces.
- Check for Doneness: The butternut squash is perfectly roasted when it’s fork-tender and has beautiful, slightly browned and caramelized edges. The exact cooking time can vary depending on the size of your cubes and your oven, so keep an eye on it.
- Cool and Serve: Once roasted to perfection, remove the squash from the oven and allow it to cool slightly on the baking sheet. It can be served immediately, or allowed to cool completely before storing for meal prep.
Unleashing Versatility: How Can I Use Roasted Butternut Squash?
Now that you have a batch of perfectly roasted butternut squash, the culinary possibilities are endless! Its sweet and earthy flavor pairs wonderfully with a myriad of dishes, making it a fantastic ingredient for everything from light salads to hearty mains. Here are some delicious ideas:
Sensational Salads
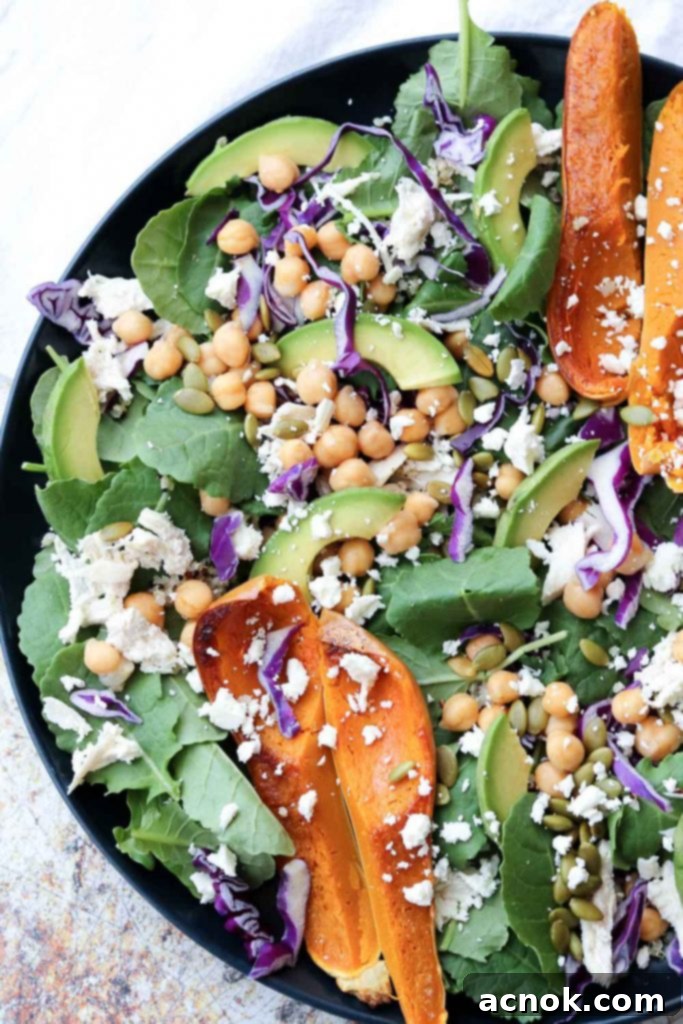
Roasted butternut squash adds a delightful sweetness, vibrant color, and satisfying texture to any salad. It holds up beautifully and complements a wide range of greens, cheeses, nuts, and dressings. I absolutely love it in kale salads, where its sweetness balances the slight bitterness of the greens. Consider trying my Kale Broccolini Roasted Butternut Squash Salad or my hearty Chicken Schnitzel with Autumn Kale Salad. Both dishes are incredibly flavorful, and the addition of roasted butternut squash provides a depth you’ll adore without even realizing it’s a vegetable! For a lighter option, roasted butternut squash is also a star in my Colorful Superfood Spinach Salad, offering a delightful contrast to fresh spinach and other vibrant ingredients.
Beyond the Butternut: Embracing Honeynut Squash
While we’re discussing butternut squash, it’s worth mentioning its smaller, sweeter cousin: the Honeynut squash. This tiny hybrid packs an even richer, more intense flavor and, best of all, often doesn’t require peeling! Its skin is thin and perfectly edible once roasted. When in season, I frequently alternate between roasted butternut and Honeynut squash in my salads and side dishes. You can roast Honeynut squash in precisely the same way as described above for butternut, simply cutting it in half, scooping out the seeds, and cubing or slicing before seasoning and roasting.
Creamy Mashed Butternut Squash
Another incredibly comforting and delicious way to enjoy butternut squash is mashed, much like mashed potatoes. The process is simple: steam or boil your peeled and cubed squash until it is very tender. Once tender, drain any excess water thoroughly. Then, add a touch of butter, a splash of milk or cream, and season with salt and pepper to taste. For an even richer flavor, consider adding a hint of roasted garlic, a pinch of nutmeg, or a tiny drizzle of maple syrup. This creamy, sweet mash makes a perfect, healthy side dish to hearty meals, such as my Simple Herb Roast Chicken, adding a vibrant color and nutritional boost to your plate.
Other Creative Uses
- Soups and Stews: Roasted butternut squash adds incredible depth and a velvety texture to pureed soups. It can also be added as chunks to hearty stews for a burst of seasonal flavor.
- Pasta Dishes & Risottos: Stir roasted cubes into pasta sauces, or incorporate them into a creamy risotto for a sweet and savory experience.
- Grain Bowls & Buddha Bowls: A fantastic addition to any grain bowl, providing a healthy carbohydrate and vibrant color alongside your favorite grains, proteins, and greens.
- Tacos & Enchiladas: Roasted squash can make a delicious vegetarian filling for tacos or enchiladas, especially when seasoned with Southwestern spices.
Nutritional Benefits of Butternut Squash
Beyond its incredible taste and versatility, butternut squash is a nutritional powerhouse. It’s an excellent source of vitamins A and C, which are vital for immune function and skin health. It also provides a good amount of dietary fiber, promoting digestive health, and is rich in antioxidants that help protect your body’s cells. Low in calories and fat, yet surprisingly filling, it’s a smart choice for anyone looking to eat well.
Meal Prep and Storage Tips
Roasted butternut squash is a meal prep dream. Once cooled, store your roasted cubes in an airtight container in the refrigerator for up to 4-5 days. It reheats beautifully in the microwave or a warm oven, making it easy to add to meals throughout the week. For longer storage, you can freeze roasted butternut squash in a freezer-safe bag or container for up to 3 months. This ensures you always have a healthy, pre-cooked vegetable ready to go!
Enjoy the rich flavors and endless possibilities that perfectly prepared butternut squash brings to your table!
If you tried this guide or have your own tips for peeling, cutting, or roasting butternut squash, please help other readers by commenting below and sharing some stars! We 🫶🏼 appreciate you!
All content and photographs ©Claudia’s Table and claudiastable.com
Check out our New & Delicious posts below
- Pasta with Grilled Vegetables, Feta, and Lemon
- Grilled Asian Marinated Flank Steak
- Classic Homemade Chunky Blue Cheese Dressing
- 3-Ingredient Crispy Oven-Roasted Potatoes
- Grilled Peach Avocado Chicken Salad
