Craft Your Own Crispy Delight: Easy Gluten-Free Rustic Za’atar Crackers Recipe
There’s something truly special about a homemade snack, especially when it’s shared with dear friends. My love for happy hour, particularly a relaxed one at home, inspired this incredible recipe for Gluten-Free Rustic Za’atar Crackers. We all know that a fantastic happy hour spread just isn’t complete without an array of delicious cheeses and crisp crackers. Over the past few years, spending more time at home has only deepened my appreciation for simple pleasures and the joy of creating something wonderful in my own kitchen.
During the early days of stay-at-home orders, grocery shopping was often a hit-or-miss affair. This scarcity nudged me to explore new recipes and get creative. That’s when I stumbled upon a delightful cracker recipe online from Fox and Briar. I immediately knew I wanted to adapt it to fit a gluten-free lifestyle, and after some experimentation, these modified gluten-free crackers were born. I can confidently say, they are absolutely amazing!
The Irresistible Flavor of Za’atar
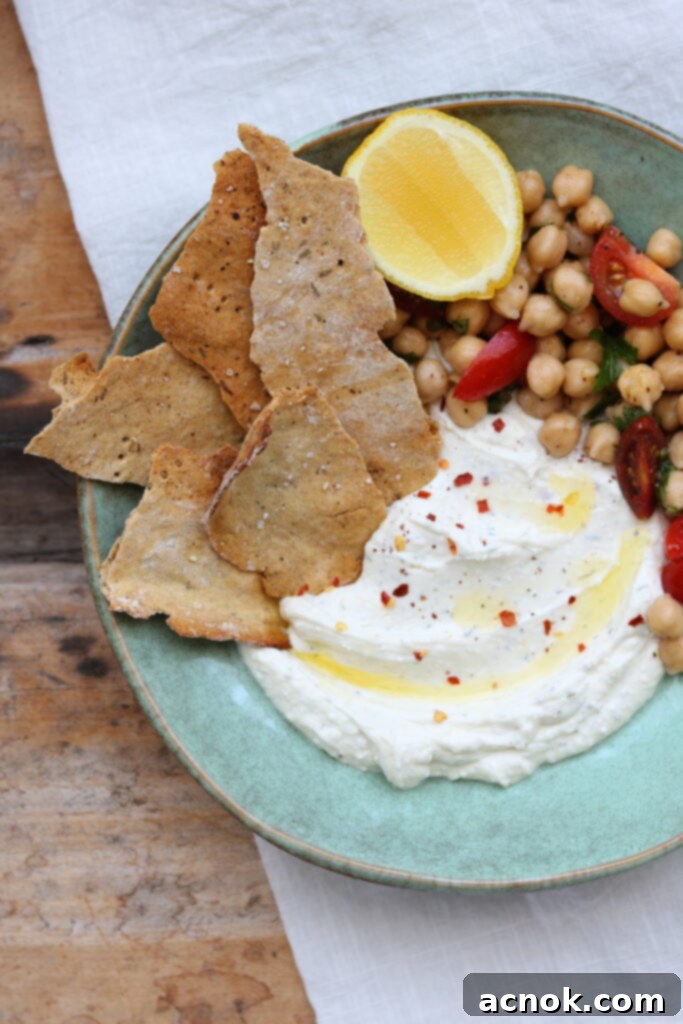
For these particular crackers, I chose to season them with a generous amount of earthy Za’atar spice. This unique spice blend perfectly complements many cheeses and is an ideal partner for my Whipped Feta and Yogurt Dip. Za’atar is a distinct Middle Eastern spice blend, typically consisting of dried thyme, oregano, marjoram, sumac, and toasted sesame seeds. Its flavor profile is wonderfully aromatic, tangy, and slightly nutty, making it an incredibly versatile addition to any pantry.
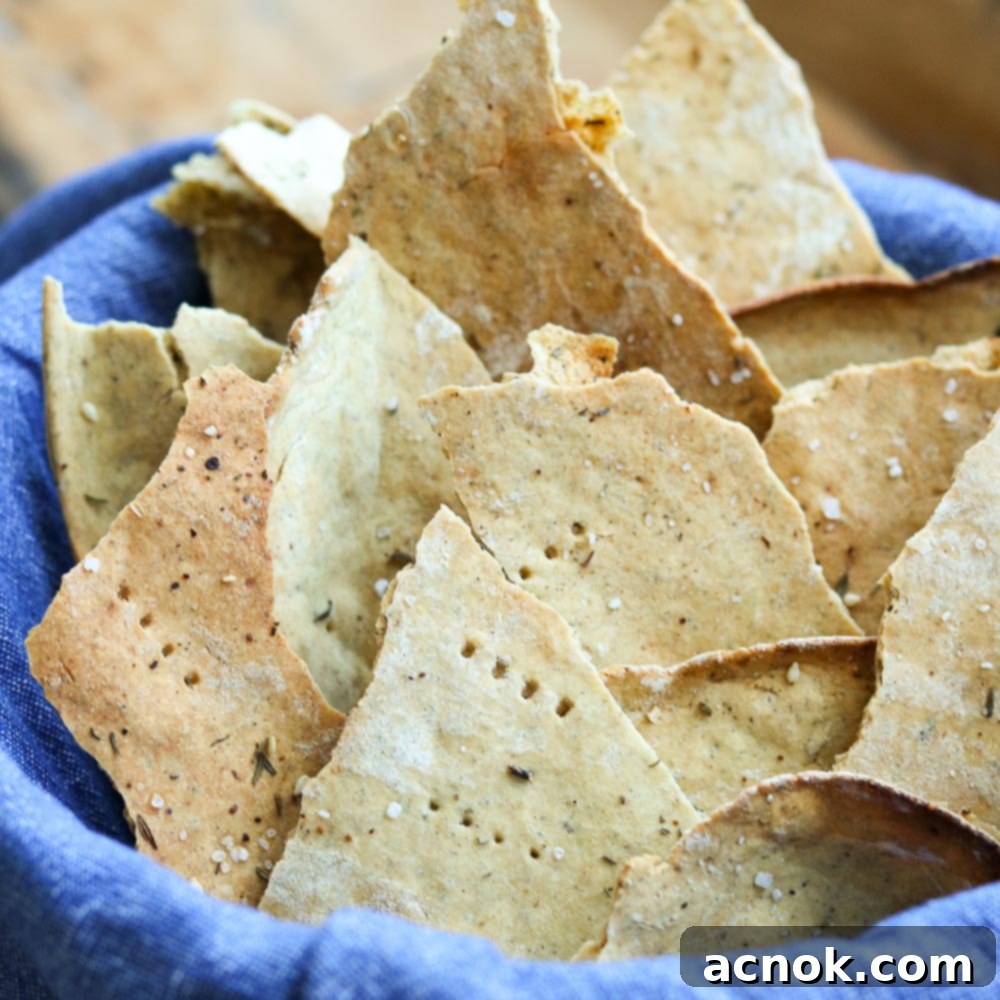
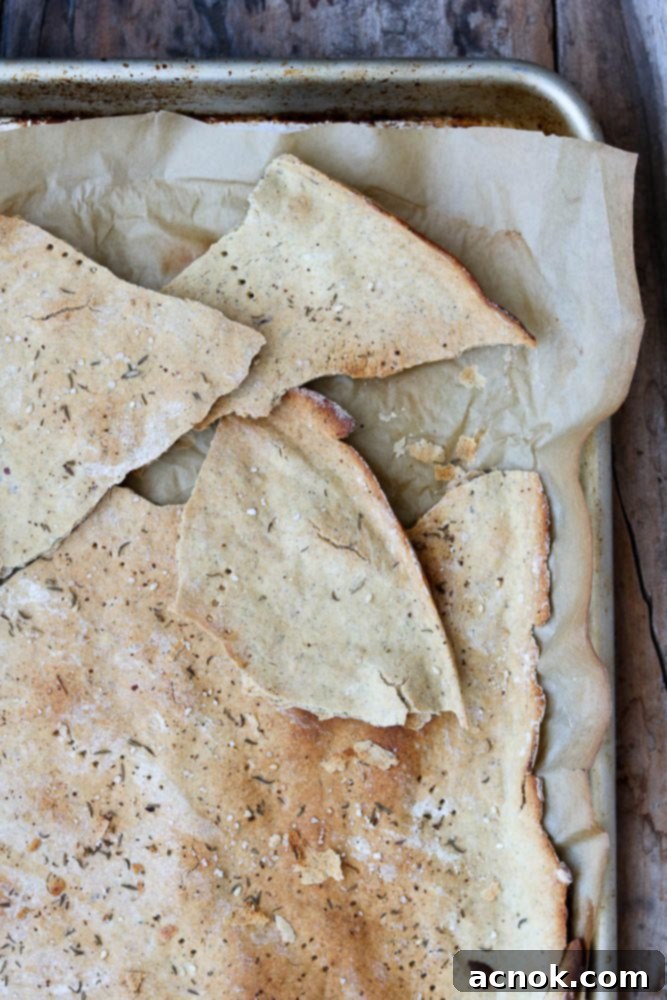
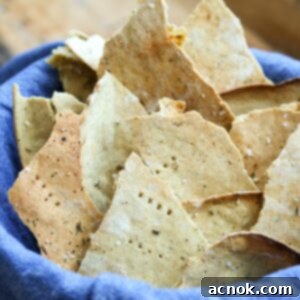
What I particularly love about these crackers, beyond their incredible taste, is their rustic charm. I don’t bother with traditional uniform squares. Instead, I simply break the entire baked cracker sheet into irregular, organic-shaped pieces right before serving. This allows guests to grab a wedge and break off smaller portions to suit their preferred topping. The imperfect, natural shapes add a beautiful, artisanal touch to any cheese board or appetizer spread, making them feel truly homemade and special.
Achieving Gluten-Free Cracker Perfection: Flour Choice Matters
For those who follow a gluten-free diet, whether due to Celiac disease or gluten sensitivity, finding truly satisfying crispy crackers can be a challenge. Many store-bought options lack the texture or flavor we crave. That’s why I’m so excited about this recipe; these crackers absolutely do not disappoint. They deliver on crispiness, flavor, and that satisfying crunch we all love.
A crucial tip I must share is about the flour. After experimenting with several brands, I’ve found that Bob’s Red Mill Gluten Free All-Purpose Flour consistently yields the best results for these crackers. Other gluten-free flours I’ve tried tend to produce a less crispy cracker, and the dough can be significantly more difficult to roll out, often crumbling or resisting the rolling pin. While King Arthur’s gluten-free blends are also good, Bob’s Red Mill takes the lead for texture and ease of handling in this specific recipe. So, if you want guaranteed success, stick with Bob’s Red Mill.
Handling Gluten-Free Dough: Patience is Key
When it comes to rolling out this gluten-free dough, patience is truly a virtue. It can be quite sticky, and at times, a bit challenging to work with, especially if you’re new to gluten-free baking. But don’t be discouraged! The incredible flavor and texture of these crackers are well worth the effort.
Here are a couple of essential tips to make the process smoother:
- Measure Flour Correctly: Do not pack the flour into your measuring cups. Lightly spoon it into the cup and then level it off with a straight edge. Packed flour will result in too much flour, leading to a dry, unmanageable dough.
- Flour Your Surface Liberally: Have plenty of extra gluten-free flour on hand for dusting your parchment paper, rolling pin, and even your hands. You’ll likely use more than the original recipe might suggest, and that’s perfectly fine. Dusting lightly but frequently will prevent sticking and help you achieve that desired thinness.
- Work with Confidence: The dough might tear a little or seem stubborn. Don’t worry! You can easily patch it up or gently press it back together. The rustic nature of these crackers means minor imperfections only add to their charm.
How to Make Gluten-Free Rustic Za’atar Crackers: A Step-by-Step Guide
This recipe is an adapted version, leveraging some foundational techniques from my popular Gluten Free Parmesan Herb Cracker recipe. Follow these simple steps for perfectly crisp, flavorful crackers:
Step 1: Preheat Your Oven. Start by preheating your oven to a blazing 450 degrees Fahrenheit (230°C). A hot oven is key to achieving that perfect crispiness.
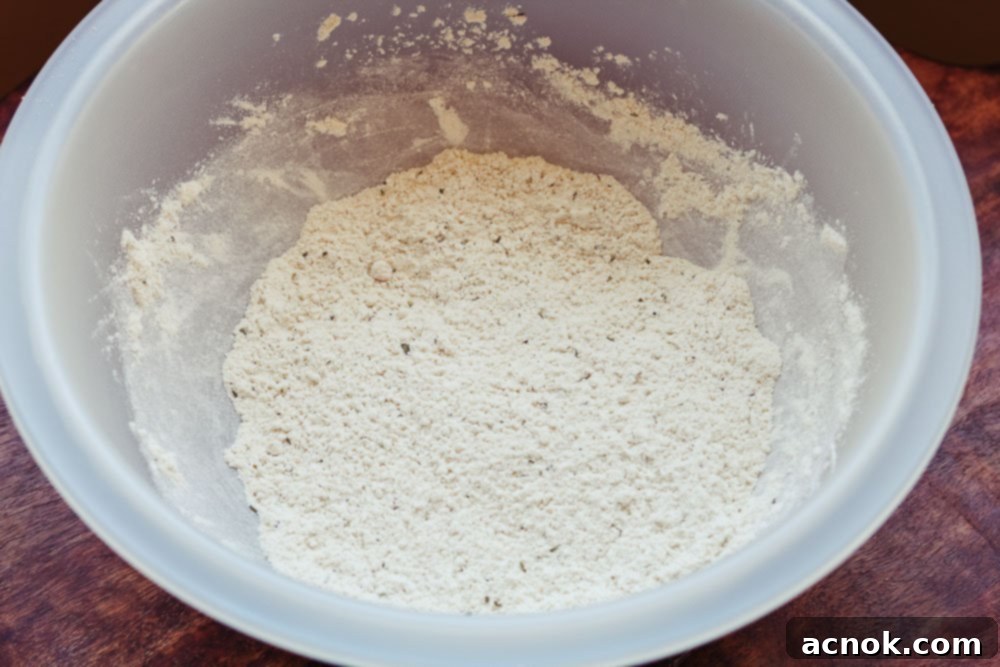
Step 2: Combine Dry Ingredients. In a medium-sized mixing bowl, combine all your dry ingredients – the gluten-free all-purpose flour, Za’atar spice blend, sugar, and sea salt. Whisk them together thoroughly to ensure all ingredients are evenly distributed.
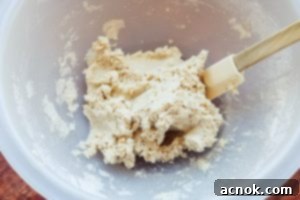
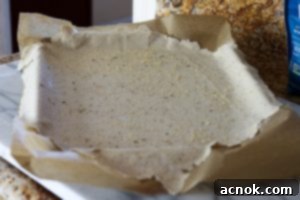
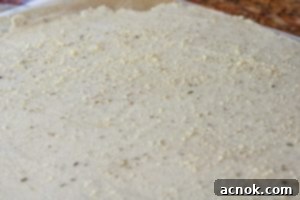
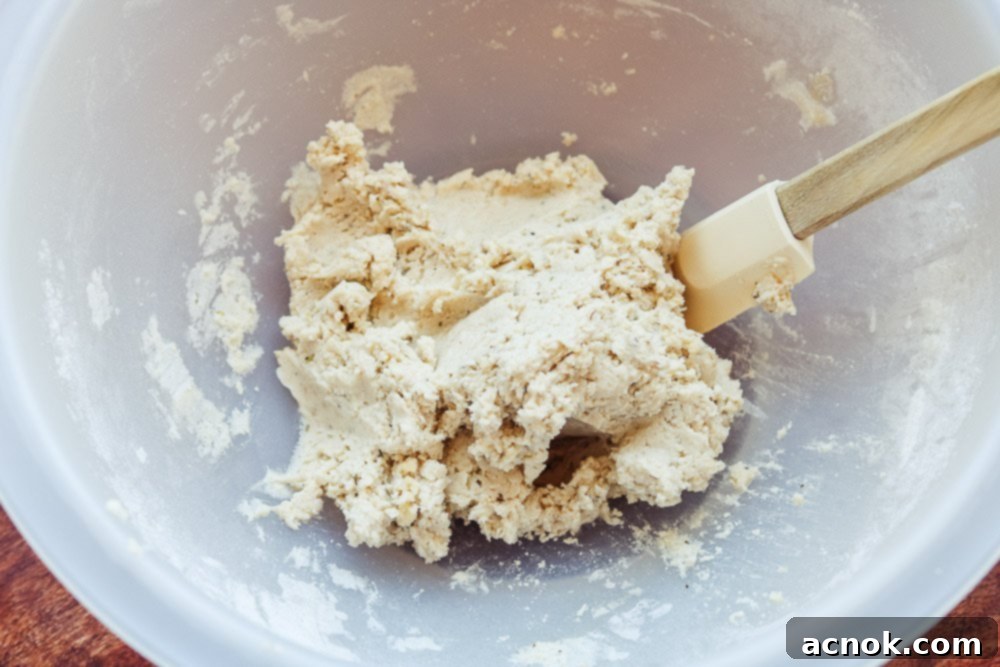
Step 3: Add Wet Ingredients and Form Dough. Pour in 1/2 cup of water and 1 1/2 tablespoons of extra virgin olive oil. Continue to whisk or stir the mixture until a shaggy dough begins to form. If the dough still appears too dry or crumbly, add an additional tablespoon of water at a time, mixing after each addition, until the consistency resembles the photo below – moist enough to come together but not overly sticky. You can also add a tiny bit more olive oil at this stage if the dough feels too stiff.
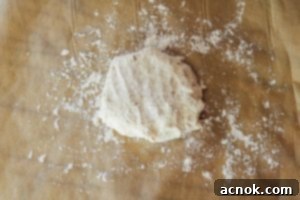
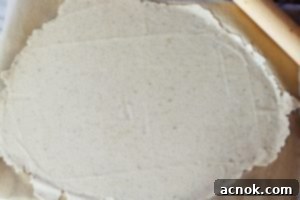
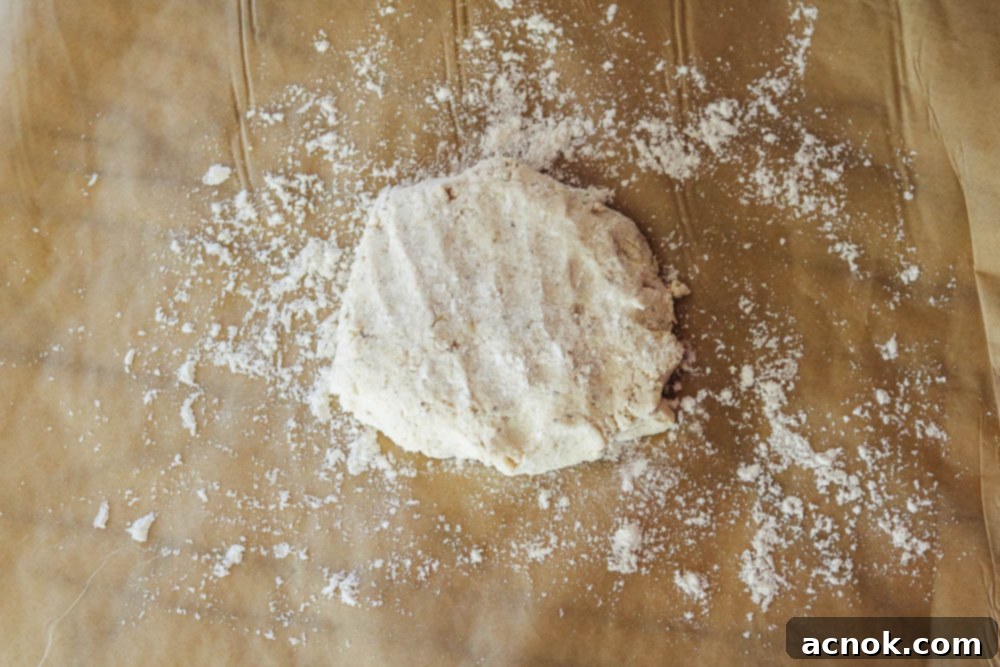
Step 4: Roll Out the Dough. Once you’ve achieved the perfect dough consistency, place it onto a lightly floured sheet of parchment paper. The parchment paper should be roughly the size of a standard rimmed baking sheet (approximately 13 inches x 18 inches). Dust the top of the dough with a little more flour, then begin to roll it out using a rolling pin. Continue to lightly dust the dough and your rolling pin as needed, as the dough may become a bit sticky from the heat of your hands and the friction of rolling. Keep rolling until the dough is uniformly thin, about 1/8 inch thick. This thinness is essential for achieving truly crispy crackers.
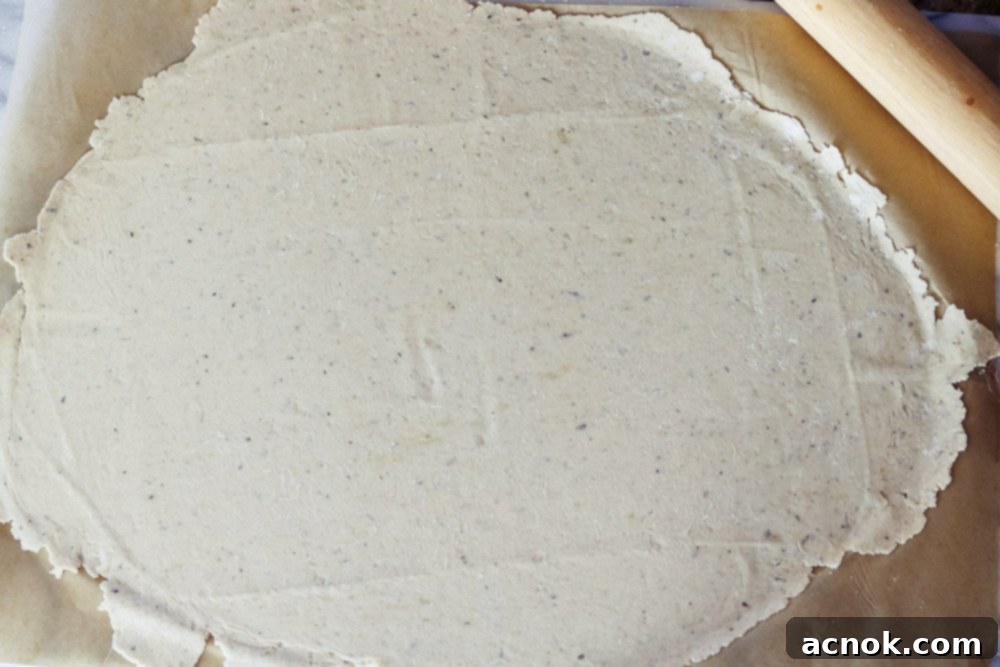
Step 5: Prepare for Baking. Carefully slide the parchment paper with the rolled-out dough onto your rimmed baking sheet. Now, here’s an IMPORTANT step: trim both the edges of the parchment paper and the dough if they extend too far or unevenly. Your oven will be at a high temperature, near the maximum for most parchment papers, and you absolutely want to prevent any edges of the paper or the cracker from burning. Trimming ensures even baking and avoids unpleasant burnt bits.
Step 6: Season and Bake. With the dough on the baking sheet, lightly brush the surface with a small amount of water. This helps the toppings adhere. Then, sprinkle a little extra coarse sea salt and a pinch more of the Za’atar spice blend over the dough. Using a fork, gently prick the dough here and there across its surface. These small holes will prevent the cracker from puffing up too much during baking, ensuring a flat, even crisp. Your cracker sheet is now ready for the oven!
Step 7: Bake to Golden Perfection. Bake the cracker for approximately 20 minutes. Baking times can vary depending on your oven’s calibration, so keep an eye on it. You might need up to 5 additional minutes to reach the perfect crispness. The cracker is done when it’s beautifully golden brown and feels firm and crisp to the touch. Once baked, remove the baking sheet from the oven and allow the cracker to cool completely on the sheet. This cooling period on the hot sheet helps to further crisp up the cracker.
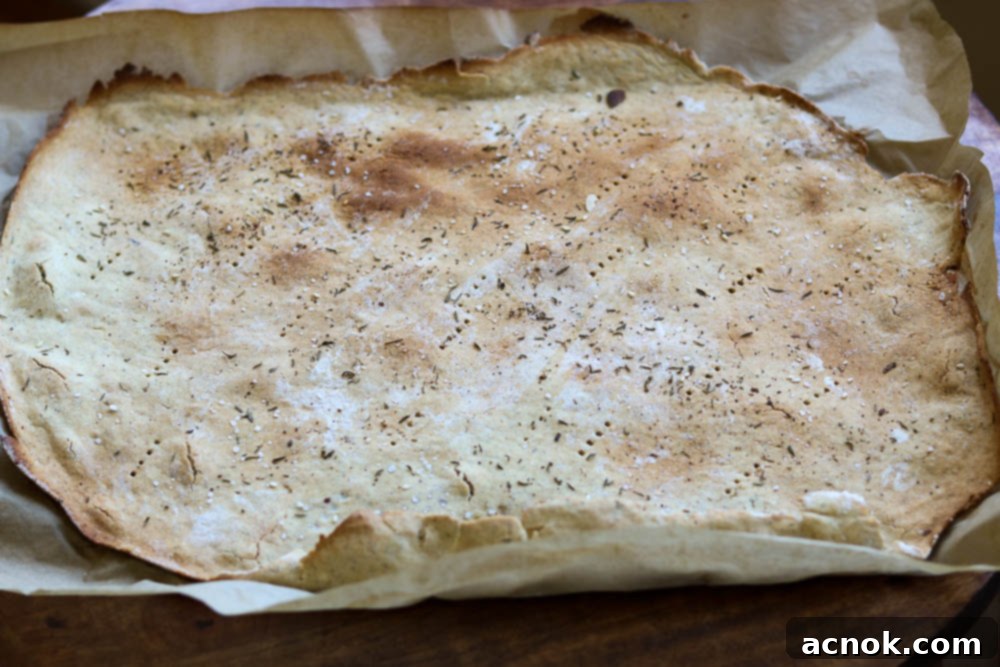
Step 8: Break and Enjoy! Once the cracker has cooled completely, it will be wonderfully crisp. Break it into your desired rustic pieces and enjoy these delicious, savory Gluten Free Rustic Za’atar Crackers with your favorite dips, cheeses, or simply on their own!
Serving Suggestions & Creative Pairings
These versatile Gluten-Free Rustic Za’atar Crackers are much more than just a vehicle for cheese. Their earthy, tangy flavor makes them a fantastic base for a wide variety of toppings and dips. Here are some ideas to elevate your snacking experience:
- Cheese Boards: Pair them with an assortment of cheeses – creamy goat cheese, sharp cheddar, nutty Gruyere, or a soft brie. The Za’atar notes will enhance most cheese types.
- Dips & Spreads: Beyond the Whipped Feta and Yogurt Dip, try them with hummus, baba ghanoush, a vibrant roasted red pepper dip, or a rich olive tapenade.
- Charcuterie Boards: Arrange them alongside cured meats, fresh and dried fruits, nuts, and pickled vegetables for a stunning display.
- Healthy Snacking: Enjoy them with avocado slices, a sprinkle of everything bagel seasoning, or alongside a fresh salad for added crunch.
- Bruschetta Alternative: Top them with fresh tomato salsa, chopped herbs, and a drizzle of olive oil for a quick, gluten-free bruschetta-like bite.
Their robust flavor stands up well to bold ingredients, while their rustic appearance adds an effortless elegance to any gathering.
Why Choose Homemade Gluten-Free Crackers?
Making your own crackers offers several advantages over store-bought options:
- Control Over Ingredients: You know exactly what goes into them, avoiding unwanted additives, preservatives, or hidden allergens.
- Superior Freshness & Flavor: Nothing beats the taste and aroma of freshly baked crackers. The Za’atar spice, in particular, shines brightest when freshly incorporated and baked.
- Perfect Texture: Achieving that ideal crisp-but-not-too-hard texture is easier when you’re in charge of the baking process.
- Customization: Once you master this base recipe, you can experiment with other spices (rosemary and sea salt, garlic powder and onion powder, paprika, chili flakes) or even incorporate finely grated cheese into the dough.
These crackers are not just a snack; they’re a statement. A statement that gluten-free can be just as, if not more, delicious and satisfying than their gluten-containing counterparts.
All content and photographs ©Claudia’s Table and claudiastable.com
Gluten Free Rustic Za’atar Crackers
Ana | Claudia’s Table
December 4, 2020
Pin Recipe
Equipment
-
rimmed baking sheet
Ingredients
- 1 1/2 cups Gluten Free all purpose flour Bob’s Red Mill or King Arthur brands
- 1 tbsp Za’atar spice blend (plus a pinch extra for topping)
- 1 1/2-2 tbsp olive oil extra virgin
- 1/2-3/4 cup water
- 1 tsp sugar granulated
- 1 tsp sea salt coarse grind (plus a pinch extra for topping)
Instructions
-
Preheat oven to 450 degrees.
-
Combine your dry ingredients in a bowl and whisk until combined.
-
Add 1/2 cup of water and 1 1/2 tbsp of olive oil.
-
Continue to whisk the dough until combined. If the dough appears dry and crumbly, add a tablespoon of water at a time until the consistency appears as the photo below. At this point, you can also add a tiny bit more olive oil too.

-
Once you get the consistency just right, place dough on a floured parchment paper sheet approximately the size of a rimmed baking sheet (13 inches x 18 inches).

-
Dust the top of the dough with a little flour and start working the dough to thin it out. Continue to lightly dust the dough as needed. It may become a little sticky from working it. Continue to roll out until it’s 1/8″ thick.

-
Slide the dough on the parchment paper onto the rimmed baking sheet and trim both the paper and the dough if you need to.
-
IMPORTANT: This is going in the oven at the max temperature for the parchment paper, so you don’t want ends of the cracker and paper burning. So I highly suggest trimming the sides of both before baking it.

-
Now that the dough in on the baking sheet, brush on a little bit of water and sprinkle a little bit of sea salt, a pinch of Za’atar spice blend. Take a fork and poke the dough a little here and there and now you are ready for the oven.

-
Bake for 20 minutes. Depending on the heat of your oven, you may need up to 5 more minutes. It will be golden brown when it’s done and be crisp. Remove from oven and allow to cool on the baking sheet.

-
Once cooled, break into pieces and enjoy these delicious, crispy Gluten Free Rustic Za’atar crackers.

Notes
Nutrition
Nutritional information is calculated online and should be used as a guide.
All content and photographs ©Claudia’s Table and claudiastable.com
Check out our New & Delicious Posts Below
- Pasta with Grilled Vegetables, Feta, and Lemon
- Grilled Asian Marinated Flank Steak
- Classic Homemade Chunky Blue Cheese Dressing
- 3-Ingredient Crispy Oven-Roasted Potatoes
- Grilled Peach Avocado Chicken Salad
