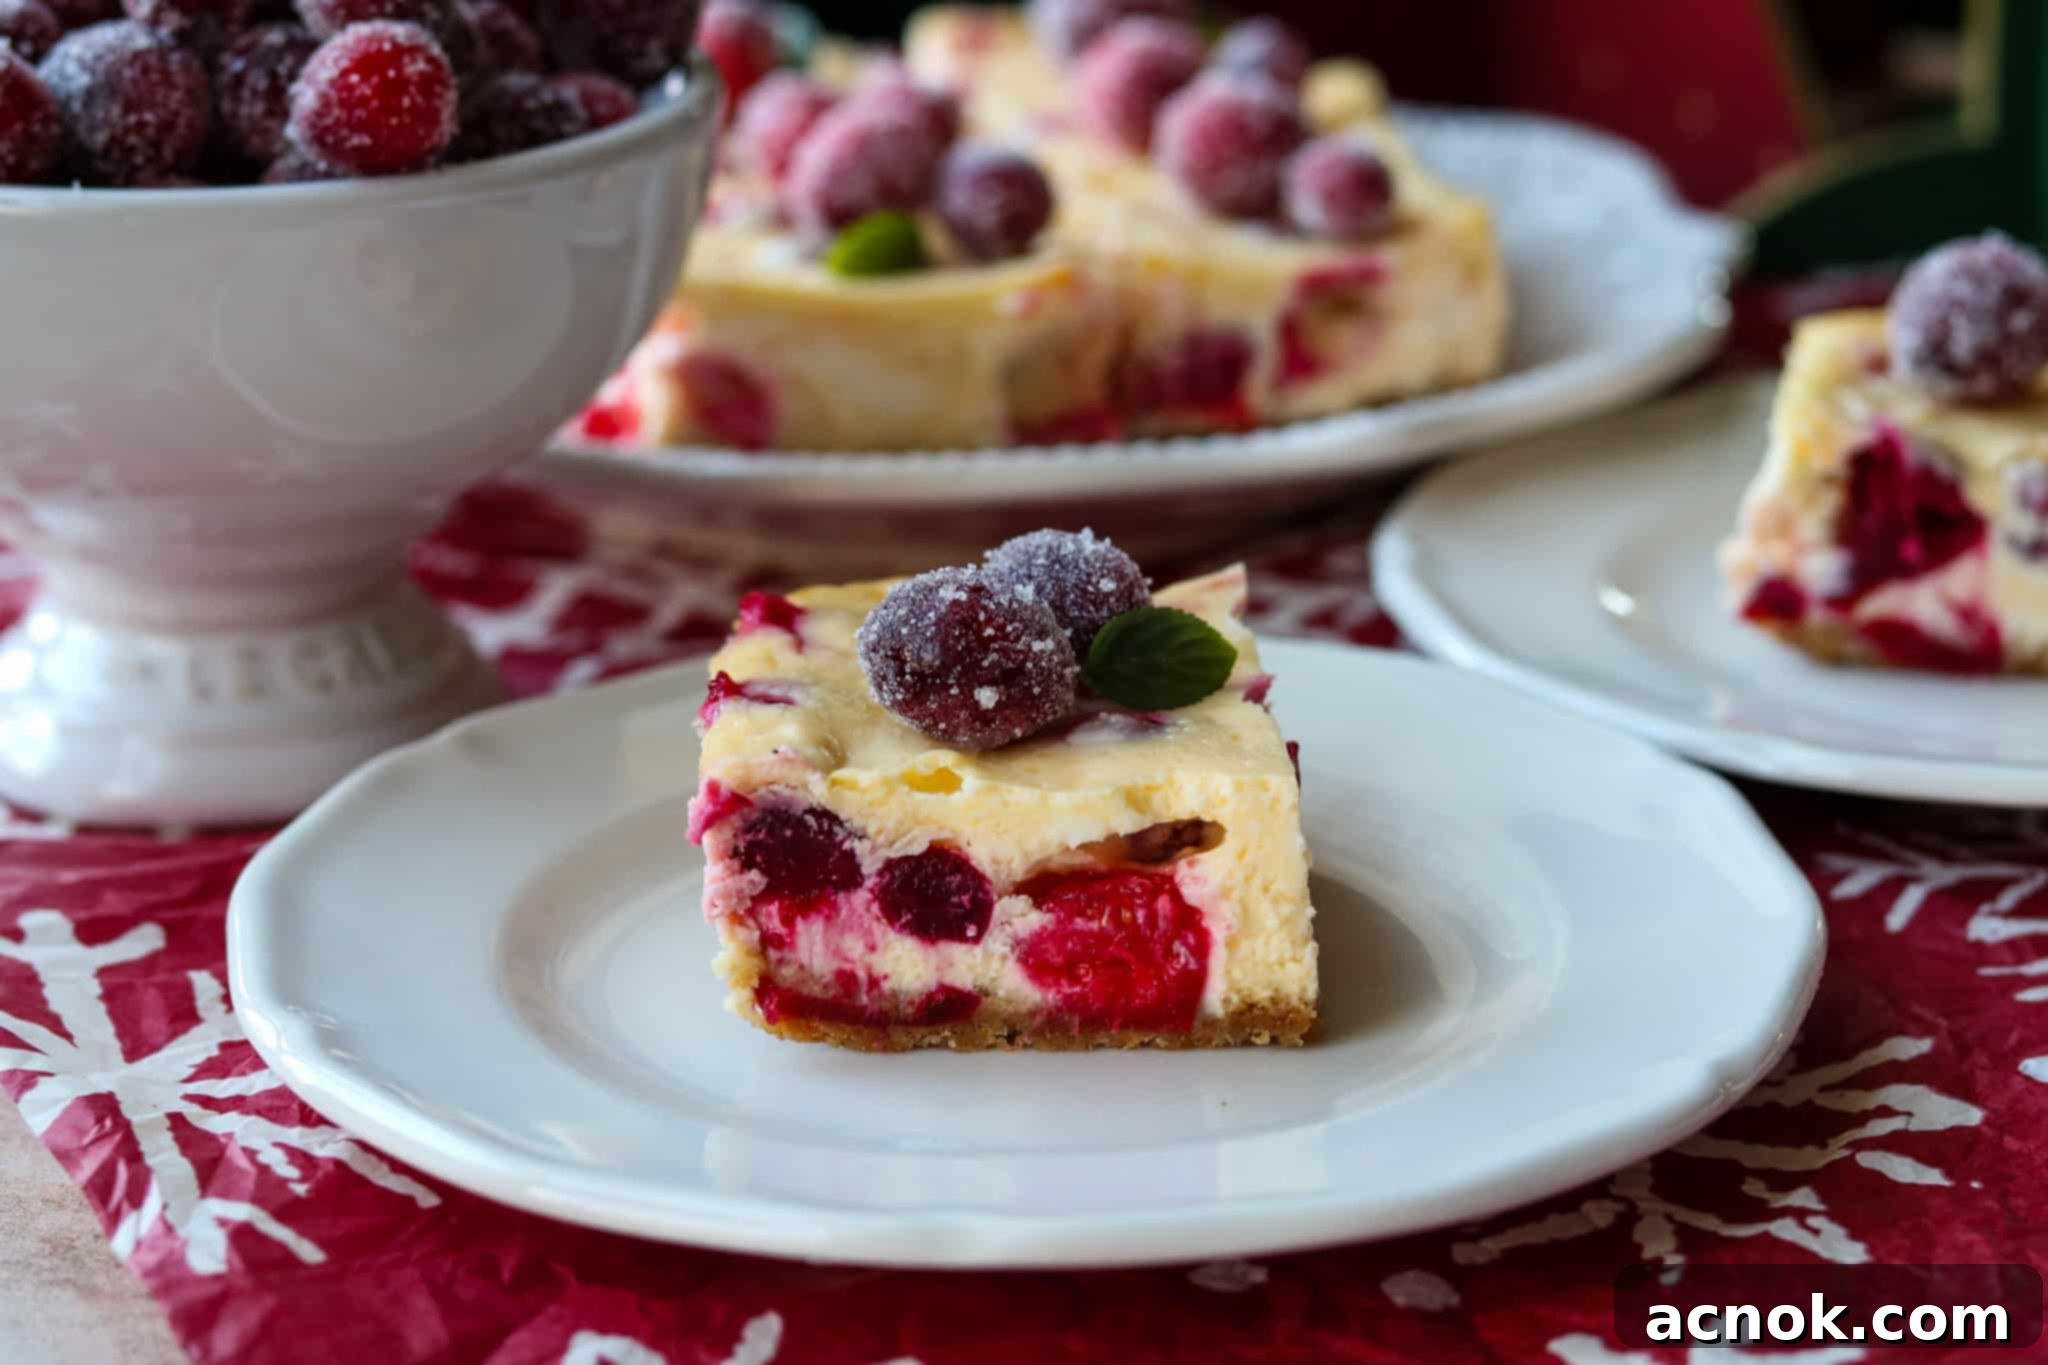
Decadent Cranberry Orange Cheesecake Bars: Your Ultimate Holiday Dessert Guide
As the festive season approaches, finding the perfect dessert that balances seasonal flavors with irresistible indulgence can be a delightful challenge. Look no further than these Cranberry Orange Cheesecake Bars. They are an absolute showstopper, boasting a harmonious blend of tart cranberries, bright, zesty orange, and a rich, creamy cheesecake filling, all nestled atop a buttery graham cracker crust. This recipe, a festive twist on beloved classic cheesecake, is designed to be the crowning glory of any holiday meal or a welcome addition to your seasonal baking repertoire. Inspired by the popularity of my Blueberry Lemon Cheesecake Bars, this cranberry orange rendition promises a symphony of flavors that will leave everyone asking for more.
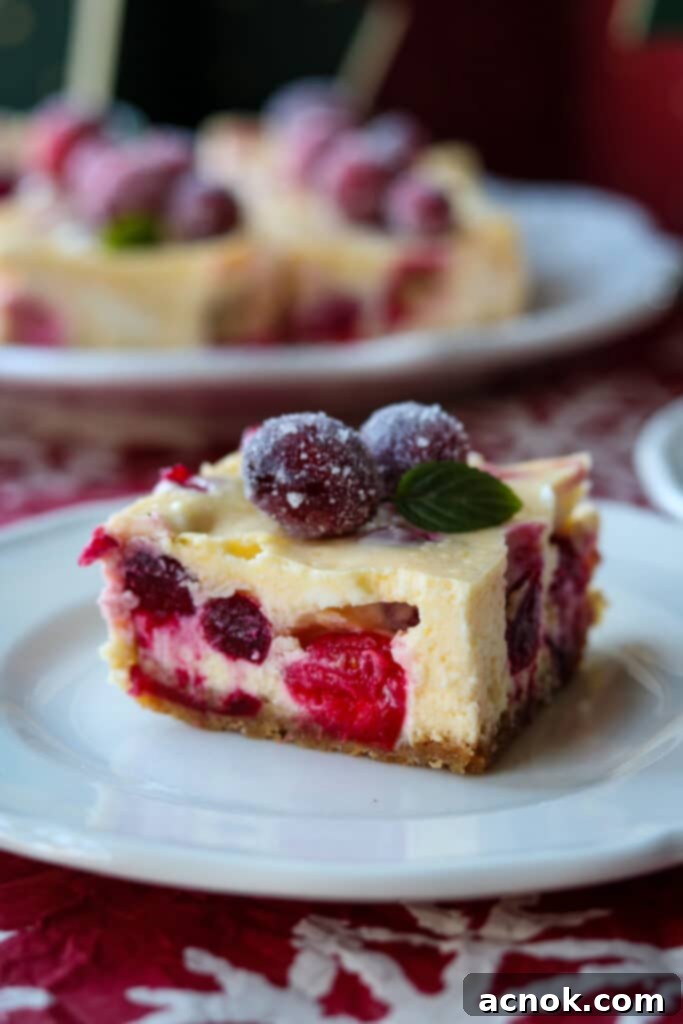
Why You’ll Adore These Cranberry Orange Cheesecake Bars
Cheesecake bars have a unique charm that makes them incredibly popular, especially for gatherings. Unlike a traditional whole cheesecake, which can be daunting to slice and serve elegantly, these bars offer individual, perfectly portioned treats. This makes them ideal for potlucks, holiday parties, or even a cozy family dessert where everyone can easily grab a piece. Their grab-and-go nature and less-messy presentation are definite advantages.
What truly sets these Cranberry Orange Cheesecake Bars apart is their vibrant flavor profile. The slight tang from the rich cream cheese is beautifully complemented by the sweet and tart burst of fresh cranberries. The addition of fresh orange juice and zest elevates the entire experience, infusing a bright, citrusy note that perfectly cuts through the richness of the cheesecake. I initially had some reservations about using fresh cranberries, fearing they might be too tart, but their natural acidity beautifully balances the sweetness of the cheesecake, creating an unforgettable dessert experience. While they require a bit of cooling time to set properly, and an optional garnish of sugared cranberries adds an extra touch of magic, the end result is undeniably worth every moment of anticipation.
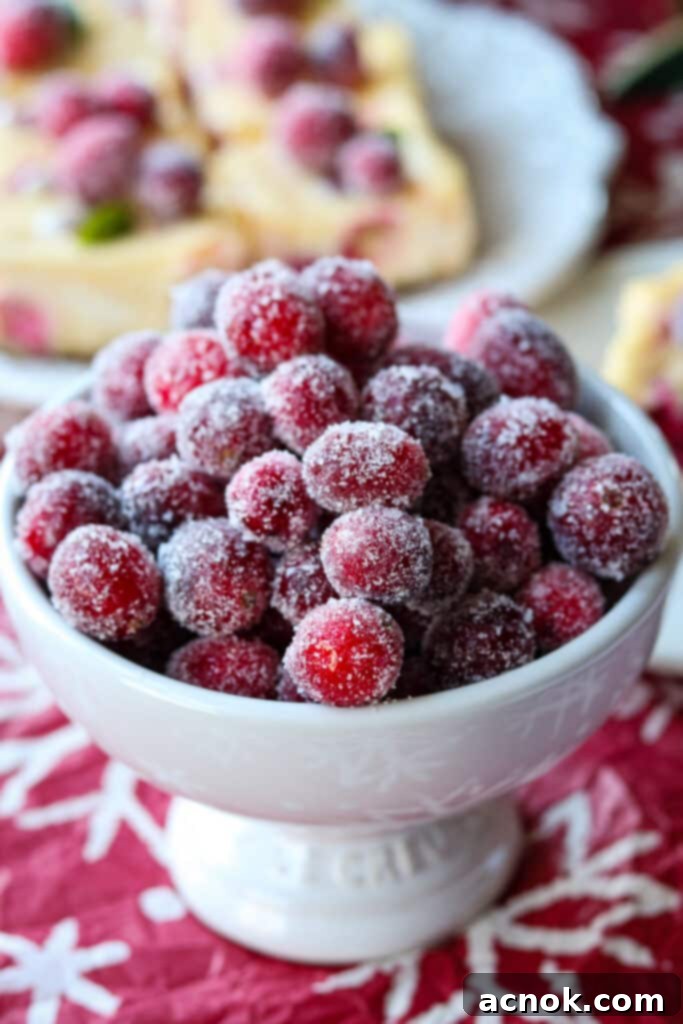
The Magic of Sugared Cranberries
To truly elevate these Cranberry Orange Cheesecake Bars, consider adorning them with homemade sugared cranberries. This optional garnish is not just visually stunning, adding a beautiful, frosted appearance that screams ‘holiday cheer,’ but also provides an exquisite textural and flavor contrast. Each sugared cranberry offers a delightful pop of tartness encased in a delicate sugary crunch, enhancing the overall experience of the creamy cheesecake bar. The sparkling exterior catches the light, turning a simple dessert into a festive showpiece.
We’ve adapted this simple yet impressive recipe from Boston Girl Bakes, making it straightforward to execute, even for novice bakers. Beyond garnishing these specific cheesecake bars, sugared cranberries are incredibly versatile. They make a fantastic addition to other seasonal desserts, a festive touch in holiday cocktails, or even a delicious, sparkling snack on their own. Their bright red hue and sparkling sugar coating instantly transform a presentation, making your Cranberry Orange Cheesecake Bars truly special and Instagram-worthy.
Essential Ingredients for Your Cranberry Orange Cheesecake Bars
Crafting these delightful cranberry orange cheesecake bars requires a few key ingredients, each playing a crucial role in achieving that perfect balance of texture and flavor. Using high-quality, fresh ingredients will always yield the best results, ensuring a rich, creamy filling and a perfectly crisp crust. Here’s what you’ll need for both the foundational graham cracker crust and the luscious cream cheese filling:
- 1 cup graham cracker crumbs (or about 4-5 whole graham crackers)
- 1/2 cup + 1 tbsp granulated sugar (divided for crust and filling)
- 4 tbsp unsalted butter, melted
- 1 1/2 cups fresh cranberries (for the cheesecake filling)
- 1/2 whole orange, for fresh juice (approximately 2-3 tablespoons)
- 1 tbsp orange zest (finely grated from the orange skin)
- 2 (8oz) blocks of regular cream cheese, softened at room temperature (full-fat, block style is best for cheesecake texture)
- 2 large eggs, at room temperature
Ingredients for the Dazzling Sugared Cranberries (Optional Garnish)
If you decide to add that extra sparkle and delightful texture to your cheesecake bars, here are the simple ingredients for the sugared cranberries:
- 1/8 cup water
- 1/2 cup granulated white sugar, divided (1/4 cup for the syrup and 1/4 cup for dusting)
- 1/2 cup fresh cranberries (for sugaring)
Step-by-Step Guide to Baking Perfect Cranberry Orange Cheesecake Bars
Let’s walk through the process of creating these heavenly Cranberry Orange Cheesecake Bars. Precision and a little patience are key to achieving that perfect creamy texture, vibrant flavor, and sturdy crust.
- Step 1: Preheat Oven & Prepare Crust Ingredients. Begin by preheating your oven to 325ºF (160ºC). This ensures the oven is at the correct temperature for even baking from the start. Next, prepare your graham cracker crust. You’ll need about 1 cup of fine graham cracker crumbs, which usually comes from crushing 4-5 whole graham crackers. A simple and effective way to do this is to place them in a zip-top bag and crush them thoroughly with a rolling pin or use a food processor until fine, uniform crumbs are formed. In a small bowl, combine these graham cracker crumbs with 1 tablespoon of your granulated sugar (taken from the total 1/2 cup + 1 tbsp sugar) and set this mixture aside.
- Step 2: Line Your Baking Dish. Now, prepare your baking dish. Line a small 8×8-inch casserole dish (or a 6×9-inch dish, which I often use for slightly thicker bars) with foil paper. Ensure there’s enough excess foil extending over the rim to act as convenient ‘handles’ later. This makes removing the cooled and set cheesecake bars incredibly easy and helps prevent any sticking. The dish is now ready for the crust.
- Step 3: Create & Bake the Graham Cracker Crust. Melt the 4 tablespoons of butter in a microwave-safe bowl or small saucepan until fully liquid. Add this melted butter to your bowl of graham cracker crumbs and sugar. Mix thoroughly with a spoon until all the crumbs are evenly coated and moistened by the butter. This buttery mixture is the delicious foundation of your cheesecake bars. Press this mixture firmly and evenly onto the bottom of your foil-lined baking dish. A flat-bottomed glass, the bottom of a measuring cup, or the back of a spoon can help you achieve a compact, uniform crust. Bake this crust in the preheated oven for 10 minutes. This short bake time helps to set the crust, preventing it from becoming soggy once the wet cheesecake filling is added. Remove from oven and let it cool slightly while you prepare the filling.
- Step 4: Prepare the Creamy Cheesecake Filling. While the crust is cooling, begin preparing your luscious cheesecake filling. In a large mixing bowl, combine the softened cream cheese (ensure it’s at room temperature for a smooth, lump-free batter), the fresh orange juice (from about 1/2 an orange), the *remaining* granulated sugar (from your total amount, excluding the tablespoon used for the crust), and the bright orange zest. Using a hand mixer or a stand mixer with the paddle attachment, beat these ingredients together on medium speed until they are well blended and perfectly smooth. Scrape down the sides of the bowl as needed to ensure everything is incorporated evenly. It’s important to avoid overmixing at this stage, as incorporating too much air can sometimes lead to cracks in your cheesecake during baking.
- Step 5: Add Eggs & Cranberries. Now, it’s time to incorporate the eggs. Add them one at a time, mixing on low speed just until each egg is fully blended into the batter. Overmixing the eggs can also contribute to a less creamy texture and potential cracking, so mix only until just combined. Once the eggs are incorporated, gently fold in the fresh cranberries. Their vibrant color and delightful tartness are essential to this dessert’s character and provide a wonderful burst of flavor in every bite. Carefully pour this rich cranberry orange cheesecake mixture evenly over the partially baked graham cracker crust in your prepared dish. Use a small spatula or the back of a spoon to gently spread and smooth the top of the filling.
- Step 6: Bake the Cheesecake Bars. Bake your cheesecake bars for approximately 35-40 minutes. You’ll know they’re ready when the edges are set, but the very center may still have a slight, gentle wobble when you lightly shake the pan. This slight ‘jiggle’ is perfectly normal and indicates a creamy interior once cooled. Overbaking can lead to a dry, cracked cheesecake, so keep a close eye on it. Carefully remove the dish from the oven and allow it to cool completely at room temperature. This gradual cooling helps prevent cracks. Once it has fully cooled, cover the dish with plastic wrap or foil and transfer it to the refrigerator. Chilling for a minimum of 4 hours, or preferably overnight, is crucial for the cheesecake to firm up properly and achieve its ideal dense, yet creamy texture, making it much easier to cut into clean bars.
Instructions for Crafting Your Sugared Cranberry Garnish
While your cheesecake bars are chilling, prepare the stunning sugared cranberry garnish. This simple step adds an incredible visual appeal and a delightful texture contrast that truly makes these bars shine.
- Step 1: Prepare Simple Syrup. In a small, nonstick skillet, combine 1/8 cup of water with 1/4 cup of granulated white sugar (this is the first portion of the divided sugar specified in the ingredient list). Heat gently over medium-low heat, stirring constantly until the sugar completely dissolves and forms a clear syrup. Ensure the sugar is fully dissolved, but do not boil vigorously.
- Step 2: Steep & Dry Cranberries. Once the sugar is dissolved, immediately stir in the 1/2 cup of fresh cranberries. Remove the skillet from the heat and allow the cranberries to steep in the warm sugar syrup for about 10 minutes. This allows them to absorb some of the sweetness and soften slightly, preparing them for the sugar coating. After steeping, use a slotted spoon to carefully remove the cranberries from the syrup, allowing any excess liquid to drain back into the skillet. Arrange the cranberries in a single layer on a wire cooling rack to dry. Ensure they are separated and not touching, allowing air circulation for even drying. If you don’t have a wire rack, parchment paper or a silicone mat will also work, but allow a bit more drying time.
- Step 3: Sugar Coat & Rest. Allow the cranberries to cool and harden on the rack for approximately 1 hour. This step is important for the sugar coating to adhere properly and create that beautiful frosted look. Once cooled and slightly tacky to the touch, roll the cranberries in the *remaining* 1/4 cup of granulated sugar, ensuring each berry is thoroughly coated with the sparkling sugar. For the best result, let the sugared cranberries rest for an additional hour before using them as a garnish. This allows the sugar coating to fully crystallize and harden, creating that delightful crunch.
Expert Tips for Serving and Presentation
Presenting your Cranberry Orange Cheesecake Bars beautifully is almost as satisfying as eating them! Here are some invaluable tips for achieving clean cuts and ensuring an elegant serving experience:
- TIP FOR CUTTING THE BARS CLEANLY: Achieving perfectly neat edges on your cheesecake bars can be tricky, as the creamy filling and graham cracker crumbs tend to stick to the knife. Here’s a professional trick that makes all the difference: for each cut you make, run your cutting knife under hot water for a few seconds. Immediately wipe the knife completely dry with a paper towel. Make your first clean cut, then thoroughly wipe any excess cream cheese and crumbs off the blade with another piece of paper towel. Repeat this entire process for every subsequent cut. This simple technique will ensure smooth, clean edges on every single bar, making them look professionally baked and utterly inviting.
- Effortless Removal & Cutting: After the Cranberry Orange Cheesecake has been thoroughly refrigerated and is completely set (this is crucial for clean cuts), it’s time for the grand reveal. Use the excess foil you left as ‘handles’ to gently lift the entire cheesecake slab out of the baking dish. Transfer it to a clean cutting surface, such as a large cutting board. Carefully peel the foil down from all sides of the cheesecake. Now, using your hot-water-wiped knife as described above, cut the cheesecake into your desired bar size. You can typically get 8 generous large bars or 12 smaller, more delicate portions, perfect for a tasting plate or a dessert buffet. The foil method makes this step incredibly simple and mess-free.
- Garnish and Enjoy: Finally, for that exquisite finishing touch, adorn each cheesecake bar with your glistening sugared cranberries just before serving. Their festive appearance and delightful pop of tartness and crunch will impress your guests and elevate this already delicious dessert to a gourmet level. Serve chilled and prepare to receive compliments!
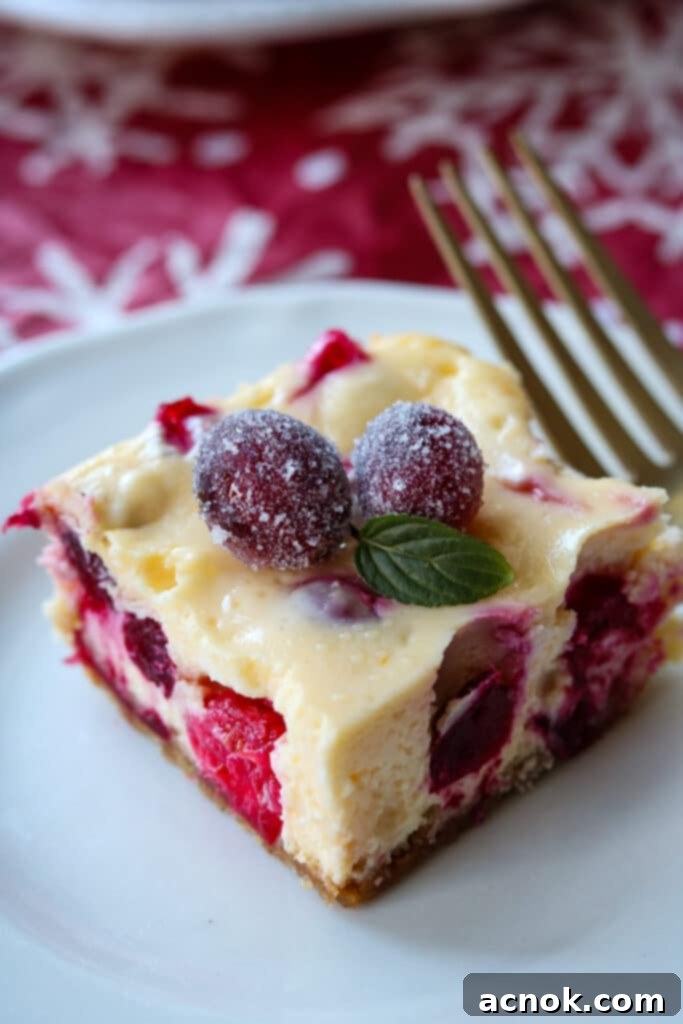
How to Store and Freeze Your Cranberry Orange Cheesecake Bars
How to Store, Freeze, and Thaw My Cranberry Orange Cheesecake Bars
These delectable cheesecake bars are so good, they might not last long! However, if you’re lucky enough to have leftovers or wish to prepare them ahead of time for future enjoyment, proper storage and freezing techniques will ensure they remain fresh and delicious. These bars can be refrigerated, covered tightly in an airtight container, for up to 4 days. Always store them in an airtight container to prevent them from absorbing other fridge odors and drying out, keeping them as fresh as possible.
If you’re planning to freeze them, it’s best to do so *without* the sugared cranberry garnish, as the garnish can become watery or lose its crisp texture upon thawing due to moisture. Freezing in individual portions is an excellent strategy for convenient grab-and-go treats, allowing you to enjoy a single bar whenever the craving strikes.
There are two effective methods for freezing your precut cheesecake bars:
- Individual Wrapping Method: Wrap each individual bar tightly in waxed paper, then an additional layer of plastic wrap, or place them directly into a single layer within an airtight freezer-safe container or a large zip-top freezer bag. Ensure as much air as possible is removed from the bag to prevent freezer burn.
- Flash-Freezing Method: For bars that won’t stick together, first place the precut bars on a small rimmed baking sheet, ensuring they are not touching. Freeze them uncovered until they are completely solid (this usually takes about 1-2 hours). Once frozen solid, transfer the individual bars to an airtight freezer-safe container or zip-top bag. This method prevents them from sticking together in the freezer, making it easy to grab just one or two at a time.
Both methods effectively prevent freezer burn and help maintain the quality and flavor of your cheesecake bars. These bars can be safely frozen for up to 4 months, making them a fantastic make-ahead dessert option.
When you’re ready to enjoy a frozen bar, simply thaw it as needed. For a quicker thaw, leave the wrapped bar on the kitchen counter at room temperature for about 30 minutes. If you prefer a slower, more gradual thaw, transfer it to the refrigerator for approximately 2 hours. Once thawed, you can add fresh sugared cranberries for garnish if desired, bringing back that festive touch and delightful crunch.
More Seasonal Favorites to Explore…
I love seasonal baking and exploring flavors that capture the essence of different times of the year. If you’ve enjoyed these Cranberry Orange Cheesecake Bars, I highly recommend checking out some of my other favorite seasonal desserts. These recipes are perfect for gatherings, cozy nights in, or simply satisfying your sweet tooth:
- Apple Cranberry Crumble: A comforting and warm dessert combining two classic fall fruits.
- Easy Apple Pie Puffs: Quick, delightful, and perfectly portioned apple treats.
- Cherry Galette: A rustic and elegant dessert showcasing the simple beauty of cherries.
We hope you love these Cranberry Orange Cheesecake Bars as much as we do! Their festive flair, vibrant flavors, and creamy texture make them an unforgettable addition to any holiday table. If you tried this recipe, please let us know how it turned out by commenting below and leaving a star rating. Your feedback helps other home bakers discover delicious recipes! We truly appreciate your support. 🫶🏼
All content and photographs ©Claudia’s Table and claudiastable.com

Cranberry Orange Cheesecake Bars
Ana | Claudia’s Table December 22, 2024Equipment
- 1 small casserole or baking dish 8×8 inch or 6×9 inch
- foil paper
- microplane for zest
- hand or stand mixer
Ingredients
Cranberry Orange Cheesecake Bars
- 1 cup graham cracker crumbs or 5 graham crackers
- 1/2 cup + 1 tbsp sugar
- 4 tbsp butter melted
- 1 1/2 cup cranberries fresh
- 1/2 whole orange, fresh juice of, fresh
- 1 tbsp orange zest
- 2 8oz cream cheese, regular block style
- 2 eggs
Sugared cranberries (optional)
- 1/8 cup water
- 1/2 cup granulated white sugar divided (1/4 cup for syrup and 1/4 cup for dusting)
- 1/2 cup cranberries fresh
Instructions
Cranberry Orange Cheesecake Bars
- Preheat oven to 325ºF.
- Start by crushing enough graham crackers to make 1 cup of crumbs. It’s about 4-5 crackers. I place them in a zip type bag and crush them with a rolling pin. Place crumbs and 1 tbsp of sugar in a small bowl, set aside.
- Now line a small, 8×8 inch casserole dish ( I used a 6×9″) with foil paper. Ensure there is excess foil paper over the rim of the baking dish. The dish is now ready for baking the breadcrumb crust.
- Melt 4 tbsp of butter and add to bowl with graham cracker crumbs and 1 tablespoon of sugar. Mix well with a spoon until all of the crumbs are covered in butter.
- Now add cracker/butter mixture to the foil covered casserole and press mixture onto the bottom of the casserole dish. The crust should cover the bottom of the baking dish evenly.
- Bake for 10 minutes.
- Beat cream cheese, orange juice, remaining sugar and zest with a hand mixer or stand type mixer. Beat until everything is blended. Now it’s time to add the eggs.
- Add 1 egg at a time, and mix on low just until blended. Repeat for second egg. Now gently fold in cranberries and pour the mixture into the graham cracker crust. Spread evenly onto the crust and even out with a small spatula.
- Bake about 35-40 minutes. When you remove it from the oven, the middle maybe a little jiggly, that is okay as long the rest of the cheesecake is set. Remove from oven and allow to completely cool. Once cooled, refrigerate for minimum of 4 hours.
- TIP FOR CUTTING THE BARS CLEANLY: You will quickly notice on the first cut, that there will be cream cheese filling and crumbs on the knife. This quick tip will provide for cleaner edges. Run cutting knife under hot water for a few seconds. Wipe the knife dry and make the first cut. With a paper towel, wipe excess cream cheese and crumbs off and make the second cut. Repeat until all the bars are cut.
- After the Cranberry Orange Cheesecake bars have been refrigerated and set, it’s time to cut into bars. Gently remove the cake with the excess foil, like handles. Place on cutting surface and carefully peel foil down from sides. Cut into 8 large bars or 12 smaller ones.
- Optional: Garnish with the sugared cranberries on top.
Sugared Cranberries*
- Use a small, nonstick skillet. Add 1/8 cup water and 1/4 cup sugar and allow the sugar to dissolve.
- Once the sugar is dissolved, stir in the fresh cranberries and remove from the heat. Allow the cranberries to steep in the sugar and water mixture for 10 minutes.
- Remove the cranberries with a slotted spoon and place them on a cookie rack to dry, ensuring they are separated. (If you don’t have a cookie rack, use parchment paper or a silicon mat.)
- Allow the cranberries to cool and harden for about 1 hour.
- Once cooled, roll the cranberries in the remaining sugar and allow to rest for an additional hour.
- Garnish each cheesecake bar with the sugared cranberries.
Notes
How to Store, Freeze, and thaw my Cranberry Orange Cheesecake Bars
So now you have baked these scrumptious cheesecake bars, and you want to save some for the rest of the week or a rainy day. They can be refrigerated for up to 4 days if they last that long! I like to freeze them in individual portions in the freezer and thaw them as needed. However, be sure to freeze them without any garnishes. There are two ways of freezing them: wrap them individually with waxed paper and place them in a container or a large zip-type bag. The second method is to freeze the precut bars on a small rimmed baking sheet and, once frozen, place them in a container or zip-type bag. Both work well. These bars can be frozen for up to 4 months. The thaw time is about 30 minutes on the counter or about 2 hours in the fridge. The thaw time is about 30 minutes on the counter or about 2 hours in the fridge.Nutrition
Nutritional information is calculated online and should be used as a guide.
All content and photographs ©Claudia’s Table and claudiastable.com
Check out our New & Delicious Posts Below
- Pasta with Grilled Vegetables, Feta, and Lemon
- Grilled Asian Marinated Flank Steak
- Classic Homemade Chunky Blue Cheese Dressing
- 3-Ingredient Crispy Oven-Roasted Potatoes
- Grilled Peach Avocado Chicken Salad
