The Ultimate Anchovy-Free Mixed Olive Tapenade: A Zesty & Versatile Delight
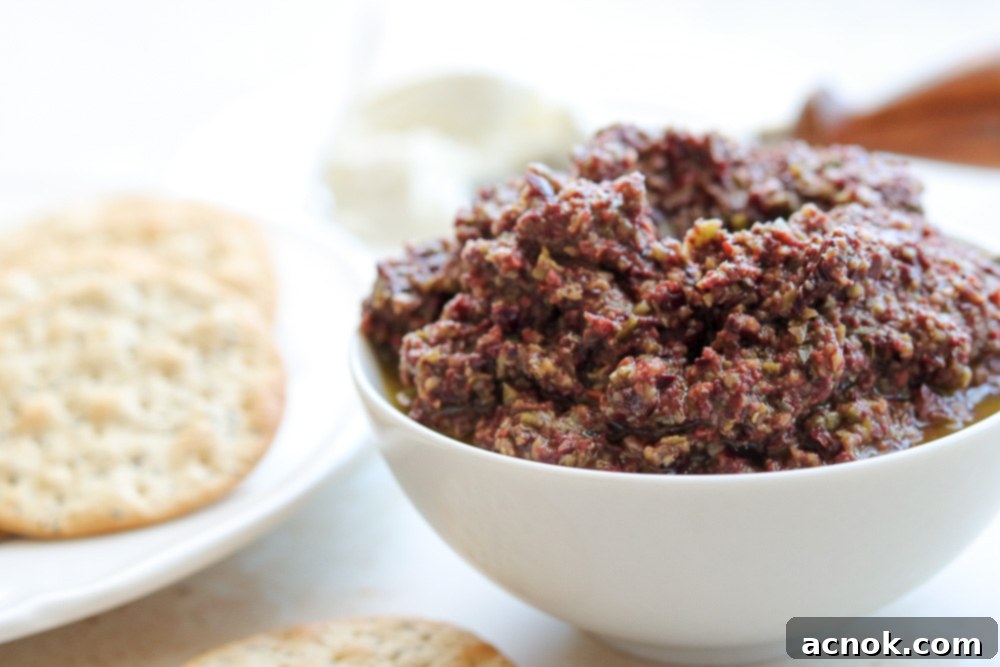
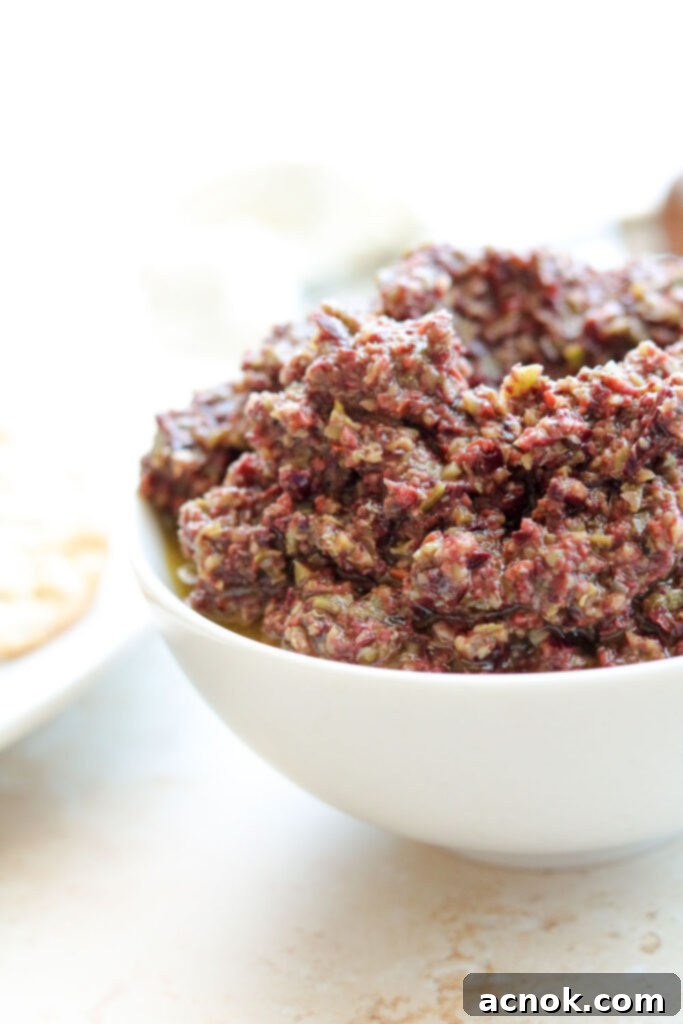
Prepare to fall in love with this incredibly flavorful and vibrant Mixed Olive Tapenade! My deep passion for olives culminates in this lemony masterpiece, perfectly balancing the briny notes of Kalamata olives with the bright, buttery essence of Castelvetranos. Infused with fresh lemon juice and zest, this blend offers an explosion of taste that’s both sophisticated and utterly satisfying. Its simplicity is a dream – it takes mere minutes to prepare and keeps beautifully in the refrigerator for up to two weeks. However, in our home, it rarely lasts more than three days; it’s simply too delicious to resist!
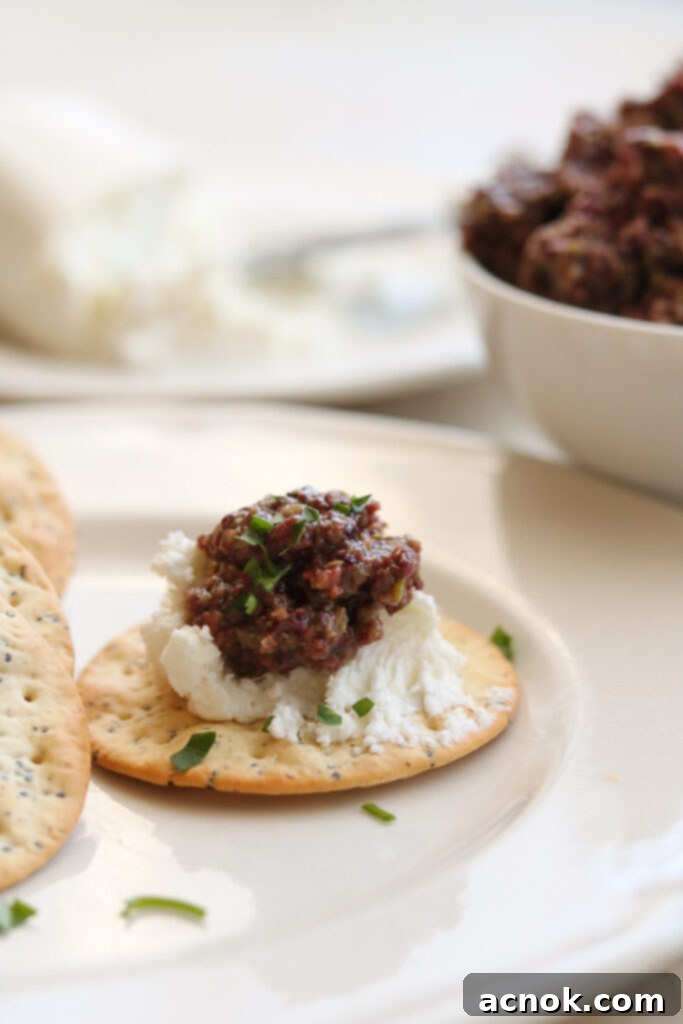
One of my absolute favorite ways to enjoy this tapenade is paired with creamy goat cheese, whether spread on a crisp cracker, a slice of toasted bread, or simply dolloped alongside a fresh salad. The combination of tangy goat cheese and the rich, zesty olive blend creates a true flavor fiesta for your taste buds! Another highly recommended pairing is with my Whipped Feta and Yogurt Dip, served alongside warm, toasted pita bread. It’s an appetizer combination that consistently impresses and disappears quickly!
Why an Anchovy-Free Tapenade? Flavor Without Compromise
While traditional tapenade often includes anchovies for their distinctive umami depth, I’ve crafted this recipe to be completely anchovy-free. This decision stems from a recently developed fish allergy, but the result is a tapenade so robust and flavorful, you won’t miss the anchovies one bit. My secret? Boosting the bright, briny notes with an extra generous amount of capers, combined with plenty of fresh lemon zest and juice. These ingredients deliver that crucial punch of savory, tangy flavor that elevates the tapenade, proving that a delicious, complex flavor profile can be achieved without relying on fish products. It’s a game-changer for anyone with allergies, dietary preferences, or simply those who prefer a non-fishy option without sacrificing taste.
What is in Traditional Olive Tapenade? A Glimpse into its History
To truly appreciate the versatility of modern tapenade, it’s helpful to understand its roots. Traditional tapenade hails from Marseille, France, where it was created by a chef in the 1880s. The original recipe typically included a mix of pitted, oil-cured olives, fresh herbs like thyme and rosemary, capers, anchovies, and often tuna. The name “tapenade” itself is derived from the Provençal word for capers, tapenas, highlighting the ingredient’s significance in the original preparation.
While the classic version leaned heavily on these components, modern tapenade recipes have evolved, often simplifying the ingredient list to primarily olives, capers, and a choice of dried or fresh herbs. Many home cooks and chefs adapt the recipe to their personal tastes or dietary needs, much like this anchovy-free version. Regardless of the slight variations, the core essence of tapenade remains: a rich, intensely flavored olive spread that captivates with its Mediterranean charm.
The Perfect Pairing: Kalamata Olives & Castelvetrano Olives
The magic in this tapenade largely comes from the dynamic duo of olives selected: Kalamata and Castelvetrano. These two varieties, distinct in origin and flavor, create an unparalleled symphony of taste and texture.
- Kalamata Olives: Hailing from the Peloponnese Peninsula in Greece, these are perhaps the most recognizable Greek black olives, aptly named after the city of Kalamata. They boast a deep purple-black hue, a characteristic almond shape, and a wonderfully oily, meaty texture. Their flavor is robust, fruity, and intensely briny, with a subtle wine-like sweetness. Kalamata olives are a staple in my kitchen; I always have them on hand for salads, snacking, or as a key ingredient in dishes like this tapenade. Their powerful flavor provides a fantastic foundation for the spread.
- Castelvetrano Olives: In stark contrast, Castelvetrano olives are a vibrant, bright green variety from Sicily, Italy. They are known for their firm, crisp texture and a uniquely mild, buttery, and slightly sweet flavor. Unlike the intense brine of many olives, Castelvetranos offer a gentler, fruitier profile that makes them incredibly approachable.
The combination of these two olives is nothing short of incredible. The assertive, complex notes of the Kalamata are beautifully mellowed and brightened by the delicate, fresh taste of the Castelvetrano. This pairing not only delivers a perfectly balanced flavor profile but also creates a visually appealing green and black olive tapenade, truly a match made in culinary heaven!
How to Make This Effortless Mixed Olive Tapenade
This Mixed Olive Tapenade is hands down one of the easiest and most versatile condiments you can make. It’s always a star on our appetizer table because it consistently earns rave reviews from everyone. We even incorporate this delicious spread into our Mini Roasted Stuffed Potatoes with Whipped Goat Cheese, and they are absolutely spectacular!
The preparation couldn’t be simpler, largely thanks to the efficiency of a food processor. Here’s a detailed look at the process:
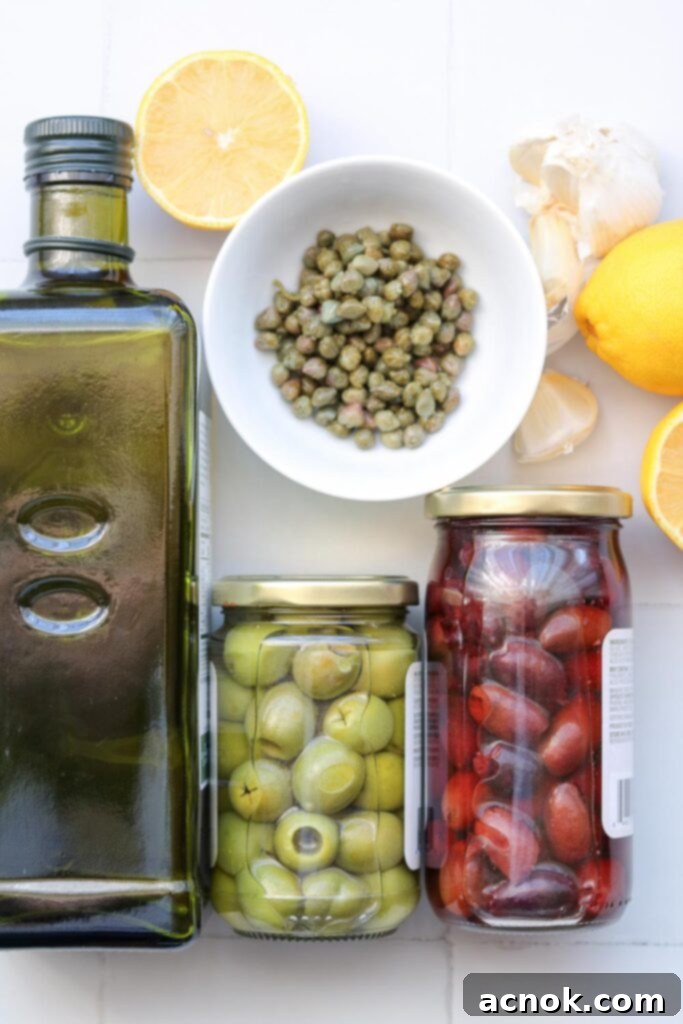
- Gather Your Ingredients: Start by collecting all your fresh, high-quality ingredients. This includes your pitted Kalamata and Castelvetrano olives, fresh garlic cloves, half a lemon (for both zest and juice), a pinch of freshly ground pepper, and drained capers.
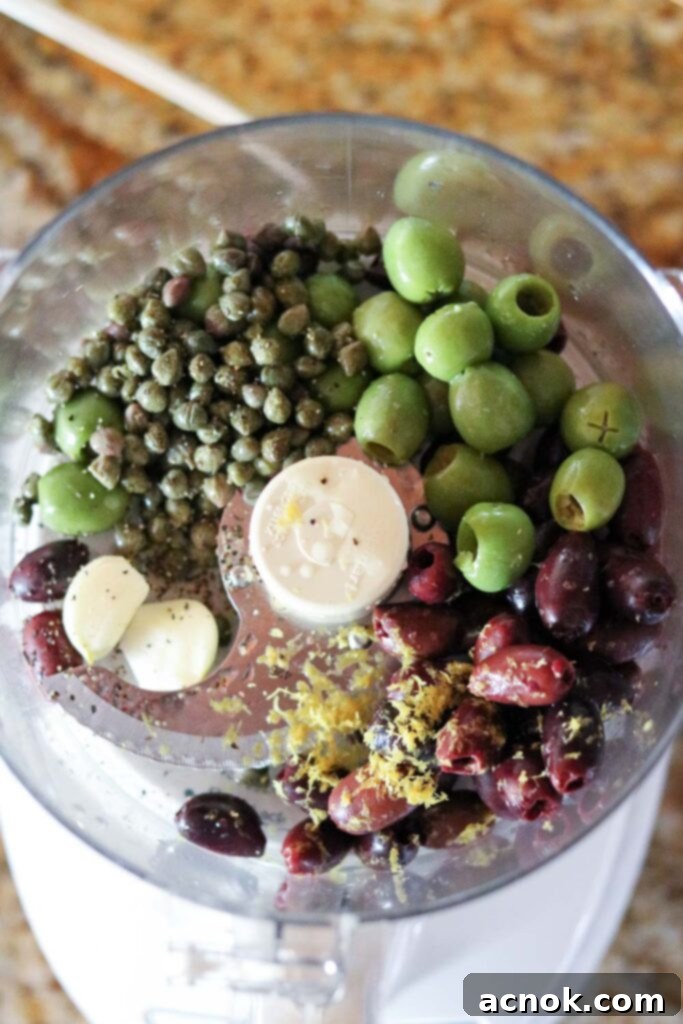
- Combine in Food Processor: Place the pitted olives, two peeled fresh garlic cloves, the zest of half a lemon, a good squeeze of fresh lemon juice, a pinch of pepper, and three tablespoons of drained capers into the bowl of your food processor.
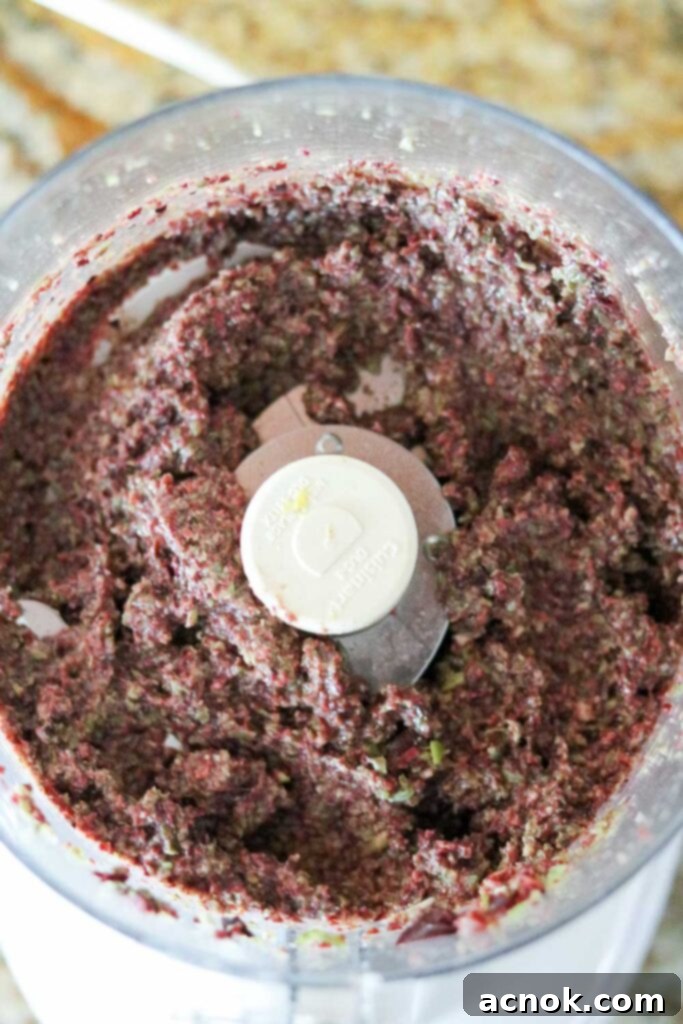
- Process and Emulsify: Secure the lid. With the food processor running, slowly drizzle in the extra virgin olive oil through the feed tube. The key here is to pulse and scrape down the sides as needed, gradually adding the oil. This method helps to emulsify the tapenade, creating a smooth, cohesive texture.
- Achieve Desired Consistency: Continue to pulse and add olive oil until you reach your preferred consistency. If you’re using oil-cured pitted olives, you might need only a tablespoon or so of olive oil, as they already carry a good amount of oil. For water-cured pitted olives (which are generally recommended for this recipe), approximately 1/4 cup of olive oil usually works best. I personally prefer an even, finer consistency for my tapenade, as it makes it incredibly versatile for spreading, dipping, or incorporating into other dishes.
- Store: Once the desired texture is achieved, transfer the tapenade from the food processor bowl into an airtight container. It will keep wonderfully in the refrigerator for up to two weeks, allowing you to enjoy its vibrant flavors whenever a craving strikes.
Unleash Its Potential: Endless Uses for Olive Tapenade
Beyond its traditional role as a starter or appetizer, homemade olive tapenade is an incredibly versatile condiment that can elevate countless dishes. Its rich, briny, and zesty flavor profile makes it a fantastic addition to almost any meal. Here are just a few of our favorite ways to enjoy it around our table, inspiring you to experiment with its endless possibilities:
- Charcuterie Board Essential: It’s a non-negotiable component for any impressive charcuterie or cheese board, adding a burst of Mediterranean flavor alongside cured meats, cheeses, and crusty bread.
- Toasted Baguette with Cheese: Spread generously on toasted baguette slices, then top with creamy goat cheese or fresh ricotta for a simple yet elegant crostini.
- Salad Booster: Toss a spoonful with fresh arugula, a drizzle of extra olive oil, and a squeeze of lemon juice for a quick, flavorful salad. It also makes a fantastic addition to pasta salads or grain bowls.
- Flavorful Protein Topping: Spoon a dollop of mixed olive tapenade over cooked chicken breast, grilled fish, or even roasted vegetables for an instant flavor upgrade.
- Pasta Sauce Shortcut: Mix with hot cooked pasta and a sprinkle of Parmesan cheese for an incredibly quick, flavorful, and satisfying meal. Add some cherry tomatoes or spinach for extra freshness.
- Sandwich & Wrap Spread: Use it as a vibrant spread in sandwiches or wraps. It’s particularly excellent in vegetarian sandwiches, adding deep flavor and moisture.
- Homemade Pizza Topping: Spread a thin layer on pizza dough before adding mozzarella and other toppings for a gourmet pizza experience.
- “Killer” Aioli Base: Whisk it into mayonnaise with a touch of garlic for a uniquely flavorful aioli, perfect for dipping fries, spreading on burgers, or accompanying seafood.
- Compound Butter: Blend with softened butter to create a savory compound butter, ideal for spreading on warm crusty bread or melting over grilled steaks or corn on the cob.
- The Ultimate Indulgence: Serve with our Whipped Feta & Yogurt Dip and toasted pita for an appetizer that guarantees an ultimate indulgence.
- With Hummus & Veggies: Offer it alongside creamy hummus and crisp raw vegetables (like cucumber sticks, bell pepper strips, or carrot sticks) for a healthy and satisfying snack or appetizer platter.
Expert Tips for the Perfect Mixed Olive Tapenade
Crafting the perfect tapenade is simple, but a few insider tips can make all the difference, ensuring your homemade spread is consistently delicious and lives up to its full potential. Here are some frequently asked questions and professional advice to guide you:
When stored in an airtight container with a tightly fitting lid, your homemade tapenade will remain fresh and flavorful in the refrigerator for up to two weeks. The olive oil acts as a natural preservative, but always ensure it’s well-sealed to maintain its quality.
The possibilities are truly endless! Our top favorites include serving it on crackers with creamy goat cheese or alongside our Whipped Feta and Yogurt Dip with toasted pita bread. It’s also an incredible addition to a vegetarian sandwich, providing a powerful punch of flavor that transforms a simple meal. For a healthier option, pair it with hummus and a variety of crispy, fresh vegetables for dipping.
Absolutely, most high-quality olives can work in a pinch! However, I highly recommend using a mix of flavorful, pitted olives that are either water or oil-cured (olive bars at specialty stores are perfect for this). Avoid stuffed olives as they can alter the flavor profile. Excellent alternatives include Picholine, Niçoise, Sevillano, or Mammoth Black olives. The more distinct and flavor-forward the olives you choose, the better your tapenade will be. If you opt for oil-cured pitted olives, remember to significantly reduce the amount of added olive oil in the recipe, as they are already quite rich.
Given the natural saltiness of olives and capers, I find that this recipe usually has ample seasoning without additional salt. However, taste preferences vary! My recommendation is to always try the tapenade first after preparing it. If you feel it needs a little extra something, add just a tiny pinch of kosher salt, mix well, and taste again. It’s much easier to add more salt than to correct an over-salted dish.
For an elegant touch and a hint of freshness, consider topping your tapenade with a small amount of finely chopped flat-leaf parsley just before serving. It adds a beautiful pop of color and a subtle herbaceous note.
I’d love to hear how you enjoy this versatile spread! Let me know what your favorite use for this Mixed Olive Tapenade is in the comments below!
If you tried this recipe and loved it, please help other readers by commenting below and sharing some stars! We 🫶🏼 appreciate you!
All content and photographs ©Claudia’s Table and claudiastable.com
Mixed Olive Tapenade – Anchovy-Free
Ana | Claudia’s Table
January 10, 2022
Pin Recipe
Equipment
-
food processor
Ingredients
- 1/2 cup Castelvetrano olives pitted, water cured
- 1 cup Kalamata olives pitted, water cured
- 3 tbsp capers drained
- 2 cloves garlic fresh, peeled
- 1/2 lemon zest of half a lemon
- 1/4 cup olive oil extra virgin
- lemon juice fresh, squeeze of
- pinch pepper fresh ground
Instructions
-
In a food processor bowl, place pitted olives, 2 fresh cloves of garlic, zest of half a lemon, a squeeze of lemon juice, a pinch of pepper, and 3 tbsp of drained capers.
-
Through the food processor feed tube, slowly add some of the extra virgin olive oil while pulsing, and repeat.
-
Continue to pulse and add olive oil until you have reached your desired consistency. I prefer an even, finer consistency for maximum versatility in its uses.
-
Remove the finished tapenade from the food processor bowl and place it into an airtight container with a tight-fitting lid.
-
Your delicious homemade tapenade will keep fresh in the refrigerator for up to two weeks.
Notes
Nutrition
Nutritional information is calculated online and should be used as a guide.
All content and photographs ©Claudia’s Table and claudiastable.com
Check Out Our New & Delicious Posts Below
- Pasta with Grilled Vegetables, Feta, and Lemon
- Grilled Asian Marinated Flank Steak
- Classic Homemade Chunky Blue Cheese Dressing
- 3-Ingredient Crispy Oven-Roasted Potatoes
- Grilled Peach Avocado Chicken Salad
