Easy Homemade Cherry Galette Recipe: Your Perfect Rustic Summer Dessert
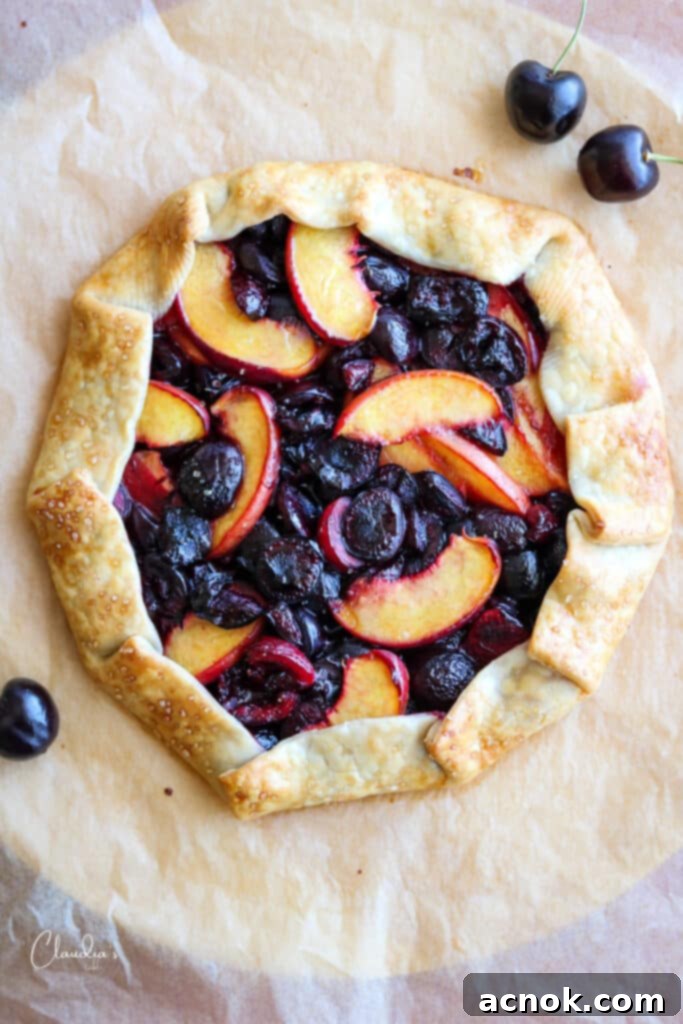
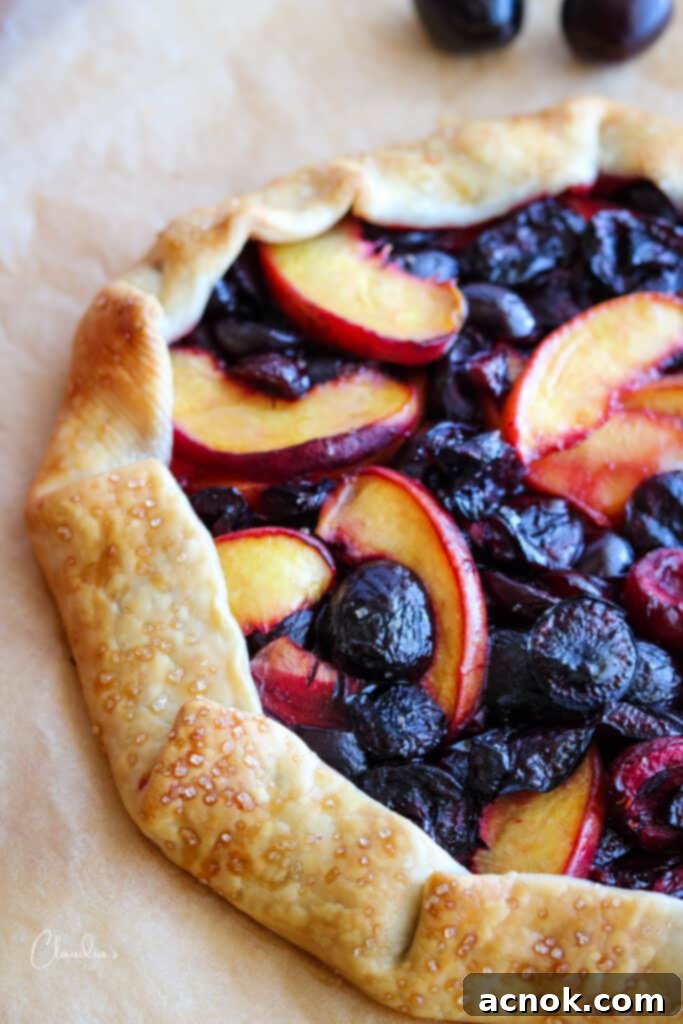
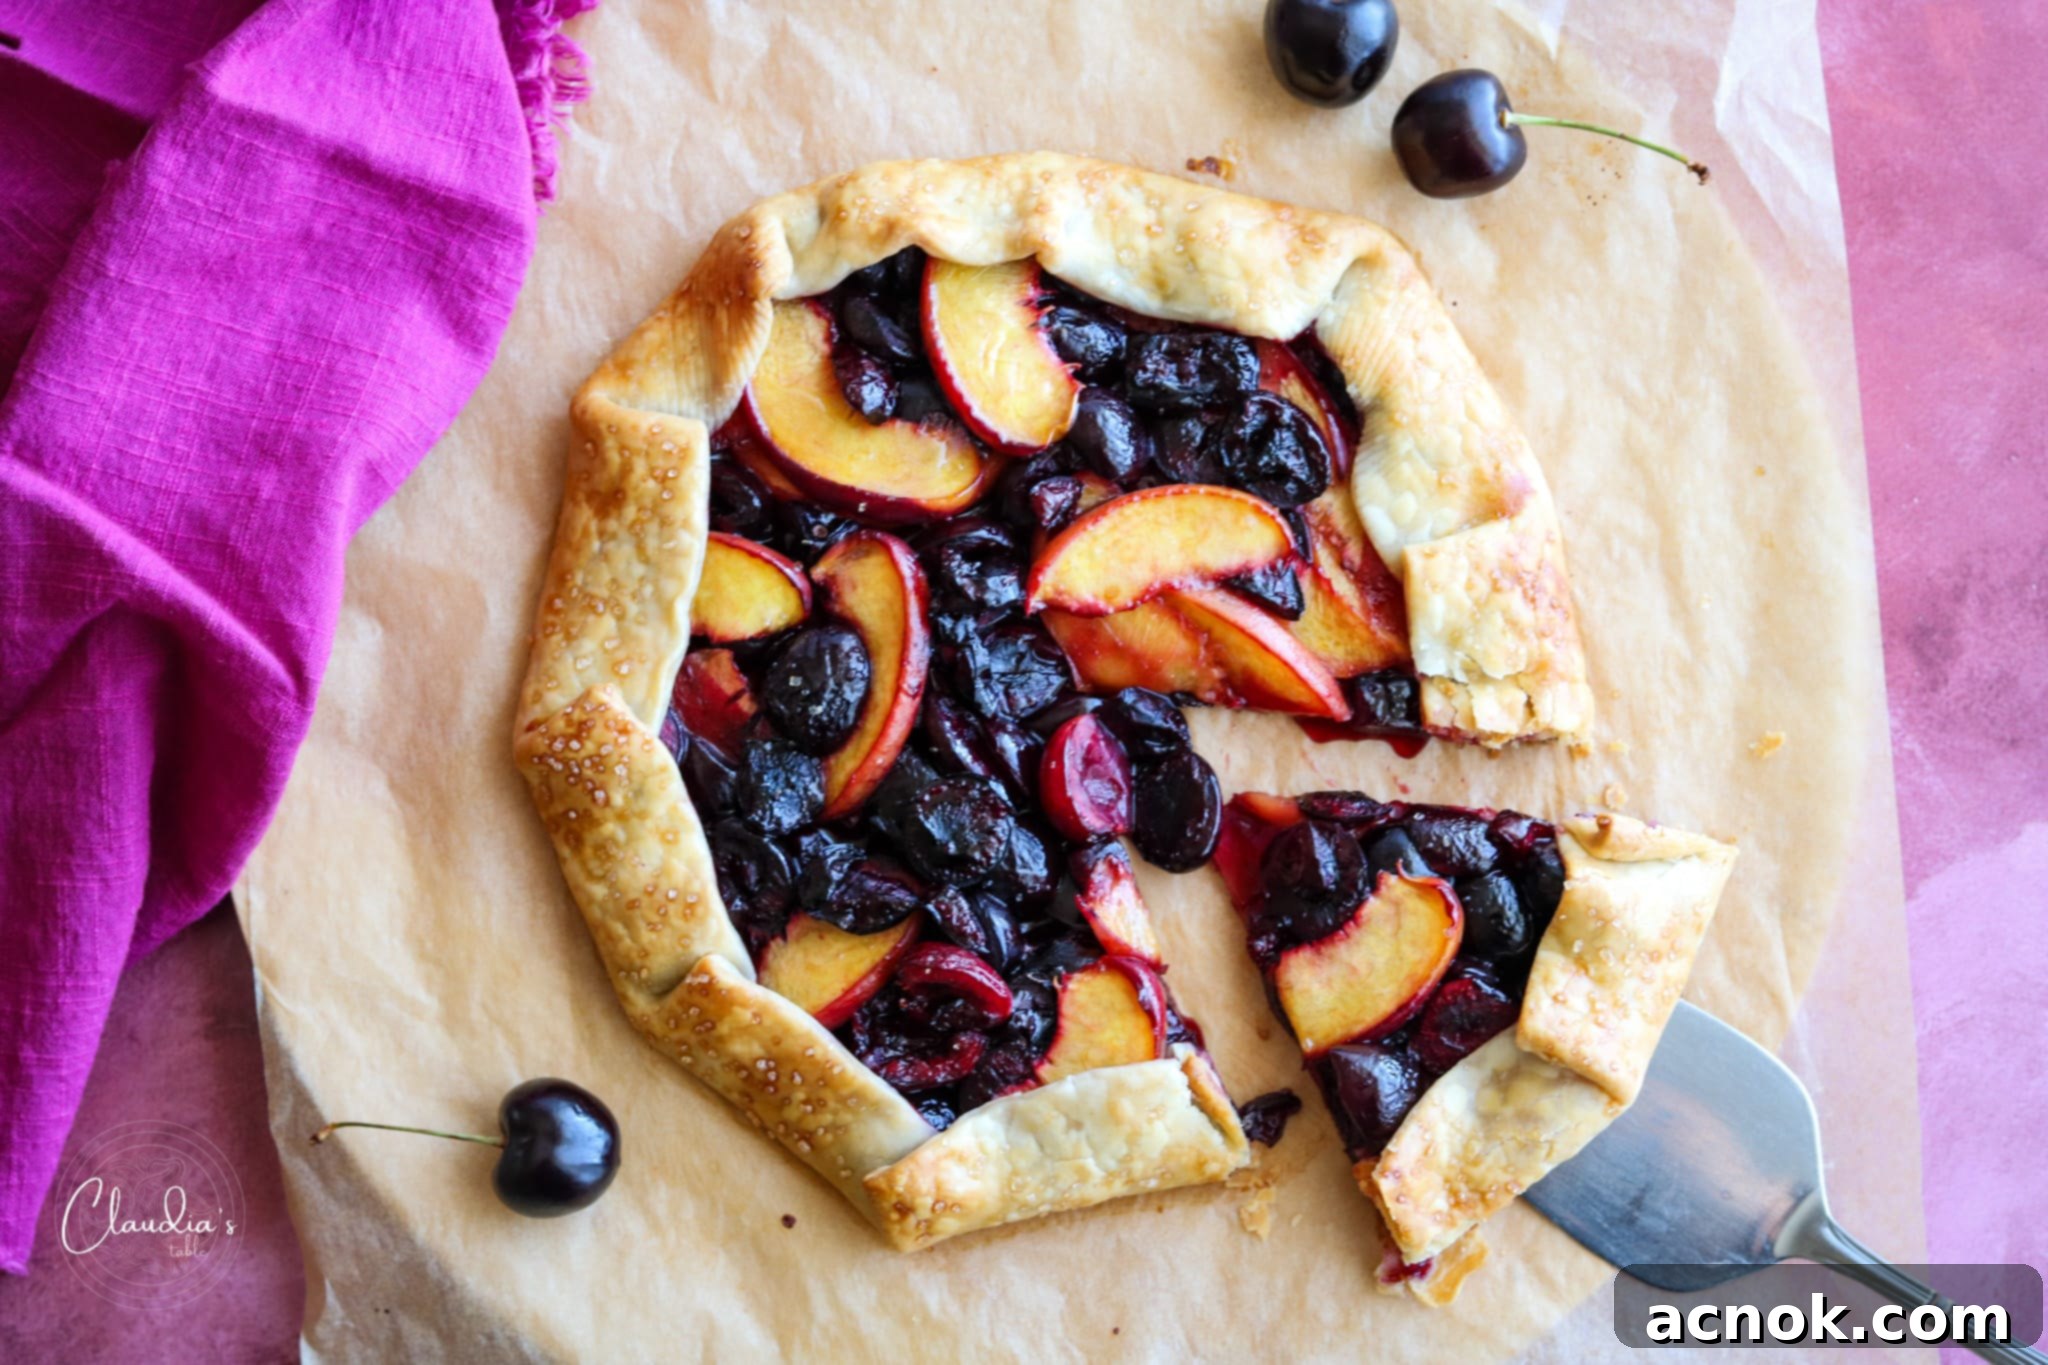
As the sun bathes the West in its warm glow, bringing forth the peak of cherry season, there’s one dessert that truly captures the essence of summer: the humble yet utterly delicious Cherry Galette. This isn’t just a recipe; it’s an invitation to celebrate nature’s bounty with minimal fuss and maximum flavor. Imagine sweet, juicy cherries, perfectly baked with just a hint of sugar, all nestled within a beautifully golden, flaky pie crust. It’s a symphony of textures and tastes that’s simply irresistible, especially when served warm with a generous scoop of good vanilla ice cream or a dollop of freshly whipped cream. What truly sets this dessert apart is its rustic charm and the incredible ease with which it comes together, making it my go-to weekly bake during this glorious season. While I often rely on convenient refrigerated pie crusts for quick summer baking, feel free to use your cherished homemade recipe if you prefer. This versatile galette also welcomes improvisation; I love experimenting with different fruit combinations based on what fresh produce I find at the farmers market. The classic cherry and peach combo, as featured here, is an absolute showstopper!

Galette, Crostata, or Tart? Unraveling the Rustic Dessert
The world of open-faced pastries can sometimes seem a bit intertwined, with terms like galette, crostata, and tart often used interchangeably. So, what exactly is the difference, and why does the “rustic” galette hold such a special place in my heart, particularly during the vibrant summer and fall months? A Galette (pronounced *ga-let*) is the French interpretation of this free-form, rustic pie. Its defining characteristic is its informal, free-hand shape, with the edges of the pastry simply folded over the fruit filling, leaving the center exposed. This charmingly imperfect look is precisely what makes it so appealing and less intimidating than a traditional pie. While my Cherry Galette is a sweet, dessert variation, savory galettes filled with vegetables, cheeses, or meats are equally popular and incredibly versatile.
An Crostata (pronounced *kros-ta-ta*) is essentially the Italian equivalent of a galette. It shares the same rustic, free-form quality, making it a beloved dessert across the Mediterranean. The term “crostata” can also sometimes refer to a more structured tart, but generally, when discussing fruit-filled, open-faced pastries, it points to this charmingly unfussy style. Lastly, a Tart is typically a more refined and structured dessert. Tarts usually feature a pastry crust baked in a fluted tart pan, often with a removable bottom, resulting in clean, straight sides. They are almost always open-faced, showcasing their beautiful fillings, and are considered a classic of French patisserie.
For me, the galette triumphs in its simplicity and celebration of seasonal produce. Any peak seasonal fruit, provided it is ripe and bursting with flavor, will work fabulously in a galette. The key to an outstanding galette lies in the quality of your fruit. Using ripe fruit ensures optimal sweetness and juiciness, which is essential for making this easy dessert truly stellar and memorable. This emphasis on fresh, simple ingredients and an unfussy presentation perfectly embodies the spirit of summer baking.
When it comes to the crust, I’m going to be completely honest: I often opt for store-bought refrigerated pie dough. As much as I adore cooking and some forms of baking, I’m not a natural pastry chef, and during the warmer months, I prioritize minimizing my time in a hot kitchen. Using pre-made dough is a fantastic shortcut that saves considerable time and effort without compromising on taste. However, if you’re a baking enthusiast and prefer a homemade crust, a good all-butter pie crust recipe with a step-by-step tutorial can elevate your galette to another level. The beauty of the galette is that it’s forgiving, making it perfect for both novice and experienced bakers alike.
The Best Seasonal Fruit Galette Combinations

One of the joys of making a galette is its incredible adaptability to various fruits and flavor pairings. The possibilities are truly endless, limited only by your imagination and what’s in season. You’ll typically need about 3 cups of fruit for a standard 9-inch round pie dough circle, ensuring a generous and satisfying filling. For stone fruits, apples, and pears, remember to thinly slice them to ensure even cooking and a tender texture in every bite. When adding ground spices, a small pinch (about 1/4 to 1/2 teaspoon) is usually sufficient to enhance the fruit’s natural flavor without overpowering it. Here are some of my all-time favorite seasonal fruit combinations that I highly recommend you try:
- Peach + Cinnamon: The warm, comforting spice of cinnamon beautifully complements the sweet, fragrant notes of ripe peaches, creating a classic and inviting flavor profile.
- Blueberry + Strawberry + Vanilla: This vibrant trio offers a delightful balance of sweet and slightly tart berries, with vanilla adding a subtle, aromatic depth that ties all the flavors together.
- Cherry + Peach: A truly harmonious pairing, the rich sweetness of cherries perfectly contrasts with the tender, juicy peaches, creating a summer dream dessert.
- Nectarine + Vanilla: Nectarines, with their smooth skin and juicy flesh, benefit greatly from a touch of vanilla, which enhances their natural sweetness and adds an elegant aroma.
- Blackberry + Cinnamon + Nutmeg: The slightly tart and earthy notes of blackberries are beautifully lifted by the warming spices of cinnamon and nutmeg, perfect for a cozy, rustic feel.
- Apple + Cinnamon + Nutmeg: A timeless autumnal combination, apples become wonderfully tender and flavorful with these classic spices. For an extra boost of flavor and a head start on cooking, I like to sauté the apples first, much like in my Easy Apple Pie Puffs. This ensures they are perfectly soft and infused with spice.
- Pear + Cinnamon: Sweet and delicate pears pair wonderfully with cinnamon, offering a comforting and fragrant galette that’s delightful on cooler evenings.
Don’t hesitate to experiment with what you have on hand. A blend of stone fruits like plums and apricots, or even berries like raspberries and currants, can create unique and delicious results. Just ensure your fruit is at its peak ripeness for the best possible flavor outcome. Please let me know your favorites in the comments below!
Simple Ingredients for a Stellar Galette
The magic of this Cherry Galette lies in its reliance on truly ripe, flavorful fruit and a refreshingly short list of complementary ingredients. You don’t need much to create something extraordinary when the main star — the fruit — is at its best. While you can certainly enhance the flavors with a dash of cinnamon or a hint of vanilla, I often find that the pure, unadulterated taste of delicious, sweet, ripe fruit is perfection in itself. It’s simplicity at its absolute finest, allowing the natural goodness to shine through.
- 1 refrigerated pie dough circle (9 inch): Your convenient base, ensuring a flaky crust.
- 3 cups of fresh, ripe pitted cherries: The star of our show, providing vibrant color and juicy sweetness. Alternatively, use 2 1/2 cups of cherries + 1 sliced ripe peach for a delightful mixed fruit galette, as pictured.
- 2 tablespoons of granulated sugar: Just enough to enhance the fruit’s natural sugars without making it overly sweet.
- 1 teaspoon of fresh lemon juice: A crucial touch that brightens the fruit flavors and prevents the galette from tasting flat.
- 1 tablespoon of flour: Acts as a thickener for the fruit juices, ensuring your galette isn’t too watery and holds its shape beautifully.
- 1 tablespoon of chilled unsalted butter, cut into small cubes: These tiny cubes melt into the fruit during baking, adding richness and creating pockets of luscious, caramelized goodness.
- 1 egg white + 1 tablespoon of water for egg wash: Creates a beautiful golden-brown, shiny crust that adds to the visual appeal.
- 1 teaspoon of raw sugar or turbinado: Sprinkled over the crust, it provides a delightful sparkle and a slight crunch.
How to Make a Galette: A Step-by-Step Guide to Rustic Perfection
Crafting a beautiful and delicious galette is surprisingly straightforward, making it an ideal project for bakers of all skill levels. The key to success lies in a few simple steps and a little patience. I always begin by lining a rimmed baking sheet with parchment paper or a silicone mat; this prevents sticking and makes for easy cleanup. While I prepare the delightful fruit filling and preheat the oven, I allow the refrigerated pie dough to rest for 10-15 minutes. This small step is crucial as it makes the dough more pliable and prevents cracking when you unroll and fold it. Let’s get started on creating your perfect Cherry Galette!
- Preheat your oven to 400 degrees Fahrenheit (200°C). This initial high heat is essential for ensuring a quick bake that results in a beautifully golden and crisp crust.
- Prepare your pie dough. Remove the pie dough circle from the refrigerator and let it rest on the counter for at least 10 minutes at room temperature. This brief rest period makes the dough easier to unroll and handle without tearing.
- Wash and prepare the cherries. Thoroughly wash and dry the fresh cherries. This step is important to remove any dirt and excess moisture, which can make your galette soggy. Next, remove the stems and, using a small paring knife or a cherry pitter, carefully cut them in half and remove the pits. (A little note: cherry juice can temporarily stain your fingers, which is part of the fun of working with fresh fruit! If you prefer to avoid this, consider wearing kitchen gloves.)
- Mix the fruit filling. Place the pitted cherry halves in a medium-sized bowl. Add the granulated sugar, flour, and fresh lemon juice. Gently toss the ingredients together until the cherries are evenly coated. The flour will help thicken the juices released during baking, while the lemon juice brightens the overall flavor profile.
- Unroll the pie dough. Carefully unroll the softened pie dough crust onto your prepared parchment-lined rimmed baking sheet. Position it neatly in the center of the sheet.
- Add the fruit. Using a large spoon or your hands, gently add the fruit mixture to the center of the dough. Arrange the fruit evenly, leaving an approximate 1 1/2-inch border around the outer perimeter of the pie dough circle. This border will form the rustic edge of your galette.
- Fold the crust edges. Now that your fruit is beautifully situated in the center, begin to fold the crust’s edges over the fruit, working one section at a time. Each folded section should be about 2 inches, overlapping slightly to create that signature rustic, free-form look. Don’t worry about perfection; the charm of a galette is in its homemade appearance.
- Apply the egg wash. In a small bowl, whisk together the egg white and the tablespoon of water to create an egg wash. Using a pastry brush, gently and evenly brush the folded edges of the pie crust with this mixture. The egg wash will give your galette a gorgeous golden color and a lovely subtle shine as it bakes.
- Sweeten and enrich. Sprinkle the entire top of the Cherry Galette with raw sugar or turbinado. This adds a beautiful sparkle and a delightful textural crunch to the crust. Next, dot the top of the fruit filling with the tiny cubes of chilled butter. Why butter? These small pieces melt down into the cherry-sugar mixture, adding incredible richness, depth of flavor, and encouraging that wonderful bubbly, caramelized texture. It’s truly just the right touch.
- Bake to golden perfection. Place the baking sheet in your preheated oven and bake for 25-30 minutes. You’ll know it’s ready when the crust is a beautiful golden brown, and the fruit filling is hot, bubbly, and visibly thickened.
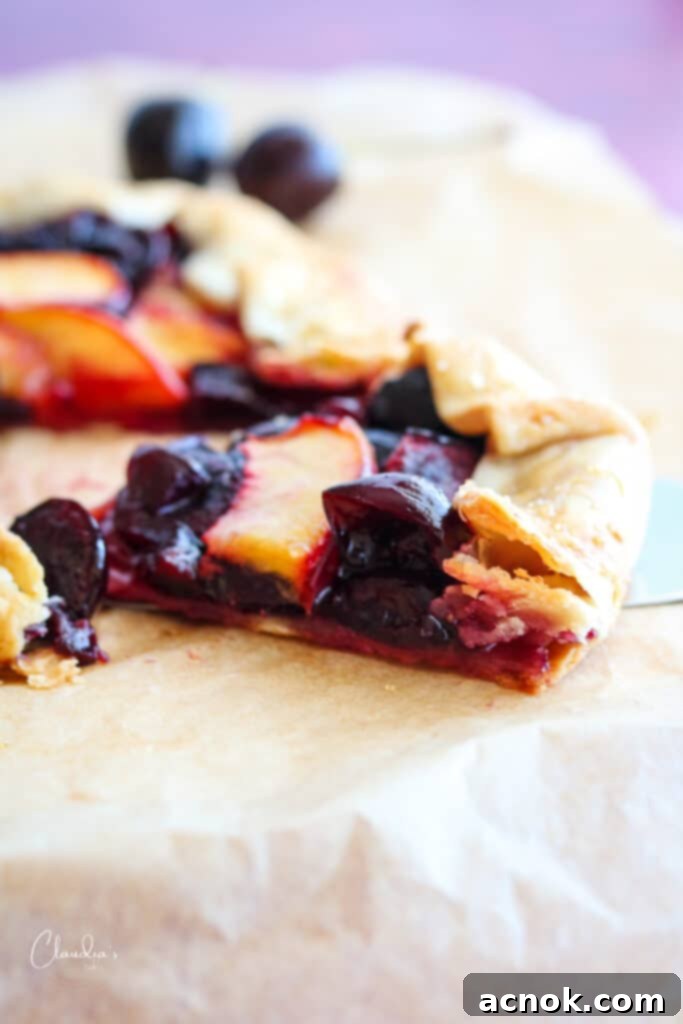
- Cool before serving. Carefully remove the galette from the oven and allow it to cool on the baking sheet for 5-10 minutes before attempting to slice and serve. This cooling time allows the fruit filling to set further, preventing it from running excessively when cut.

My Favorite Way to Serve My Cherry Galette
While a fresh-baked Cherry Galette is absolutely divine on its own, there are a few classic ways to serve it that truly elevate the experience. My absolute favorite and most classic pairing is with a generous scoop of good quality vanilla ice cream. The creamy, cool ice cream provides a delightful contrast to the warm, fruity galette, creating a truly luxurious mouthful. Alternatively, a dollop of freshly whipped cream adds a lighter, airy sweetness that complements the tart-sweet cherries beautifully. For those adventurous souls seeking a “double trouble” flavor explosion, try serving it with a scoop of cherry ice cream – the layers of cherry goodness are simply out of this world! You could also dust it lightly with powdered sugar for a touch of elegance or even drizzle a hint of balsamic glaze over the fruit before serving for an unexpected, sophisticated twist. Whatever your preference, serving this rustic dessert warm is key to enjoying its full, comforting potential.
If you tried this recipe and loved it, please help other readers by commenting below and sharing some stars! We 🫶🏼 appreciate you!
All content and photographs ©Claudia’s Table and claudiastable.com

Cherry Galette
Ana | Claudia’s Table
July 31, 2024
Pin Recipe
Equipment
-
1 rimmed baking sheet
-
1 parchment paper sheet or silicon baking mat
-
1 pastry brush small
-
1 bowl medium
-
1 bowl small (for egg wash)
Ingredients
- 1 9-inch refrigerated pie dough circle bring to room temperature, 10 minutes
- 3 cups of fresh ripe pitted cherries or 2 1/2 cups + 1 sliced ripe peach (as shown)
- 2 tablespoons of granulated sugar
- 1 teaspoon of fresh lemon juice
- 1 tablespoon of flour
- 1 tablespoon of chilled butter, unsalted cut into small cubes
- 1 egg white + 1 tablespoon of water for egg wash
- 1 teaspoon of raw sugar or turbinado
Instructions
Cherry Galette
-
Preheat oven to 400 degrees Fahrenheit (200°C).
-
Remove the pie dough circle from the refrigerator and allow it to rest for 10-15 minutes at room temperature. This makes it easier to handle.
-
Wash and dry the cherries thoroughly. Remove the stems, cut them in half using a small paring knife, and remove the pits. (Note: Cherry juice might stain your fingers temporarily. Use kitchen gloves to avoid this if desired.)
-
Place the pitted cherries in a medium bowl. Add granulated sugar, flour, and fresh lemon juice, then toss gently to coat the fruit evenly.
-
Unroll the pie dough crust onto a parchment-lined rimmed baking sheet.
-
Arrange the fruit mixture in the center of the dough, leaving about 1 1/2 inches on the outer perimeter of the pie dough circle. This border will be folded over to form the crust’s edge.
-
Once the fruit is situated, fold the crust’s edges over the fruit, one section at a time. Each folded section should be approximately 2 inches, creating a rustic, free-form border.
-
In a small bowl, mix the egg white with the tablespoon of water. Brush the folded edges of the pie crust evenly with this egg wash for a golden, shiny finish.
-
Sprinkle the entire top of the Cherry Galette (crust and fruit) with raw sugar or turbinado.
-
Dot the top of the fruit filling with the tiny cubes of chilled butter.
-
Bake for 25-30 minutes, or until the crust is golden brown and the fruit filling is hot and bubbly.
-
Remove from the oven and allow it to cool for 5-10 minutes on the baking sheet before slicing and serving. This allows the filling to set.
Notes
Nutrition
Nutritional information is calculated online and should be used as a guide.
All content and photographs ©Claudia’s Table and claudiastable.com
Check out our New & Delicious Posts Below
- Pasta with Grilled Vegetables, Feta, and Lemon
- Grilled Asian Marinated Flank Steak
- Classic Homemade Chunky Blue Cheese Dressing
- 3-Ingredient Crispy Oven-Roasted Potatoes
- Grilled Peach Avocado Chicken Salad
