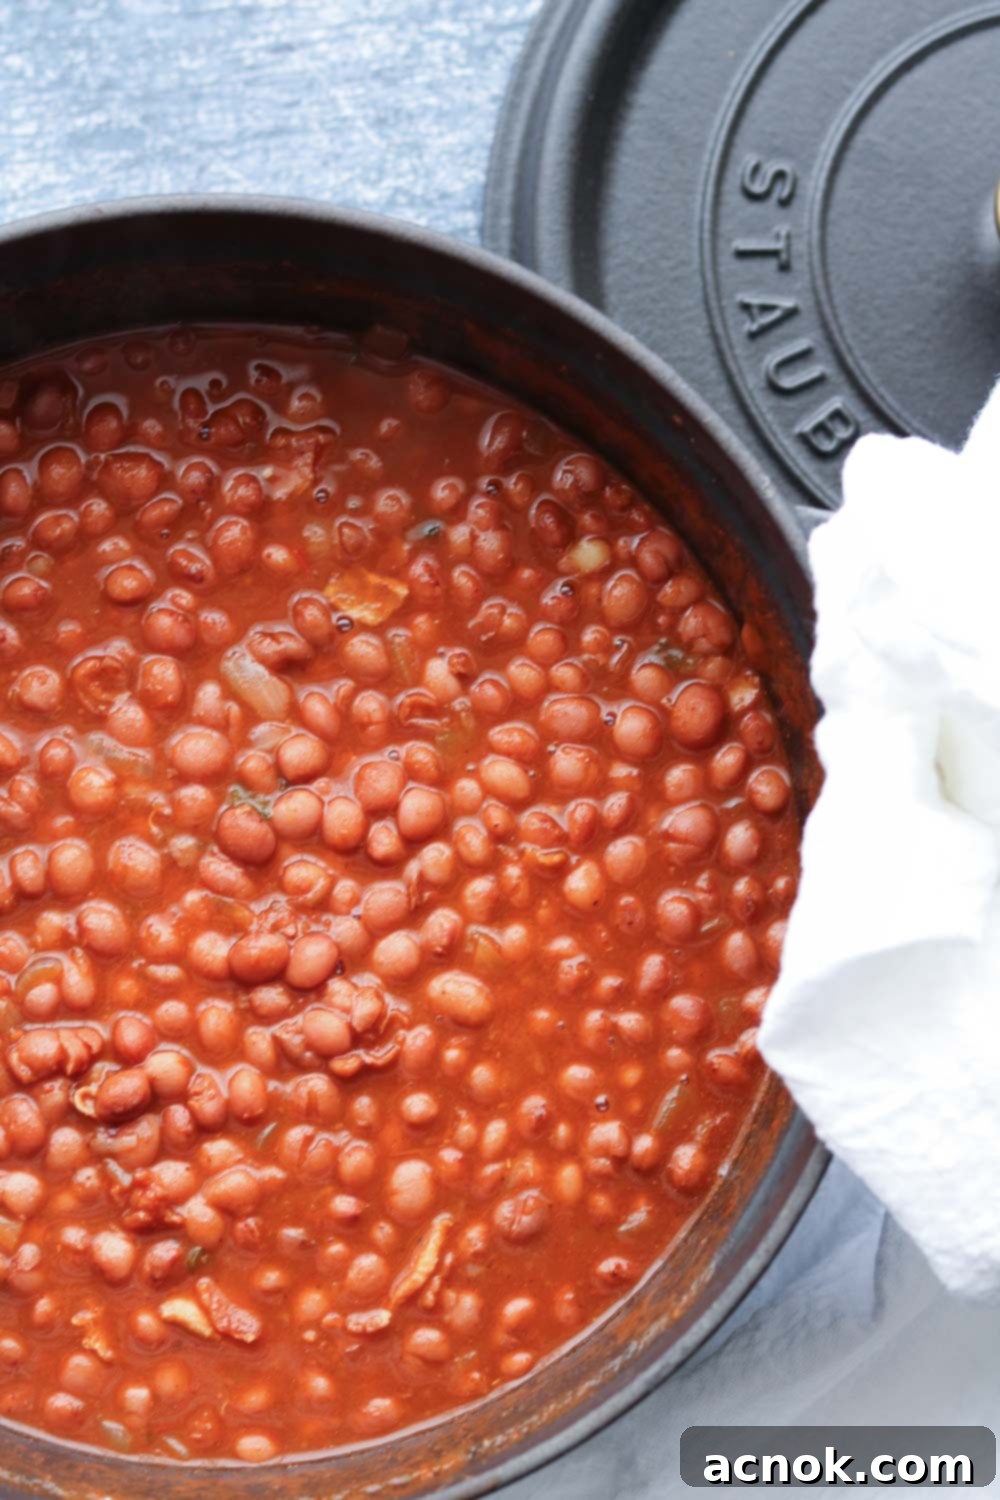
Authentic Santa Maria Style Pinquito Beans: The Essential Side for Central Coast BBQ
California is a state renowned for its diverse culinary landscape, but few regional cuisines are as distinctive and celebrated as the Santa Maria barbecue. This isn’t just any barbecue; it’s a true blue culinary tradition deeply rooted in the Central Coast’s history. A complete Santa Maria-style feast typically includes perfectly grilled Tri-tip, a vibrant fresh salsa, a crisp green salad, warm garlic bread, and, of course, the star of this article: Santa Maria Style Pinquito Beans. These delicate legumes are not merely a side dish; they are the soul of the meal, offering a flavor profile that is both unique and utterly unforgettable.
For those of us who grew up in California, perhaps even outside the immediate Central Coast region like myself in Los Angeles, Santa Maria BBQ holds a legendary status. It’s a meal that evokes images of open fires, good company, and the rich heritage of the Golden State. If you’ve never had the pleasure of experiencing it, I highly recommend a trip to places like the Hitching Post, a personal favorite, where the tradition is kept alive and perfected. However, if a road trip isn’t in the cards right now, don’t despair! This recipe, paired with a perfectly prepared Two-Ingredient Grilled Tri-Tip, will bring the authentic taste of Santa Maria right to your kitchen, tiding you over until you can savor the real deal.
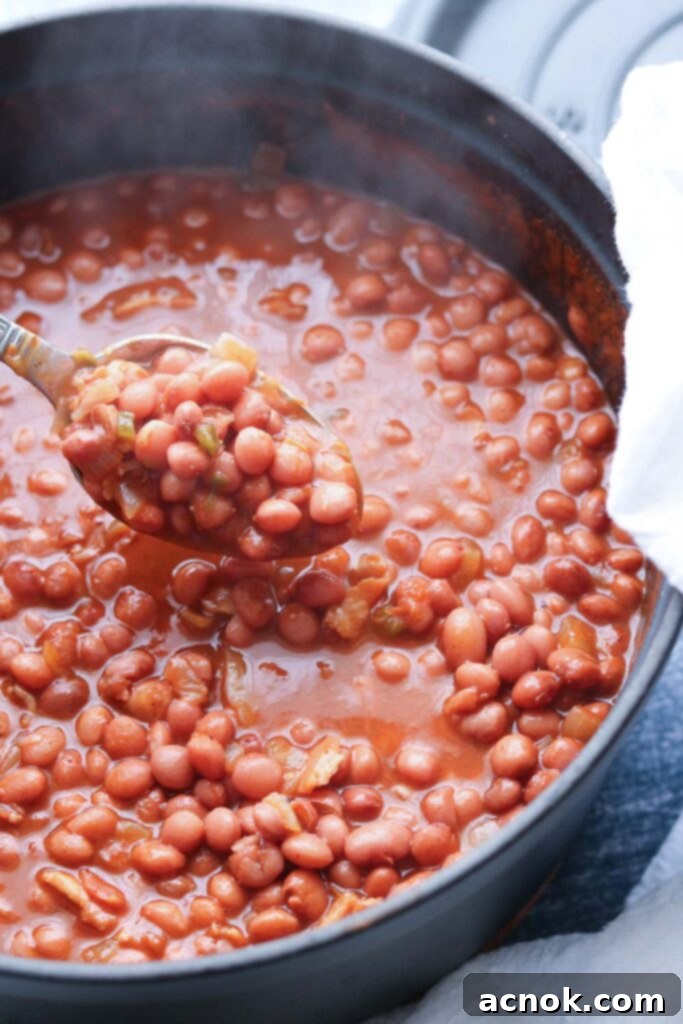
The Unique Charm of Pinquito Beans
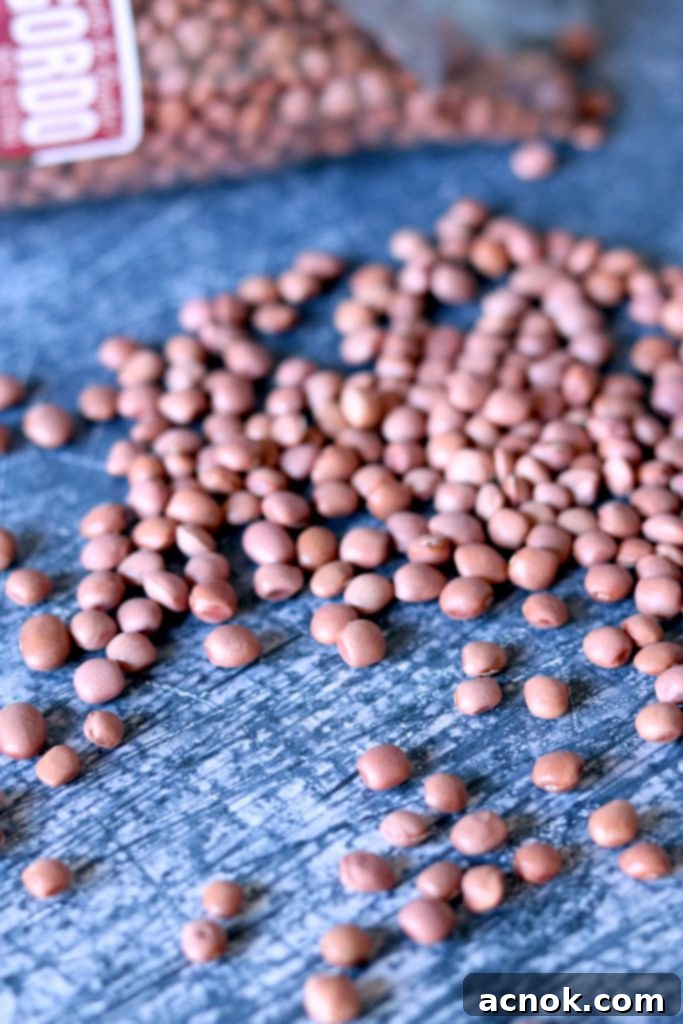
So, what makes these Pinquito beans so special? When prepared in the traditional Santa Maria style, their taste is a delightful cross between a mild, savory chili and freshly cooked pinto beans. These small, exquisite legumes are native to the Santa Maria Valley, thriving in its fertile soil and unique climate. They are noticeably smaller than typical pinto beans, only slightly larger than a lentil, yet possess a thicker, more robust profile. Their delicate texture and ability to absorb the rich flavors of the sauce truly set them apart.
Making them is a labor of love, a process that requires patience, but the reward is immeasurable. True confession: the first time I made a pound of these, my husband and I devoured them in just two days – half for dinner on the first night, and the rest as irresistible leftovers the next day. Yes, they are *that* good. This particular recipe is lovingly adapted from the wonderful people at the Santa Maria Valley Visitors Bureau, who generously share their heritage through their website’s recipe section. It’s an authentic foundation, perfect for recreating this iconic dish at home.
A Brief History of the Santa Maria Barbecue
The origins of Santa Maria barbecue trace back to the mid-1800s, a fascinating period when California was transitioning from Mexican to American rule. During this time, Mexican and Spanish vaqueros, the skilled cowboys of the California ranchos, would host grand gatherings for family and friends. These celebratory feasts, often held outdoors, required a method of cooking large quantities of meat over an open flame. Thus, the Santa Maria style of barbecue was born.
The Central Coast of California, with its rich plant life and ideal climate, was perfectly suited for cattle ranching. The vaqueros would typically roast large cuts of beef, seasoned simply with salt, pepper, and garlic, over a red oak fire – a wood that imparts a distinct, subtle smokiness. The meal was always accompanied by fresh ingredients readily available: the aforementioned Pinquito beans, a fresh tomato salsa, a simple green salad, and crusty bread to soak up all the delicious juices. It was a testament to resourcefulness, community, and the bountiful land.
While many unique barbecue styles across the U.S. are widely recognized – Kansas City, the Carolinas, East and Central Texas, and Alabama, not to mention the legendary Memphis style – Santa Maria BBQ often flies under the national radar in these lists. This might be because, unlike many other traditions, it is primarily beef-based and typically eschews heavy, sugary sauces in favor of a fresh, bright salsa served on the side. However, don’t let its relative obscurity fool you; Santa Maria barbecue is undeniably unique, authentically Californian, and an absolute culinary treasure.
Sourcing Your Pinquito Beans: The Key Ingredient
Before diving into the cooking process, it’s important to address the main ingredient: Pinquito beans. These aren’t always easy to find in a standard grocery store, so a little planning is usually required. I sourced mine from Rancho Gordo, a highly respected purveyor of heirloom beans based in Napa, California. They offer an incredible variety of unique legumes, including the elusive Pinquito. Another excellent company that sells these beans, along with traditional red oak chips for grilling your tri-tip, is SusieQ Brand.
If, despite your best efforts, you’re unable to find authentic Pinquito beans, don’t let that stop you from trying this recipe. Small pink beans make an acceptable substitute, though they won’t have the exact same delicate flavor and texture of true Pinquitos. Regardless of your bean choice, the process and the accompanying flavorful sauce will still yield a truly delicious dish.
Let’s Make These Incredible Santa Maria Style Pinquito Beans!
Preparing the Beans: A Crucial First Step
The journey to perfect Pinquito beans begins with proper preparation. This isn’t a step to skip, as it ensures the best texture and cooking time for your beans.
- Sorting and Rinsing: First, spread your dried Pinquito beans on a clean surface or in a shallow dish. Carefully sort through them, removing any small stones, broken beans, or other debris that might be present. Once sorted, rinse them thoroughly under cold running water to remove any dust or dirt.
- Soaking for Optimal Texture: After rinsing, transfer the beans to a large pot or bowl. Add a generous amount of water – typically, you want double the amount of water to beans. For instance, if your beans take up about 2 inches of space in your pot, add 4 inches of water above them. This ensures they have ample room to expand during the soaking process. Cover the pot with a kitchen towel and let the beans soak for a minimum of 8 hours, or preferably overnight. Soaking not only reduces cooking time but also helps in achieving a more tender and evenly cooked bean.
- Ready to Cook: Once the 8 hours (or overnight soak) are complete, drain the soaking water completely. Give the beans another quick rinse. They will appear plumper and lighter in color, ready for the next stage of cooking.
Cooking the Beans to Tender Perfection
Now that your beans are prepped, it’s time to get them cooking. A good quality Dutch oven or heavy stockpot is ideal for this step, as it provides even heat distribution.
- Initial Simmer: In a 4 or 6-quart Dutch oven or stockpot, add the drained and rinsed Pinquito beans. Cover them with fresh water, ensuring there’s at least an inch or two of water above the beans. I often add a little more water than strictly necessary, as I can always remove excess later; this gives the beans plenty of room to cook and expand without drying out. Add 1 dried bay leaf to the pot – this simple addition imparts a subtle, aromatic note to the beans.
- Gentle Simmering: Bring the water to a gentle simmer over medium heat, then reduce the heat to low, cover, and let them cook until they are tender. This typically takes about 2 hours. The key here is a gentle simmer, not a rolling boil, which can cause the beans to break apart.
- Timing the Sauce: While the beans are simmering, start preparing the ingredients for the flavorful sauce. You’ll want to begin cooking the sauce about 1 ½ hours into the bean cooking time. This way, the sauce will be ready to add right as the beans are nearing their tender completion, allowing all the flavors to meld beautifully.
Crafting the Flavorful Bacon and Tomato Sauce
The rich, savory sauce is what elevates these Pinquito beans from simple legumes to a truly exceptional side dish. This sauce builds layers of flavor, combining smoky bacon, aromatic vegetables, and a hint of spice.
- Rendering Bacon: In a separate skillet, over medium-high heat, add the chopped bacon. Sauté the bacon until it is cooked through and has rendered most of its fat, but before it becomes overly crispy. You want it tender and flavorful, not brittle.
- Adding Bacon to Beans: Using a slotted spoon, remove the cooked bacon from the skillet and immediately add it to the beans, which should still be gently simmering. This allows the bacon’s savory essence to infuse into the beans from an early stage.
- Sautéing Aromatics: The bacon fat left in the skillet is a treasure trove of flavor! To this rendered fat, add the finely chopped jalapeño (with seeds removed for less heat, or left in for more kick) and the diced onions. Sauté for approximately 5 minutes, or until the onions are softened and lightly browned. This caramelization adds depth.
- Garlic Infusion: Add the minced garlic to the skillet and sauté for just one more minute. Be careful not to burn the garlic, as it can turn bitter very quickly.
- Building the Sauce Base: Now, stir in the water, crushed tomatoes, chili powder, kosher salt, and a generous pinch of pepper. Mix everything well to combine.
- Simmering the Sauce: Reduce the heat to low and let the sauce simmer for 30 minutes. During this time, keep a watchful eye on it, stirring every few minutes to prevent sticking or burning. Simmering allows the flavors to meld and deepen, creating a robust base for your beans. After 30 minutes, turn off the heat and set the sauce aside, waiting for the beans to be perfectly tender.
Bringing it All Together: Finishing the Beans
This final stage is where the magic truly happens, as the tender beans absorb the incredible flavors of the rich, smoky sauce.
- Assessing Bean Tenderness: Around 1 hour and 45 minutes into their cooking, your Pinquito beans should be very tender, almost done. If they’re not quite there, give them a few more minutes.
- Adjusting Liquid: At this point, you’ll want to remove about 1 cup of water from the beans. The goal is to have just enough liquid to cover the beans, but not an excessive amount, as the sauce will add more moisture.
- Combining and Final Simmer: Add the prepared sauce to the beans, stirring gently to ensure everything is thoroughly combined. Let the mixture simmer on low heat for an additional 20-30 minutes. This crucial simmering period allows the sauce to thicken beautifully and for the beans to become fully infused with all the complex flavors of the bacon, tomatoes, garlic, and chili powder.
- The Perfect Consistency: As it simmers, you’ll notice the sauce thickening to a consistency similar to classic baked beans. The aromas will be incredible – a delightful mix of chili, garlic, sweet tomatoes, and the irresistible smokiness of bacon.
- Final Seasoning: Before serving, taste the beans and adjust the salt if necessary. Given the bacon and chili powder, it should be just about perfect, but a final check is always a good idea.
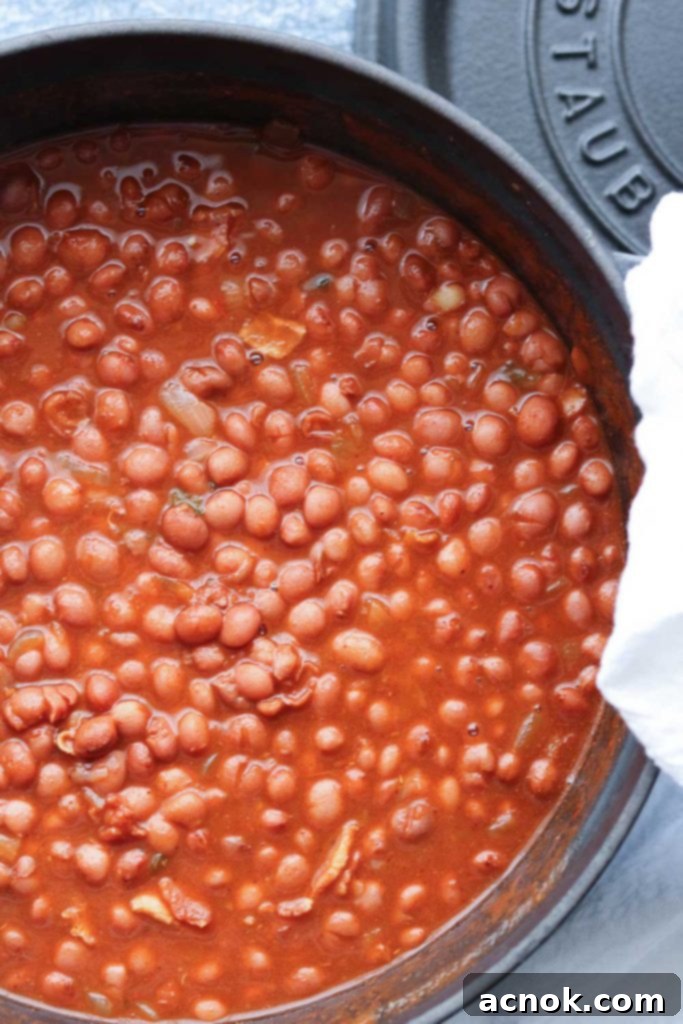
Serving Your Santa Maria Style Pinquito Beans
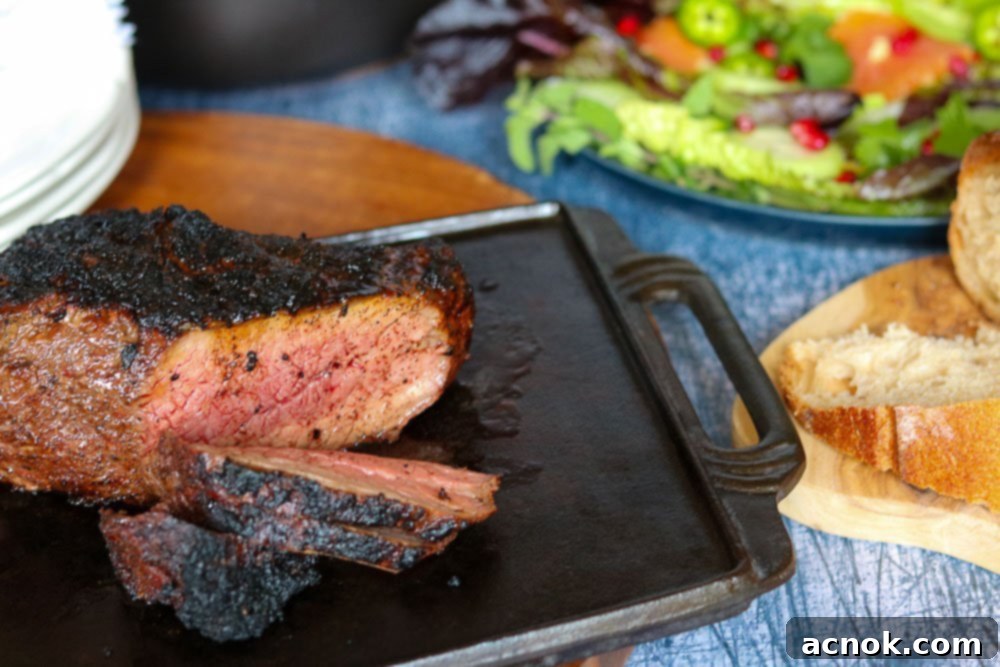
These crave-worthy Santa Maria Style Pinquito Beans are best enjoyed as part of a complete Central Coast barbecue spread. Today, we served them alongside a perfectly grilled Tri-tip, a refreshing Winter Citrus Salad, and warm, fresh-baked bread. The combination of flavors and textures creates a truly harmonious meal that celebrates California’s culinary heritage.
If you tried this recipe and loved it as much as we do, please consider leaving a comment below and sharing some stars! Your feedback helps other readers discover and enjoy this incredible dish. We 🫶🏼 appreciate you!
All content and photographs ©Claudia’s Table and claudiastable.com
Santa Maria Style Pinquito Beans
Ana | Claudia’s Table
January 31, 2021
This was adapted by the recipe that the good folks of Santa Maria Valley have on the recipe section of their website.
Pin Recipe
Equipment
-
4-6 quart dutch over or heavy stock pot
-
skillet
Ingredients
- 1 lb Pinquito beans, dried or small pink beans
- 3 slices bacon chopped
- 1/2 whole onion diced
- 1 whole bay leaf dried
- 1/2-1 whole jalapeno, whole seeds removed and finely chopped
- 1 cup tomatoes canned crushed
- 1/3 cup water
- 1 tsp chili powder
- 2 cloves garlic minced
- 2 tsp salt kosher
- 1 pinch pepper large pinch
Instructions
Preparing the beans
-
First, sort through the beans and remove any debris. Once you have picked through them and rinse them.
-
Soak the beans in double the amount of water vs beans. So if the beans take up 2 inches of your pot or dish, add 4 inches of water. Cover with a kitchen towel and soak for 8 hours.
-
After 8 hours, drain the water and now the beans are ready to cook.
Cooking the beans
-
In a 4 or 6 quart dutch oven or stock pot, add the rinsed beans and enough water to cover them. I added a little more water which I did remove later, but it gave them enough room to cook and expand. Add 1 dry bay leaf.
-
Bring to a simmer and cook until tender about 2 hours.
-
Now get your ingredients ready for the sauce. You will start the sauce at about 1 1/2 hours of the beans cooking. In other words, right before they are done.
Cooking the sauce for the beans
-
In a skillet, on medium high heat, add the chopped bacon and sauté the bacon until cooked through but not crispy. Remove bacon with a slotted spoon and add to beans while they are simmering.
-
You will have some bacon fat rendered in the pan; to this add the chopped jalapeño and onions. Sauté for about 5 minutes or until slightly browned.
-
Add garlic and sauté a minute more.
-
Now stir in water, crushed tomatoes, chili powder, salt and pepper. Reduce heat to low and simmer for 30 minutes.
-
Keep an eye on the sauce and stir every few minutes to ensure it doesn’t stick or burn.
-
After 30 minutes, shut off heat and wait until the beans are almost done and tender.
Finishing the beans
-
At about 1 hour and 45 minutes, the beans are just about done if not already tender. Remove about 1 cup of water from the beans. You want enough water to cover the beans but not much more.
-
Add the sauce to the beans, stir and simmer for about 20-30 minutes more on low heat.
-
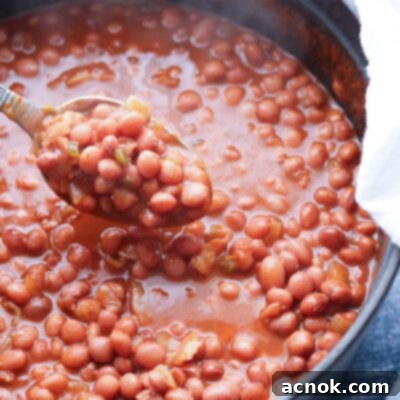
The sauce will thicken and the beans will be infused with all the flavor of the sauce. This is when the magic happens…the consistency should be similar to baked beans at this point with the aromas of chili, garlic, tomatoes and the smokiness of the bacon.
-
Check for salt but it should be just about perfect.
Notes
Nutrition
Nutritional information is calculated online and should be used as a guide.
All content and photographs ©Claudia’s Table and claudiastable.com
Discover More Delicious Recipes
If you enjoyed this authentic taste of California, you’ll love exploring other recipes from our collection. For another hearty and flavorful dish, be sure to try our Fast and Easy Beef Chili recipe. It’s incredibly simple to make and always delicious, perfect for your Instant Pot or Slow Cooker.
Check out our New & Delicious posts below
- Pasta with Grilled Vegetables, Feta, and Lemon
- Grilled Asian Marinated Flank Steak
- Classic Homemade Chunky Blue Cheese Dressing
- 3-Ingredient Crispy Oven-Roasted Potatoes
- Grilled Peach Avocado Chicken Salad
