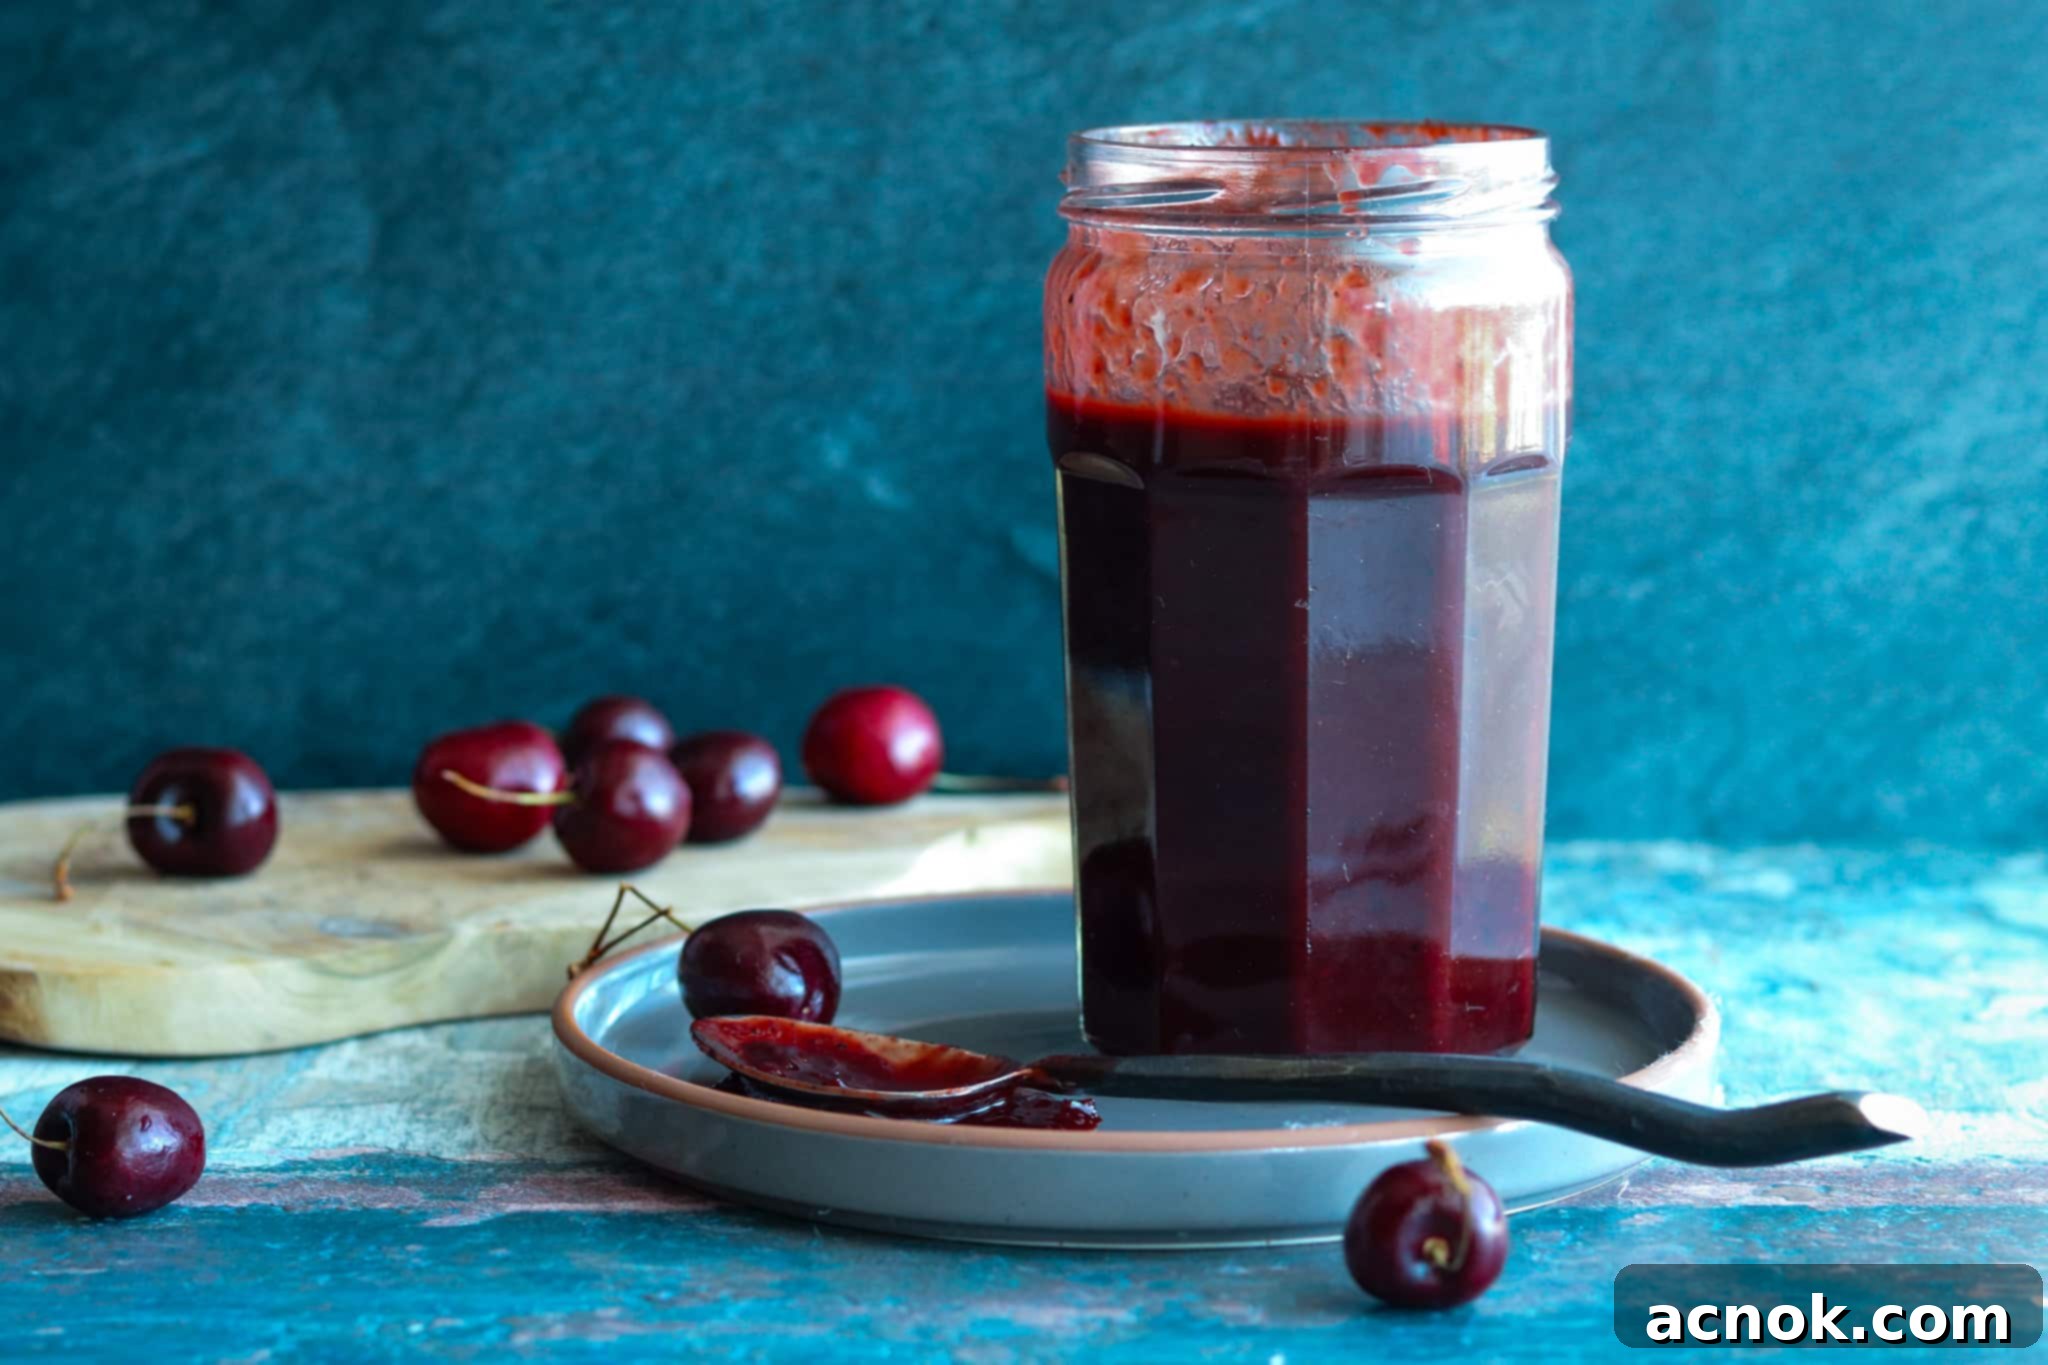
Homemade Spicy Cherry Barbecue Sauce: Your Ultimate Grilling Companion
Prepare to elevate your grilling game with our incredible Homemade Spicy Cherry Barbecue Sauce! This isn’t just any BBQ sauce; it’s a vibrant fusion of sweet, savory, and perfectly spicy flavors that will transform your favorite grilled dishes. Imagine the juicy sweetness of fresh cherries, beautifully balanced with the smoky heat of chipotle powder, all culminating in a rich, deeply satisfying sauce. It’s a culinary masterpiece that promises pure deliciousness in every bite.
While the peak of cherry season brings an abundance of luscious fruit, don’t let its short window limit your enjoyment of this exquisite sauce. We’ve got you covered! Frozen dark cherries step in as a fantastic year-round alternative, ensuring that you can whip up a batch of this sweet, savory, and spicy barbecue magic anytime you crave it. Get ready to impress your family and friends with a unique flavor profile that stands out from the crowd.
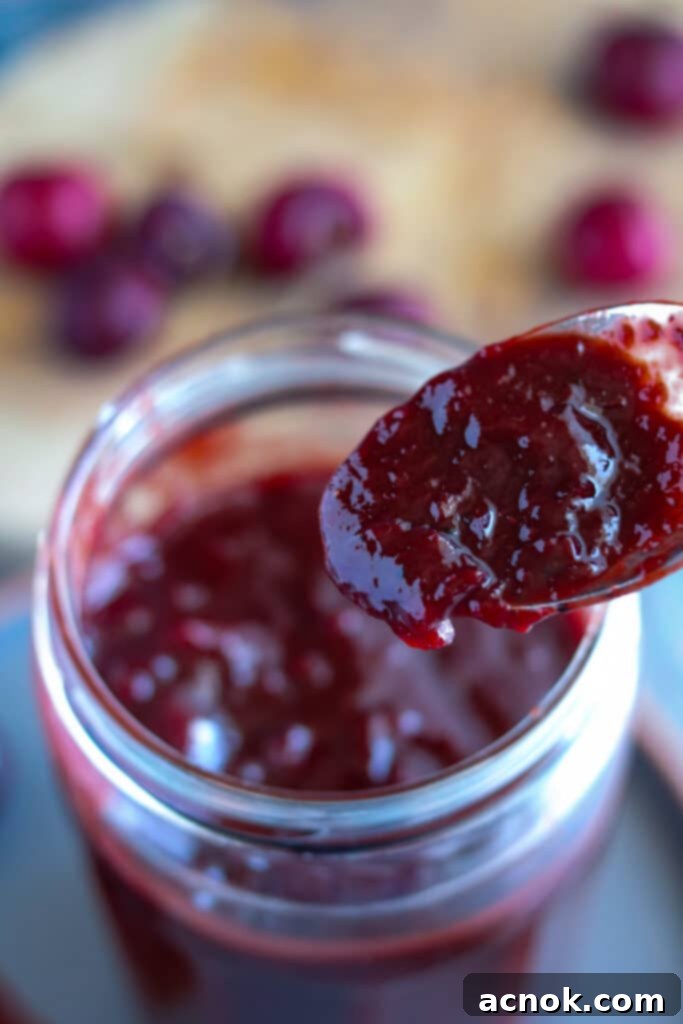
Table of contents
- Versatile Ways to Enjoy Your Spicy Cherry BBQ Sauce
- Recipe Spotlight: Easy Pulled Pork Sandwiches with Homemade Cherry BBQ Sauce
- Key Ingredients for Your Homemade Cherry Barbecue Sauce
- Fresh vs. Frozen Cherries: A Guide to Seasonal Enjoyment
- Essential Kitchen Tools for Making Cherry BBQ Sauce
- Step-by-Step Guide: Crafting Your Perfect Cherry Barbecue Sauce
- Storing Your Homemade Cherry Barbecue Sauce for Freshness
Versatile Ways to Enjoy Your Spicy Cherry BBQ Sauce
This Cherry Barbecue Sauce is incredibly versatile and quickly becoming a staple in my kitchen for its ability to elevate a wide array of dishes. Its unique sweet, savory, and spicy notes make it a perfect companion for various proteins, transforming everyday meals into something extraordinary. Here are some of my favorite ways to incorporate this epic sauce into your cooking:
Before applying the sauce, remember to generously season your chosen protein. A simple sprinkle of kosher salt, your favorite quality BBQ rub, or my signature Ancho Chile Rub will lay a fantastic flavor foundation.
- For Chicken and Chicken Wings: Whether you prefer baking or grilling, this sauce shines on chicken. Cook your chicken wings or pieces until they are nearly done, reaching an internal temperature just shy of their target. During the final 5-10 minutes of cooking, generously brush the Cherry Barbecue Sauce over the chicken. If grilling, turn frequently to ensure an even glaze and prevent burning. Keep an eye out for potential flare-ups from the sugar in the sauce. The caramelization will create a beautiful, sticky, and flavorful crust.
- Pork Loin Perfection: A pork tenderloin becomes a gourmet delight when coated with this sauce. Simply brush the pork loin evenly with the Cherry Barbecue Sauce before or during the last phase of cooking. Bake or grill until the internal temperature reaches a safe 145 degrees Fahrenheit. Allow it to rest briefly before slicing and serving to keep the meat juicy and tender. The sauce will create a stunning glaze that locks in moisture and flavor.
- Flavorful Pork Chops: Transform ordinary pork chops into a memorable meal. Grill or pan-roast your pork chops until they are cooked through and tender. Just before serving, gently warm a small amount of the Cherry Barbecue Sauce and brush it liberally over the chops. This method allows the vibrant flavors of the sauce to meld beautifully with the pork without overpowering it. Serve alongside creamy mashed potatoes and your favorite seasonal vegetables for a complete and utterly satisfying dish.
- Beyond the Grill: Don’t limit this sauce to just grilling! Try it as a glaze for meatballs, a vibrant addition to meatloaf, or even as a dipping sauce for crispy chicken tenders or spring rolls. Its complex flavor profile makes it suitable for countless culinary explorations.
Recipe Spotlight: Easy Pulled Pork Sandwiches with Homemade Cherry BBQ Sauce
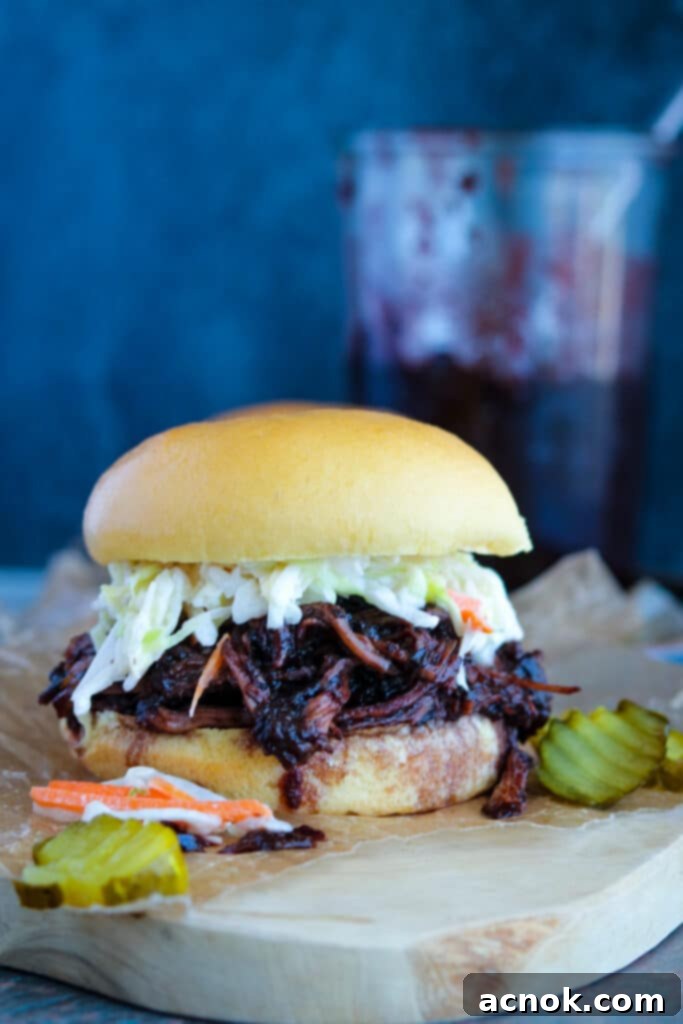
One of the absolute best ways to showcase the incredible flavor of this Cherry Barbecue Sauce is in a classic pulled pork sandwich. The sweet, tangy, and smoky notes of the sauce perfectly complement the tender, slow-cooked pork. This recipe is designed for ease and maximum flavor, making it a perfect weeknight meal or a crowd-pleaser for your next gathering.
- 3-pound pork butt roast: patted dry for optimal rub adherence.
- Your favorite barbecue rub: or try my highly recommended Ancho Chile Rub, which adds a fantastic depth of flavor.
- Cherry Barbecue Sauce (1x recipe): The star of the show!
- 8 Hawaiian bread buns or rolls: Their slight sweetness and soft texture are the perfect counterpoint to the rich pork and sauce.
- 4 cups of prepared coleslaw: Adds a crucial refreshing crunch and creamy texture.
- Bread and butter pickles: For serving, offering a delightful tangy zing that cuts through the richness.
Instructions for Easy Pulled Pork Sandwiches:
- Prepare the Pork: Begin by patting your 3-pound pork butt roast thoroughly dry with paper towels. This step helps the seasoning adhere better. Generously season the entire roast with your chosen barbecue rub. Don’t be shy – a good rub forms the first layer of flavor!
- Slow Cook: Carefully place the seasoned pork butt roast into your slow cooker. There’s no need to add any additional liquid; as the pork cooks slowly, it will naturally release its own juices, creating a rich broth. Set your slow cooker to low and cook for 6-8 hours, or until the pork is incredibly fork-tender and easily pulls apart. The longer, slower cook time ensures maximum tenderness.
- Shred the Pork: Once the pork roast is perfectly tender, remove it from the slow cooker and transfer it to a large pan or mixing bowl. Using two forks, shred the pork until it’s in desirable strands. Discard any excess fat.
- Combine with Sauce: Return the shredded pork to the pan. Add the entire batch of your prepared Cherry Barbecue Sauce. Next, scoop about 1/2 to 1 cup of the flavorful cooking liquid from the slow cooker into the pan with the pork and sauce. This liquid not only adds moisture but also infuses the pork with even more savory depth.
- Warm and Serve: Warm the mixture thoroughly over medium-low heat, stirring occasionally, until the pork is heated through and well-coated in the luscious sauce. To assemble, place a generous portion of the saucy pulled pork onto a soft Hawaiian roll. Top with about 1/2 cup of fresh, prepared coleslaw for that essential crunch and coolness. Serve with a side of bread and butter pickles to add a tangy counterpoint. This combination is truly delicious and will have everyone asking for seconds!
Key Ingredients for Your Homemade Cherry Barbecue Sauce
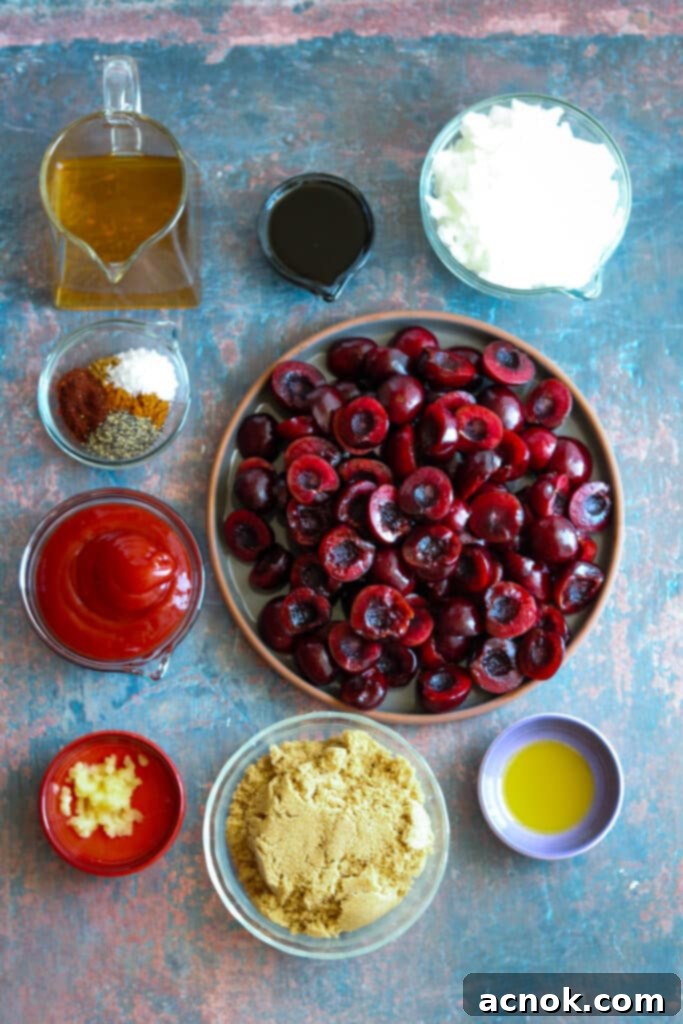
Crafting this Cherry Barbecue Sauce means bringing together a thoughtful blend of ingredients that contribute to its distinctive sweet, spicy, and tangy profile. Each component plays a vital role in achieving that perfectly balanced flavor that makes this sauce so addictive. Let’s delve into what you’ll need to create this seasonal (or year-round!) delight:
- Vegetable or Extra Virgin Olive Oil (2 teaspoons): Forms the base for sautéing the aromatics, ensuring a smooth start to our flavor layering.
- Finely Chopped White Onion (1 cup): Provides a foundational savory sweetness and aromatic depth that mellows beautifully during cooking.
- Finely Minced Garlic (2 small cloves or 1 large): Essential for its pungent, savory notes, garlic is a non-negotiable in any good sauce.
- Fresh Cherries (3 cups, stems removed and pitted): The star! Fresh, ripe cherries offer a burst of natural sweetness and tartness. If fresh aren’t available, see our substitution guide below for using frozen.
- Light Brown Sugar, Packed (3/4 cup): Adds a rich, caramel-like sweetness that complements the cherries and balances the heat from the chipotle. Packing ensures you get the right amount for that perfect sweetness.
- Apple Cider Vinegar (1/2 cup): Crucial for its tangy acidity, which brightens the sauce and cuts through the richness, preventing it from being overly sweet.
- Ketchup (1/2 cup): Provides a classic barbecue sauce backbone, contributing a familiar tomato tang and consistency.
- Blackstrap Molasses (2 tablespoons): Delivers a deep, dark, complex sweetness and a hint of smoky bitterness, adding serious depth to the sauce.
- Ground Cumin (1 teaspoon): Offers an earthy, warm, and slightly pungent spice that pairs wonderfully with the fruit and heat.
- Chipotle Powder (2 teaspoons): This is where the “spicy” and “smoky” magic happens. Chipotle powder is made from smoked, dried jalapeños, giving it a unique heat profile with a distinctive smoky undertone. Adjust to your heat preference!
- Ground Paprika (1 teaspoon): Contributes a mild, sweet peppery flavor and a beautiful reddish hue to the sauce.
- Kosher Salt (1 teaspoon) or Table/Sea Salt (1/2 teaspoon): Essential for seasoning and enhancing all the other flavors. Kosher salt has a larger grain, so use slightly less if opting for finer table or sea salt.
- Ground Black Pepper (1/2 teaspoon): Adds a subtle warmth and aromatic kick to the overall blend.
Fresh vs. Frozen Cherries: A Guide to Seasonal Enjoyment
The fleeting beauty of cherry season is something many of us lament. In regions like California, it can be as brief as six weeks, typically from mid-May through June. But what if you become utterly smitten with this incredible Cherry Barbecue Sauce and crave its unique flavor year-round? Worry not, because frozen cherries come to the rescue!
Using frozen cherries is an excellent and equally delicious alternative to fresh, allowing you to enjoy this homemade barbecue sauce regardless of the season. The key difference lies primarily in the volume needed for substitution, as frozen cherries are typically sold by weight and are already pitted, reducing waste. For the 3 cups of fresh, pitted cherries called for in this recipe, you can confidently substitute two 12-ounce bags of frozen, pitted dark cherries. Ensure they are fully defrosted before you begin, as this helps them break down more evenly during the cooking process and prevents excess water from diluting the sauce’s flavor. Simply drain any excess liquid after defrosting. Rest assured, the taste and texture of your barbecue sauce will remain exceptional, maintaining all the vibrant cherry goodness you expect. All other ingredients in the recipe remain the same.
Essential Kitchen Tools for Making Cherry BBQ Sauce
Having the right tools can make the process of creating this delicious Cherry Barbecue Sauce even more enjoyable and efficient. Here’s a list of recommended kitchen essentials that will help you whip up a batch with ease:
- 2-4 Quart Dark Enameled Dutch Oven or Stainless Saucepan: A sturdy, medium-sized pot is ideal for simmering your sauce. We strongly recommend using a dark-colored enameled Dutch oven or a stainless steel saucepan. Avoid light-colored pans, as the vibrant cherry juice can potentially stain them, making cleanup more challenging.
- Cherry Pitter (optional but highly recommended for fresh cherries): While you can pit cherries manually, a cherry pitter makes the task quick, clean, and much less messy, especially if you’re dealing with a large batch of fresh fruit.
- Small Paring Knife: Useful for prepping aromatics like garlic and onions, and for any detailed work.
- Small Chopping Board: A stable surface for all your chopping and mincing needs.
- Blender (Immersion, Bullet Type, or Food Processor): Essential for achieving your desired sauce consistency. An immersion blender can be used directly in the pot, minimizing transfer steps. A bullet-type blender or food processor will give you excellent results for a smoother sauce.
- Airtight Storage Jar (Mason or Weck Jar): For storing your finished sauce. A 1-quart jar or multiple smaller jars with tight-fitting lids are perfect for keeping your barbecue sauce fresh in the refrigerator.
How to pit cherries without a tool
I remove the pits from cherries without a tool. I do suggest wearing food gloves so you don’t stain your fingers.
Next, remove the stem from the cherry. Use a small paring knife to slice the cherry around the pit. Twist the two halves and remove the pit from the one half with your fingertip. The pits pop right out when the cherries are ripe.
Step-by-Step Guide: Crafting Your Perfect Cherry Barbecue Sauce
Making this homemade Cherry Barbecue Sauce is a straightforward and rewarding process, even for beginner cooks. The key is to allow the flavors to meld and deepen over a gentle simmer. As mentioned, for optimal results and to prevent potential staining, I highly recommend using a 2-4 quart dark-colored pan or Dutch oven.
- Sauté Aromatics: Begin by placing your chosen dark-colored pan over medium heat. Add the vegetable or olive oil. Once shimmering, add the finely chopped white onions and minced garlic. Sauté these aromatics gently for about 3-4 minutes, or until the onions become translucent and release their sweet, fragrant aroma. Be careful not to brown the garlic, as it can turn bitter.
- Combine Ingredients and Simmer: Once your aromatics are ready, it’s time to introduce the stars of the show. Add the fresh (or defrosted frozen) pitted cherries, light brown sugar, apple cider vinegar, ketchup, blackstrap molasses, ground cumin, chipotle powder, ground paprika, kosher salt, and ground black pepper to the pan. Stir all the ingredients well to combine.
- Cook Down the Sauce: Bring the mixture to a gentle simmer. Once simmering, reduce the heat to low, ensuring a very gentle bubbling. Allow the sauce to simmer uncovered for approximately 45 minutes. During this time, stir occasionally to prevent sticking and ensure even cooking. As it simmers, the cherries will soften and break down, and the liquid will reduce, concentrating all those wonderful flavors. You’ll notice the sauce becoming more fragrant and developing a rich, deep taste.
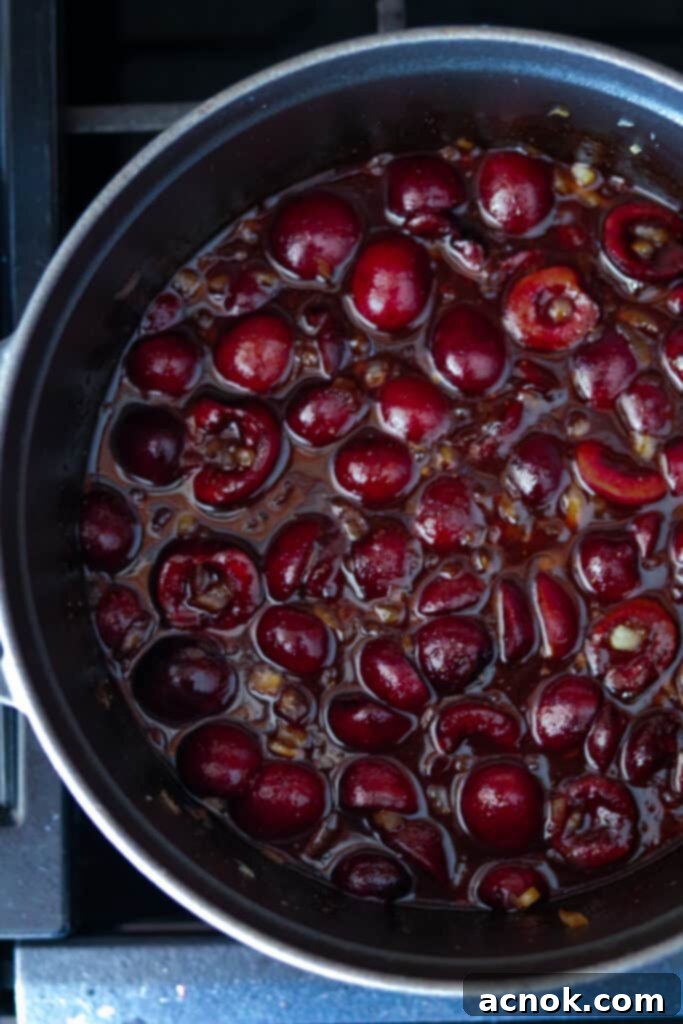
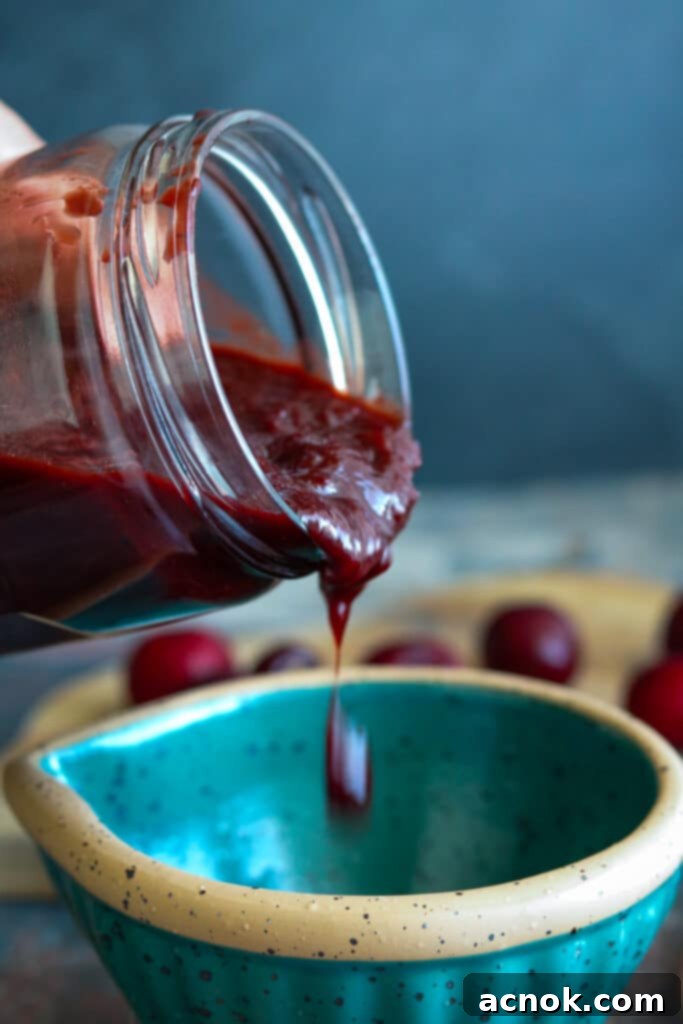
- Cool and Blend: After 45 minutes, turn off the heat and allow the sauce to cool completely in the pot. This cooling step is important for safety and for achieving the best consistency when blending. Once the sauce has cooled to a safe temperature, carefully transfer it to your chosen blender (immersion, bullet type, or food processor). Pulse the sauce until your desired consistency is reached. I personally prefer to pulse until the cherries are mostly broken down, leaving a small amount of delightful pulp in the sauce for texture. If you prefer a completely smooth sauce, you can continue blending until no chunks remain, or strain the sauce through a wide-mesh sieve/strainer, pressing on the solids with a spoon to extract all the liquid, then discard any remaining pulp.
- Adjust Consistency: The finished sauce should have a medium, thick consistency – perfect for coating meats without being too runny or overly gloopy. If you find the sauce has thickened too much during cooling, you can thin it out. Add one teaspoon of water at a time, stirring well after each addition, until you achieve your preferred consistency. Taste and adjust seasonings if necessary, though it should be perfectly balanced.
Your homemade Cherry Barbecue Sauce is now ready to be enjoyed! It’s a truly delicious creation that will add a unique gourmet touch to any meal.
Storing Your Homemade Cherry Barbecue Sauce for Freshness
Proper storage is key to enjoying your delicious homemade Cherry Barbecue Sauce for as long as possible. This recipe yields a generous 2 1/2 cups of sauce, which means you’ll likely have some leftover – perfect for future meals!
Refrigerator Storage: For short-term storage, transfer the cooled sauce into a clean, sterilized jar with a tight-fitting, airtight lid (such as a Mason jar or Weck jar). Stored in the refrigerator, your homemade Cherry Barbecue Sauce will stay fresh and flavorful for up to 2 weeks. Always ensure the lid is securely fastened to prevent air exposure and maintain optimal taste.
Freezer Storage: This barbecue sauce freezes exceptionally well, allowing you to extend its shelf life significantly – up to 3 months! Freezing is a fantastic option if you’ve made a larger batch or want to savor the flavors beyond the two-week refrigerator limit. To freeze, I recommend the following method:
- Allow the sauce to cool completely before freezing.
- Portion the sauce into zip-type plastic bags or reusable silicone freezer bags.
- Press out all excess air from the bag before sealing it. This prevents freezer burn and helps maintain the sauce’s quality.
- Lay the bags flat on a baking sheet or freezer shelf until completely frozen. Freezing flat saves space and allows for quicker thawing later.
- Once solid, you can store the frozen flat bags vertically to maximize freezer capacity.
When you’re ready to use your frozen sauce, simply thaw it in the refrigerator overnight or gently warm it on the stovetop over low heat until defrosted and heated through. This ensures you can enjoy the vibrant taste of homemade cherry barbecue sauce whenever the craving strikes!
If you love grilling and barbecue recipes, check out my grilling recipes right here 👈🏼. And for my chipotle lovers out there, try my Blueberry Bourbon Chipotle BBQ Sauce, Chipotle Agave Dressing, Spicy Shrimp Tacos and my Mexican Salpicón de Res.
If you tried this recipe, please help other readers by commenting below and sharing some stars! We 🫶🏼 appreciate you!
All content and photographs ©Claudia’s Table and claudiastable.com
Cherry Barbecue Sauce
Ana | Claudia’s Table
August 15, 2024
Pin Recipe
Equipment
-
1 2-4 quart dark enameled Dutch oven or stainless saucepan Do not use light-colored pans because the cherries might stain them.
-
1 Cherry pitter optional
-
1 Small paring knife
-
1 Small cutting board
-
1 Blender immersion, bullet type, or food processor
-
1 quart jar
Ingredients
- 2 teaspoons of vegetable or extra virgin olive oil
- 1 cup of white onion finely chopped
- 2 small garlic cloves or 1 large finely minced
- 3 cups of fresh cherries stems removed and pitted. (or frozen – 2, 12 ounce bags)
- 3/4 cup of light brown sugar packed
- 1/2 cup of apple cider vinegar
- 1/2 cup of ketchup
- 2 tablespoons of blackstrap molasses
- 1 teaspoon of cumin ground
- 2 teaspoons of chipotle powder
- 1 teaspoon paprika ground
- 1 teaspoon kosher salt or 1/2 teaspoon of table or sea salt.
- 1/2 teaspoon of ground black pepper
Instructions
-
Over medium heat, add the vegetable or olive oil, onions and garlic.
-
Sauté until the onions are translucent and fragrant, about 3-4 minutes.
-
Add fresh cherries, light brown sugar, apple cider vinegar, ketchup, molasses, cumin, chipotle powder, paprika, salt and black pepper.
-
Bring to a simmer and lower heat to low.
-
Simmer for 45 minutes, stirring occasionally.
-
After 45 minutes, the cherries will have cooked down, and the barbecue sauce will be fragrant and delicious tasting.
-
Turn the heat off and allow the sauce to cool. Once cooled, it’s time to blend.
-
Add sauce to the blender and pulse until desired consistency is reached.
-
I pulse until the cherries are mostly broken down and a small amount of pulp is left over in the sauce. If you prefer no pulp, strain the sauce through a wide mesh sieve or use a slotted spoon to remove extra pulp.
-
The sauce should have a medium, thick consistency. If it’s thickened too much, thin the sauce using one teaspoon of water at a time, until it’s just right for you.
-
Use on grilled chicken or pork. Enjoy!
Notes
Nutrition
Nutritional information is calculated online and should be used as a guide.
All content and photographs ©Claudia’s Table and claudiastable.com
Check out our New & Delicious posts below
- Pasta with Grilled Vegetables, Feta, and Lemon
- Grilled Asian Marinated Flank Steak
- Classic Homemade Chunky Blue Cheese Dressing
- 3-Ingredient Crispy Oven-Roasted Potatoes
- Grilled Peach Avocado Chicken Salad
