Mastering the Art of Blanching: A Comprehensive Guide to Perfectly Cooked Vegetables
Blanching is a fundamental cooking technique that every home cook should master. Often called for in recipes, it’s a simple yet incredibly effective method that transforms vegetables, enhancing their color, texture, and even flavor. But what exactly is blanching, and why is it so beneficial? At its core, blanching involves briefly submerging a vegetable in boiling water, cooking it for a short period, and then immediately transferring it to an ice-water bath. This rapid cooling process instantly halts the cooking, resulting in vegetables that are perfectly par-cooked, vibrant, and ready for their next culinary adventure.
This versatile technique is not just about partially cooking; it’s about optimizing vegetables for various uses. Blanching effectively removes the raw, sometimes bitter, texture and flavor that many vegetables possess, leaving them slightly more tender and intensely bright in color. This makes blanched vegetables ideal for cold dishes such as fresh green salads, vibrant pasta salads, or cool side dishes, like the refreshing Simple Green Bean Tomato Salad. Beyond salads, blanching is also a crucial step for preserving vegetables through freezing, making them more palatable for stir-fries, or even preparing them for easy peeling, such as tomatoes or peaches.

Why Blanch? The Unrivaled Benefits of This Technique
While the process itself is straightforward, the advantages of blanching are numerous, making it a valuable skill for anyone looking to elevate their cooking or preserve produce effectively.
- Vibrant Color and Enhanced Appearance: One of the most striking benefits of blanching is its ability to intensify and set the natural vibrant colors of vegetables. Chlorophyll, the pigment responsible for green in many vegetables, becomes more vivid and appealing after a quick dip in boiling water followed by an ice bath. This makes blanched vegetables visually stunning in any dish.
- Improved Texture: Blanching helps achieve that desirable “crisp-tender” texture. It softens vegetables just enough to remove their raw rigidity while maintaining a pleasant crunch. This is particularly appealing for vegetables like green beans, broccoli, or asparagus.
- Easier Peeling: For certain fruits and vegetables, such as tomatoes, peaches, or almonds, blanching can make their skins incredibly easy to remove. The brief exposure to heat loosens the skin, allowing it to slip right off after cooling.
- Reduced Bitterness or Strong Flavors: Some vegetables, like broccoli rabe or cabbage, can have a slightly bitter or overly pungent flavor when raw. Blanching helps to mellow these strong notes, making them more palatable without sacrificing their essential character.
- Preparation for Freezing: This is perhaps one of the most critical applications of blanching. For vegetables to retain their quality, flavor, and nutritional value during freezing, blanching is essential. It deactivates enzymes that cause spoilage, ensuring your frozen produce tastes fresh for months.
- Pre-cooking for Other Recipes: Blanched vegetables are partially cooked, which reduces overall cooking time in subsequent dishes like stir-fries, casseroles, or roasts. This also helps ensure even cooking, especially when combining vegetables with different cooking times.
- Cleanliness: A quick blanch can help clean vegetables, especially those with many nooks and crannies, ensuring they are thoroughly prepared for consumption.
Essential Equipment for Blanching
You don’t need a lot of fancy tools to blanch vegetables, but having the right equipment will make the process smooth and efficient:
- Large Stockpot or Dutch Oven: Choose a pot large enough to hold your vegetables comfortably with plenty of water. Overcrowding can drop the water temperature too much and lead to uneven cooking.
- Large Bowl for Ice Bath: This bowl needs to be big enough to accommodate the blanched vegetables and a generous amount of ice water.
- Slotted Spoon or Spider Skimmer: Essential for safely and quickly transferring vegetables from boiling water to the ice bath.
- Colander: For draining the blanched and cooled vegetables.
- Kitchen Timer: Precision is key in blanching; a timer helps prevent overcooking.
- Tongs (Optional): Useful for handling larger vegetables or small batches.
- Clean Kitchen Towels: For thoroughly patting dry your blanched vegetables, especially if you plan to freeze them or use them in oil-based dressings.
Step-by-Step Blanching Process: A Detailed Tutorial
For this comprehensive tutorial, we’ll demonstrate the blanching process using green beans, a common and excellent candidate for this technique. The principles, however, apply to most vegetables.
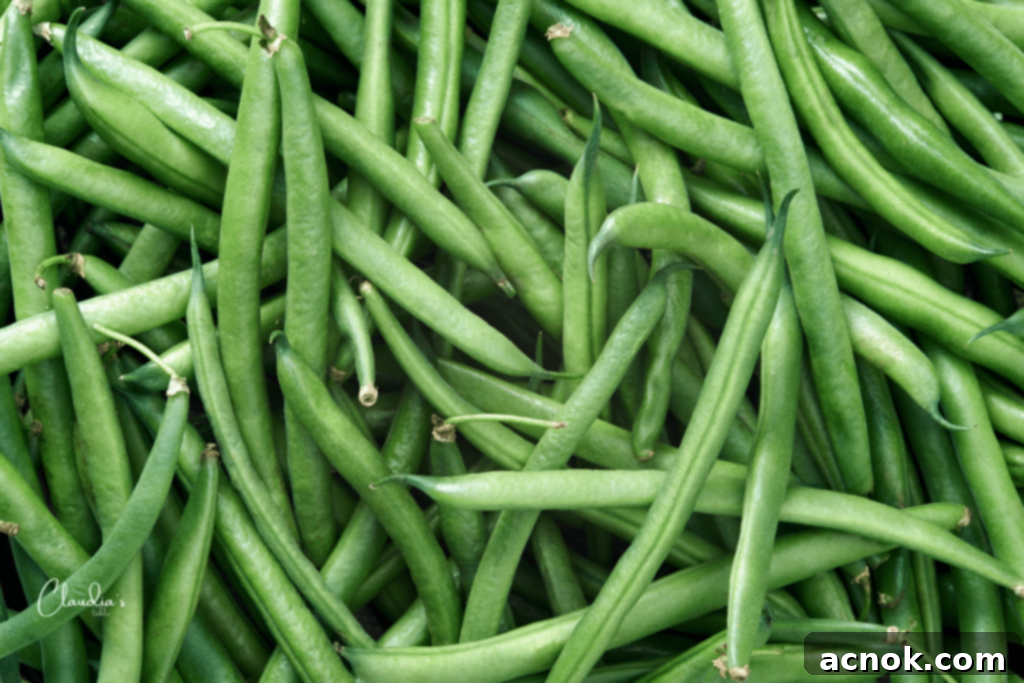
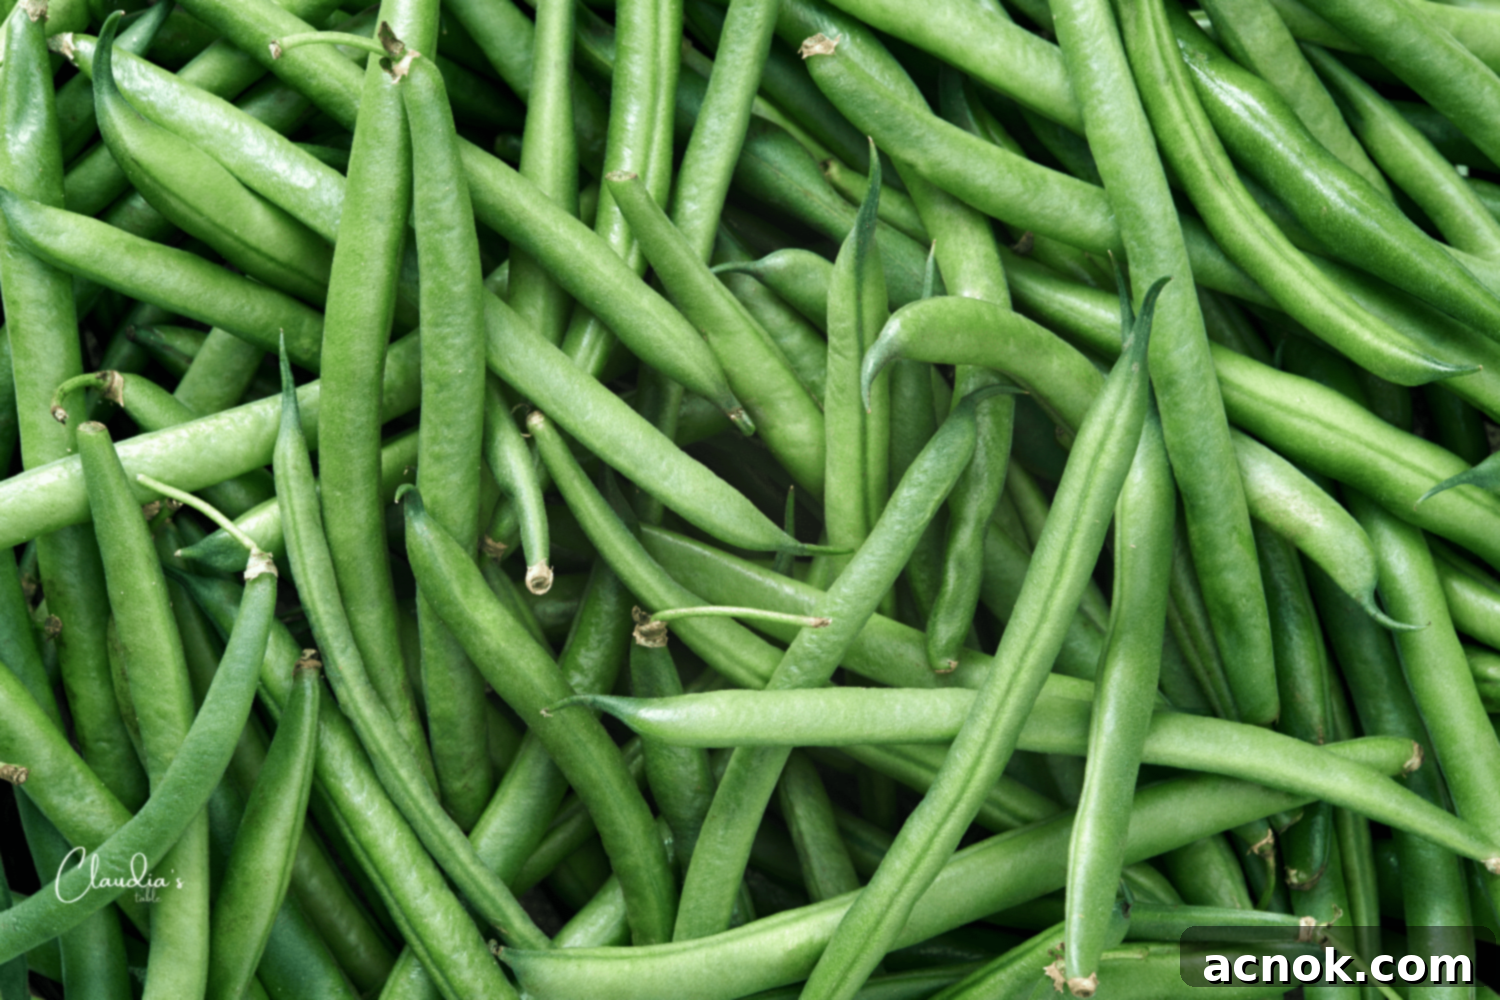
- Prepare Your Vegetables: Begin by washing and trimming your green beans. If you’ve purchased loose green beans, snap off or cut the tough stem ends. For pre-trimmed beans, simply rinse them well under cold water. Ensure all beans are roughly the same size for even cooking.
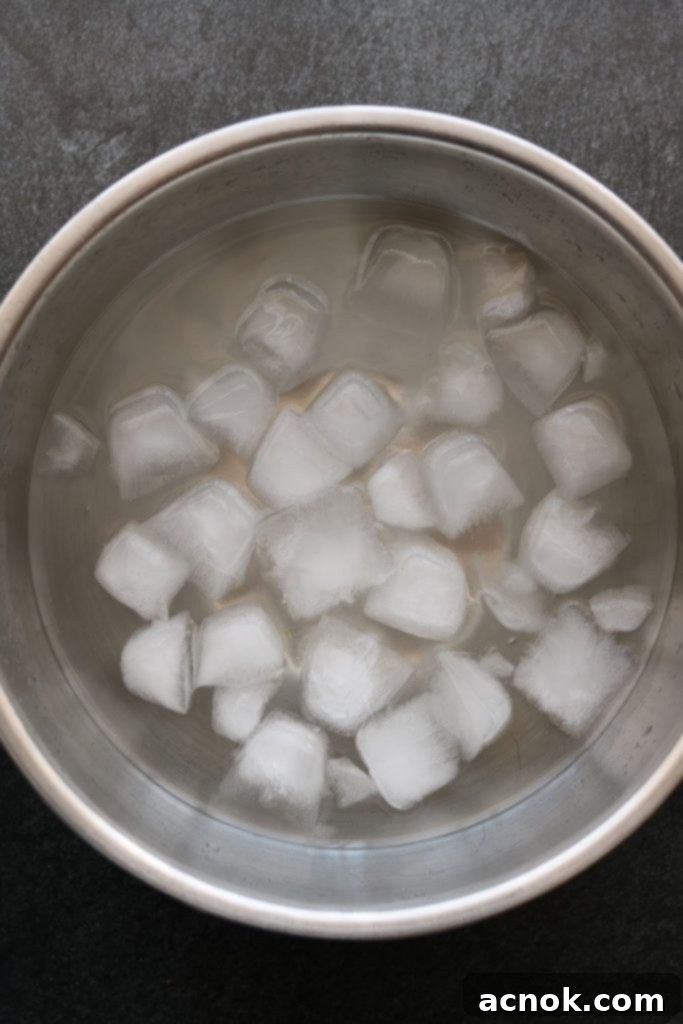
- Set Up Your Ice Bath: Fill a large bowl generously with ice cubes and cold water. This ice bath is non-negotiable and must be ready *before* you start cooking the vegetables. Its purpose is to immediately stop the cooking process and lock in that vibrant color.
- Boil the Water: Select a large pot—for about 12 ounces of green beans, a 3-quart pot is usually sufficient. Fill it with water, leaving enough room so it won’t overflow when the vegetables are added. Add a generous pinch of Kosher salt (about 1-2 tablespoons per gallon of water). The salt seasons the vegetables from the inside out and helps maintain the boiling temperature. Bring the water to a rolling boil over high heat.
- Add the Vegetables: Once the water is at a vigorous boil, carefully add the green beans to the pot. Do not overcrowd the pot; if blanching a large quantity, work in batches to ensure the water temperature doesn’t drop too significantly, which would prolong cooking and lead to dull, overcooked vegetables.
- Cook for the Appropriate Time: For green beans, cook for approximately 2-3 minutes. You want them to be bright green and crisp-tender, not soft or mushy. The exact time will vary based on the vegetable’s size and freshness. For larger quantities or denser vegetables, you might need an additional 1-2 minutes. Keep a close eye on them and use your timer.
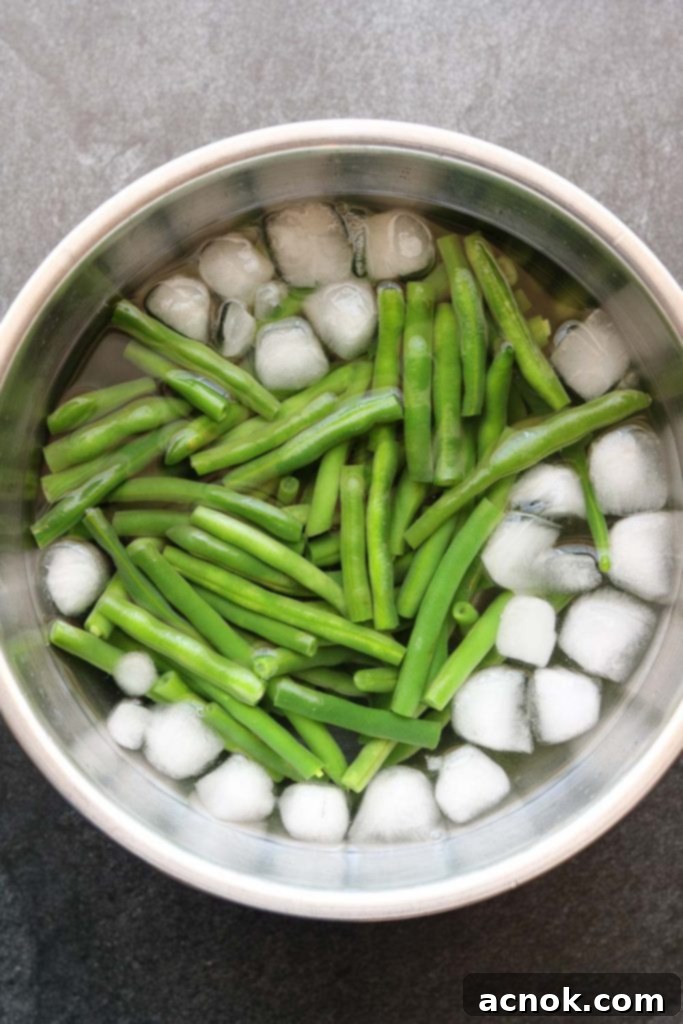
- Shock in Ice Bath: As soon as the cooking time is up, use a slotted spoon or a spider skimmer to quickly remove *only* the green beans from the boiling water. Immediately plunge them into the prepared ice bath. Stir them gently in the ice water to ensure they cool down rapidly and evenly.
- Cool Completely: Allow the green beans to cool in the ice bath for several minutes, typically 3-5 minutes, or until they are completely chilled. This critical step ensures that they stop cooking and retain their vibrant color and crisp texture.
- Drain and Dry Thoroughly: Once completely cooled, remove the green beans from the ice bath and drain them well in a colander. For best results, especially if you plan to freeze them or use them in a salad where excess water is undesirable, spread them out on a clean kitchen towel or paper towels and gently pat them dry.
- Ready to Use: Your blanched green beans are now ready to be used in your favorite salad, cold side dish recipe, or packaged for freezing.


What Other Kinds of Vegetables Can I Blanch? (And Their Approximate Times)
The blanching technique is incredibly versatile and can be applied to a wide array of vegetables. While the process remains largely the same, the cooking times will vary depending on the density and size of the vegetable. Always aim for that vibrant color and crisp-tender bite.
- Carrots: Sliced or julienned carrots (2-4 minutes), baby carrots (3-5 minutes). Blanching makes them slightly sweet and enhances their orange hue.
- Broccoli: Florets (2-4 minutes). Great for stir-fries, salads, or freezing.
- Cauliflower: Florets (2-4 minutes). Similar to broccoli, it softens them slightly for various dishes.
- Green Beans: Whole or cut (2-3 minutes). As demonstrated, perfect for salads and cold dishes.
- Snow Peas/Sugar Snap Peas: Whole (1-2 minutes). They cook very quickly and become bright green and crunchy. Ideal for salads or Asian dishes.
- Asparagus: Spears (2-4 minutes, depending on thickness). A quick blanch keeps them tender-crisp and vibrant.
- Zucchini: Sliced or diced (1-2 minutes). Tender and quick to cook, great for pasta salads.
- Peas (fresh or frozen): Fresh (1 minute), frozen (30 seconds – 1 minute). A very quick blanch to retain their sweetness and color.
- Spinach: Whole leaves (30 seconds – 1 minute). Blanching significantly reduces their volume, making them easier to incorporate into dishes or freeze. Squeeze out excess water after blanching.
- Fennel: Sliced (2-3 minutes). Mellows its licorice-like flavor and softens its texture.
- Brussels Sprouts: Halved (3-5 minutes). Softens them and removes a bit of their bitterness, great before roasting or sautéing.
As you can see, each vegetable has its optimal blanching time. Denser vegetables like carrots or broccoli florets will require a bit longer than more tender ones like snow peas, zucchini, or fresh peas. It’s always a good practice to taste a piece of the vegetable during blanching to ensure it reaches your desired texture. For more detailed blanching times and specific vegetable considerations, resources like Food52’s comprehensive guide to blanching can be very helpful; check it out here.
Tips for Perfect Blanching Every Time
- Don’t Overcrowd the Pot: This is crucial. Adding too many vegetables at once will significantly drop the water temperature, prolonging cooking time and leading to dull, mushy, or unevenly cooked results. Work in batches if necessary.
- Use Plenty of Salt: Salting the boiling water liberally not only seasons the vegetables from within but also helps to maintain a higher boiling point, resulting in more efficient cooking.
- Ensure a Proper Ice Bath: A truly cold ice bath is essential for immediately stopping the cooking process. Don’t skimp on the ice! The quicker the chill, the better the color and texture retention.
- Mind the Timing: Blanching is quick. Overcooking can ruin the texture and color. Use a timer and taste a piece if you’re unsure.
- Pat Dry Thoroughly: Especially if you’re freezing blanched vegetables, ensure they are completely dry to prevent ice crystal formation and freezer burn. For salads, drying prevents watery dressings.
- Reuse Boiling Water: If you’re blanching multiple batches of the same vegetable, you can often reuse the boiling water. If switching to a different vegetable, consider refreshing the water.
- Chill Completely: Make sure the vegetables are fully cooled in the ice bath before removing them. If they are still warm, they will continue to cook.
Common Uses for Your Perfectly Blanched Vegetables
Now that you’ve mastered the technique, here are just a few ways to enjoy your perfectly blanched vegetables:
- Fresh Salads: Add to green salads, pasta salads, potato salads, or grain bowls for added color, texture, and nutrition.
- Freezing for Future Use: The most significant advantage! Blanch, cool, dry, and then spread in a single layer on a baking sheet to flash freeze. Once frozen, transfer to freezer-safe bags or containers. This allows you to enjoy garden-fresh vegetables year-round.
- Stir-fries and Sautéed Dishes: Blanched vegetables require less cooking time in a stir-fry, helping them stay crisp and preventing them from becoming soggy.
- Soups and Stews: Add blanched vegetables near the end of the cooking process to maintain their texture and prevent them from turning mushy.
- Dips and Spreads: Blanched spinach, for example, is excellent for creamy dips or pureed into sauces.
- Side Dishes: Simply toss with a little olive oil, salt, pepper, and your favorite herbs for a quick and healthy side.
Blanching is an invaluable skill that elevates your cooking and helps you make the most of fresh produce. By following these simple steps, you can consistently achieve vibrant, crisp-tender vegetables that are perfect for a wide range of culinary applications, from fresh salads to long-term freezer storage. So, next time a recipe calls for it, or you simply want to brighten up your meal, don’t hesitate to embrace the art of blanching!
